


Why would we want to know the RPMs on an engine with an automatic transmission? Besides keeping tabs on the engine, a tachometer can be very useful when using the jake brake down steep inclines. From what we read, they never installed tachometers at the factory and instead limit the maximum engine speed with a mechanical governor. Basically, when the engine stops building power it is time to shift gears.
Scanning the forums for how to install a tachometer on an old 2-stroke Detroit Diesel was frustrating. There was plenty of controversy about which method was best. Many opted for complicated magnetic pickups and having to fabricate custom mounts or driving off the blower.
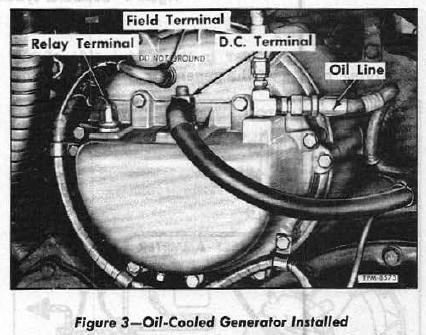
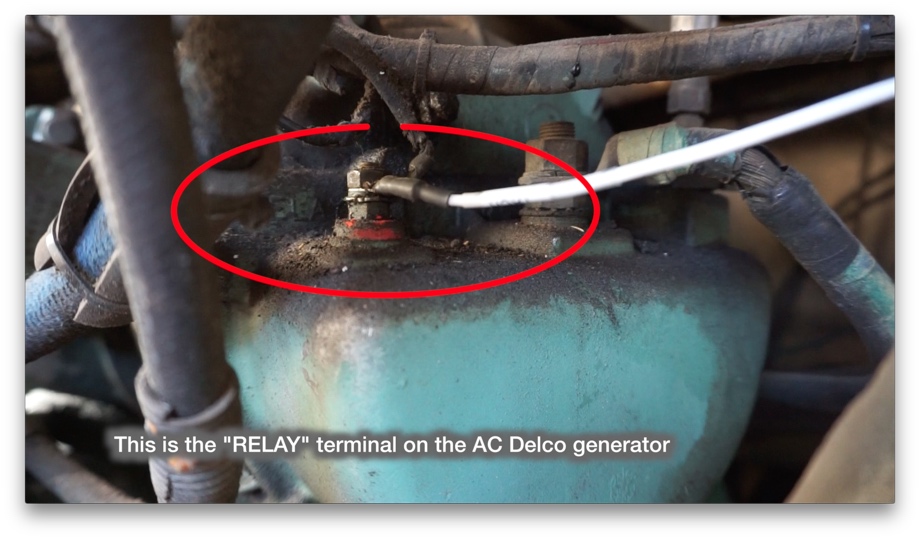
Finally, a post I came across gave me some hope. This post described a method by which you could "read" the RPM setting off the stock Delco-Remy generator by connecting a wire to the "RELAY" terminal. The problem is the math on it can be a little tricky: 2.29 gear reduction from crankshaft coupled with the fact that the generator is a 6-pole configuration gives an effective 13.74 pulses per revolution. I doubt many configurable tachometers have a setting for 13.74.
At about the same time, I came across some hotrod performance blogs that recommended Speedhut gauges because of their customization and ability to be configured in a large number of ways. I logged onto their website and was hooked. You could customize nearly every aspect of the gauge as well as add text and graphics to the faces. They even had a tachometer specifically designed to work with diesel engines that could work with a number of different pulse generators. I decided to give it a shot, thinking that in a worst case scenario I would have to fabricate a small magnetic mount off the harmonic balancer.
What a relief to discover that I could indeed drive the tach off the stock Delco-Remy generator. I connected a small 14 gauge wire to a ring connector then to the terminal on the generator labeled "RELAY".
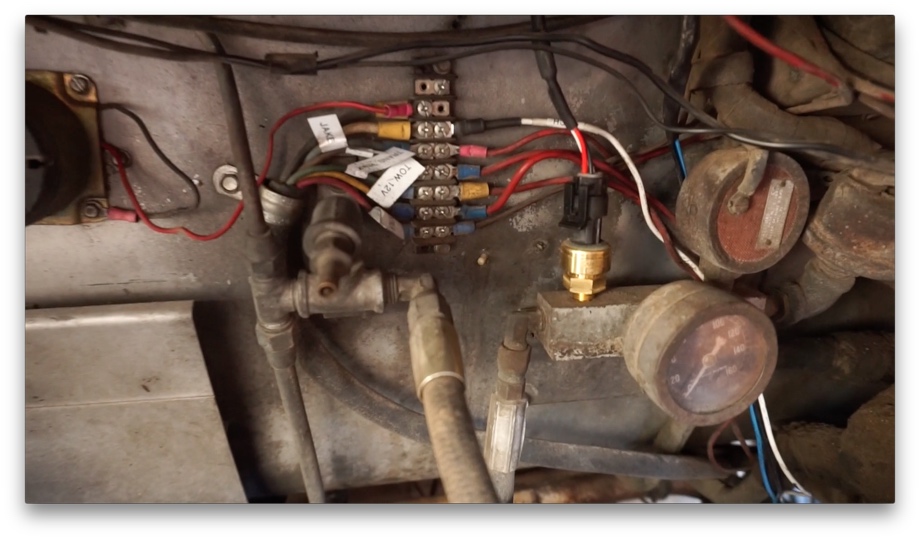
I ran this wire to an existing set of cables that was already wired and terminated just under the dash in the front of the coach (there just happened to be an extra wire that was not being used).
Once I wired up the tachometer (See the previous post for details), it was time to calibrate it. For this, I opted to use an inexpensive non-contact digital tachometer. I applied the reflective tape it came with to the harmonic balancer, started the engine and noted that the engine idled at right around 500 RPM. I then clicked on the high idle to get the second point of reference at 900 RPM. To calibrate the tachometer I held the calibration button as I started the engine - this took the tachometer needle to exactly 1000 RPM. I released the button and pressed again and the needle started going down, release and hold again and the needle went up. It can go back and forth until the correct number is reached. Once I had the needle at 500, I released the button, and a few seconds later the tach went to 0 then immediately back to indicating 500 RPMs. The video shows this procedure much more clearly than I can explain it.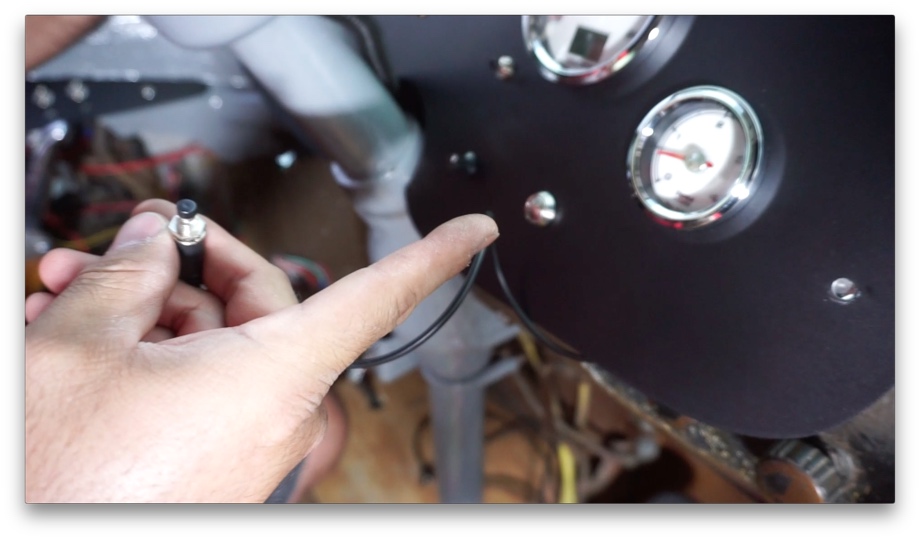
Overall we are very happy with the way the tachometer install went and the functionality of it. The dash somehow feels more "complete" with the addition of this gauge.
Watch the video:
Click here If you cannot see the video.
Products Used
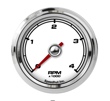 Speedhut.com 4K Diesel Tachometer
Neiko 20713A Digital Tachometer, Non-contact Laser Photo | 2.5 - 99,999 RPM Accuracy


0 Comments
Comments powered by Disqus