


Finally, the time had come to return to work inside the bus. I know the major systems are what make the "house" part of the bus actually work and are realistically the most important (which is why we spend so much time on them), but actually seeing the living part of the bus come to life is so much more motivating.
It is often said that the kitchen is the heart of a home. Well, our kitchen is also the laundry room and technically part of our living room/school room/office/dining room/game room/master bedroom, so it most definitely is the heart of the bus. That’s what we are sharing in this post - the humble beginnings of a bus kitchen.
To begin with, we had to build some kitchen walls. The sidewall of the kitchen is also the front of the pocket door “pocket”. Luckily, before we installed the back wall of the “pocket”, we traced it out on another sheet of plywood so when the time came to build the front, all we had to do was cut it out and install. We didn’t have to refigure out all the curves. That was a quick beginning to the kitchen.
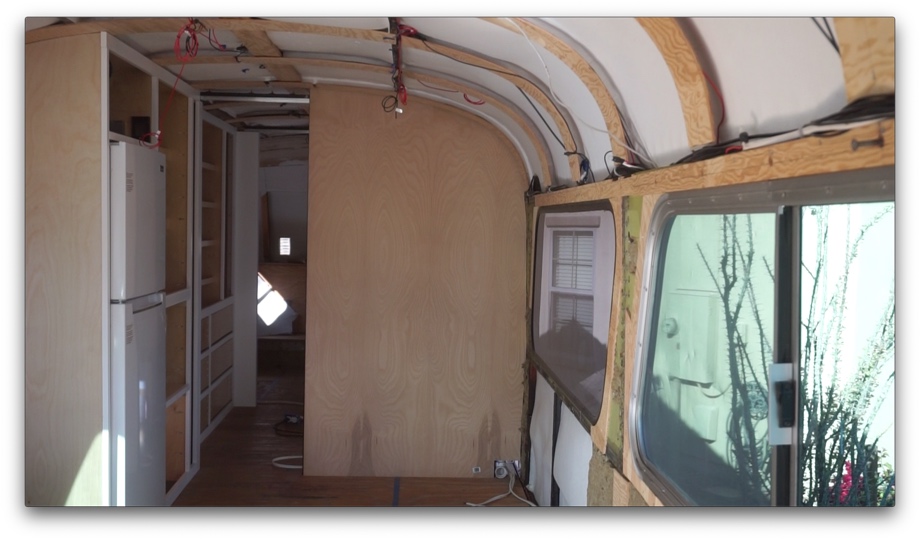
Next, we planned for the back wall that the kitchen cabinets will hang on. The wall will partially cover a large window, so we had to create a spacer to keep the wall slightly off the window. If we ever need to replace that window, we will need access to the inside to mount the rubber gasket.
For kitchen cabinets, we decided to take the easy road here and use IKEA cabinets. We absolutely could have built these cabinets ourselves, but we bought these a long time ago before we really knew what kind of building we would be capable of. The hinges, soft-close hardware, and fun cabinet fronts, plus all the great reviews of Ikea kitchen cabinets, made these an easy choice.
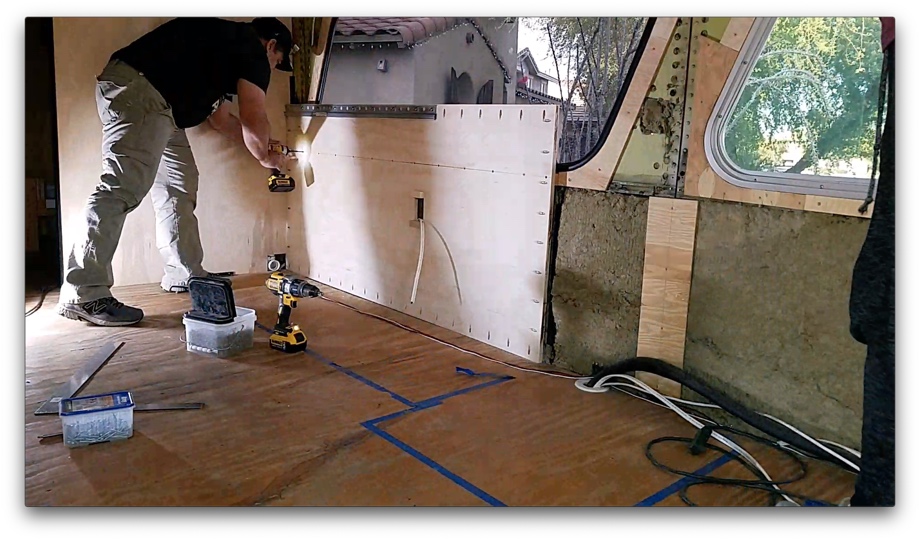
Even though we weren’t quite ready to install the cabinets yet, we had to go ahead and get the carcasses put together so we could see how everything would line up. This helped us determine the exact height of the wall. Then we were able to go ahead and preinstall the IKEA cabinet rail onto our wall before we installed the wall into the bus. We also were able to plan for an electrical outlet that will be in the cabinets but will have to be recessed into that wall.
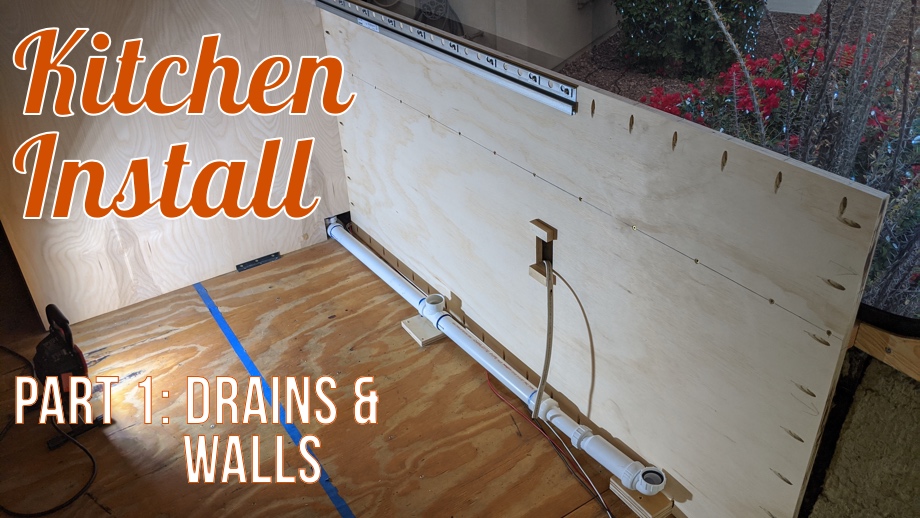
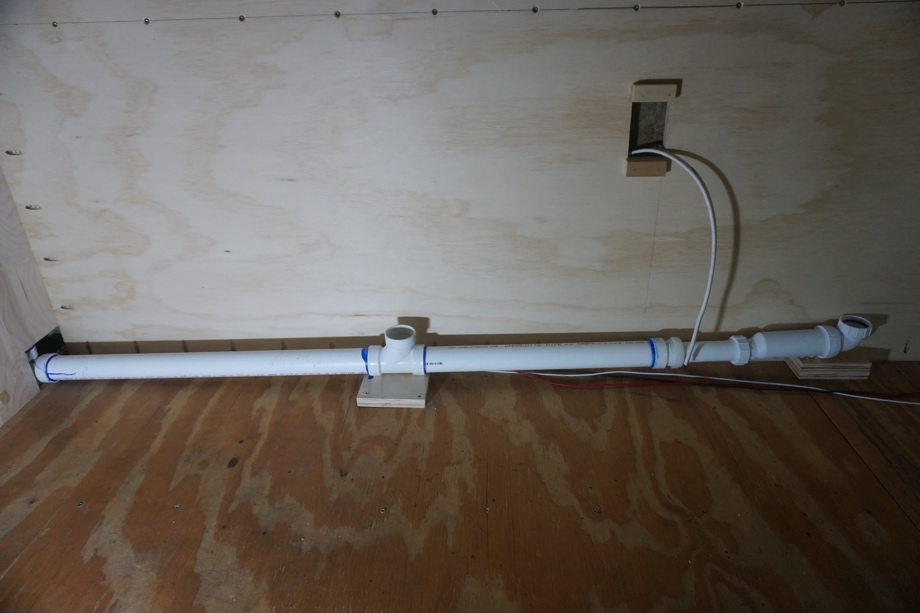
Once we had the walls installed and cabinet placement figured out, we were able to start the kitchen drain plumbing. A long time ago, we plumbed the beginnings of the drain down into our waste tank, but it only went so far as an elbow up into the bus. After determining exactly where the sink cabinet and washing machine would be positioned along our kitchen wall, we were able to work on plumbing those drain lines. We were sure to put some spacers under the pipe to create a slight angle down toward the elbow that drains into the waste tank.
None of the pretty parts of the kitchen were in quite yet, but simply creating that “shell” with the walls and basic plumbing lines gave us a glimpse of how the kitchen would feel. Next up: Kitchen Pex supply plumbing and installing the IKEA cabinets.
Watch the video:
Click here If you cannot see the video.


0 Comments
Comments powered by Disqus