


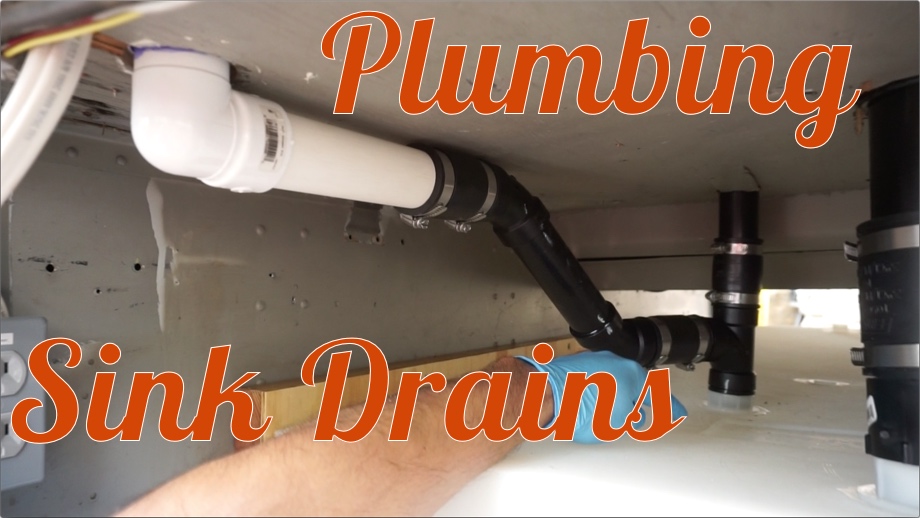
Last week, we showed you how we plumbed the vent pipe with a T near the bottom for draining the kitchen sink and washing machine.
When we planned the layout of our bus, we decided to keep all of the fixtures that need plumbing as compact as possible on one side of the bus. One of our “wish list” items was a washer/dryer combo. Luckily, we found one on craigslist for less than half the price of new (a Splendide 2100XC). When deciding where to put it, we decided to put it in the kitchen. It will actually fit perfectly under the kitchen counter and right next to the kitchen sink. This will allow them to share a drain pipe. We decided to join that drain/vent with the drain for the bathroom sink, and then they all share one inlet into the waste tank.
We had one minor problem that we ran into after we plumbed that PVC vent pipe. When we started shopping for the fittings we would need to run from that drain/vent into the bathroom drain and then into the tank, we found slim-pickins in PVC. There were all kinds of ABS fittings, however. Unfortunately, you can’t glue PVC and ABS together. Luckily, just like the toilet drain, we decided to use rubber couplers in the drain lines.
The rubber couplers allow some flexibility as we are bumping down the road so hopefully the pipes don’t crack. They also will allow us to loosen the screws, pull out a pipe, and remove the tanks without damaging our plumbing. But, the rubber couplers also solved our PVC/ABS dilemma. We were able to use all the ABS pieces we needed and simply join the PVC to the ABS with the rubber coupler. No cement necessary.
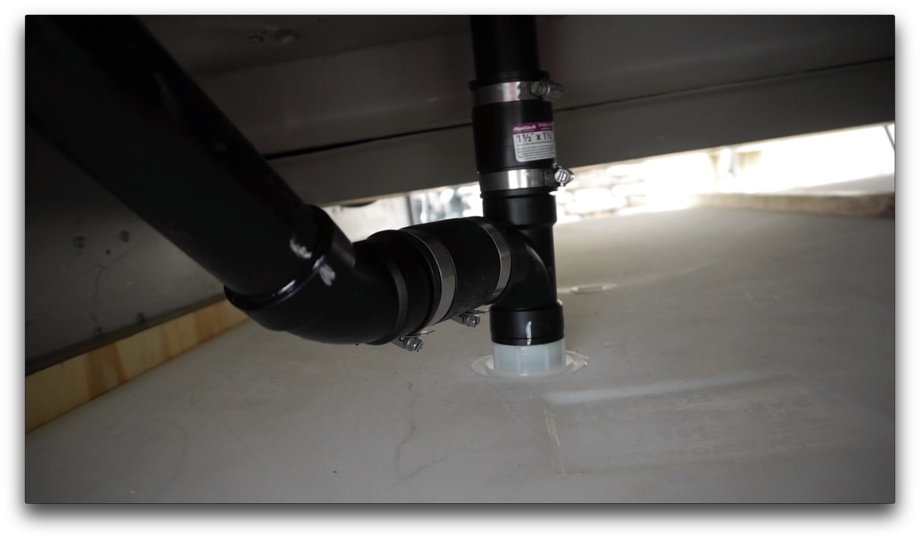
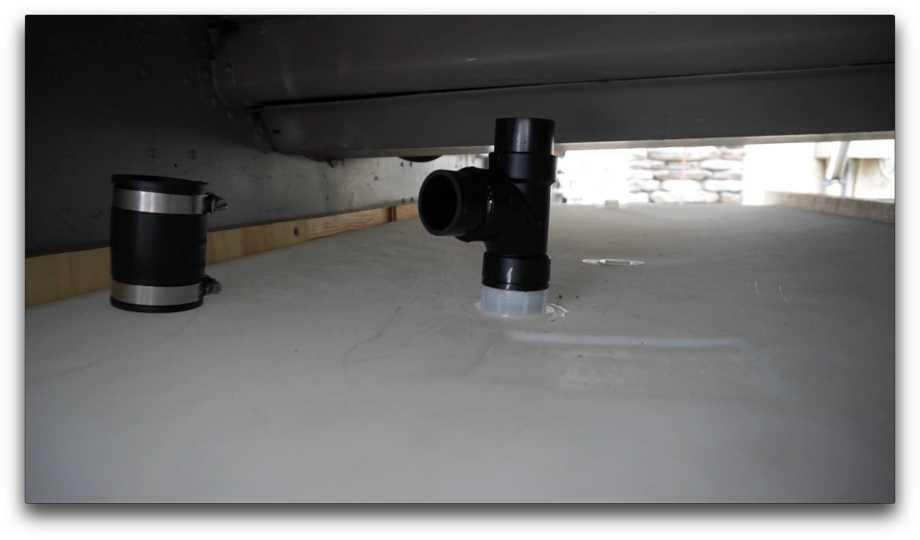
The first step in this project was mocking up the drain from the bathroom sink. We originally thought that after the pipe came down into the water bay, we would put a rubber coupler and then a Wye fitting. We thought that we would be able to slope the vent/kitchen drain and connect it to the Wye. The Wye was way too tall though. We did not have enough space to do that. So, we decided to use a sanitary T instead. Then that would be attached to the fitting into the waste tank.
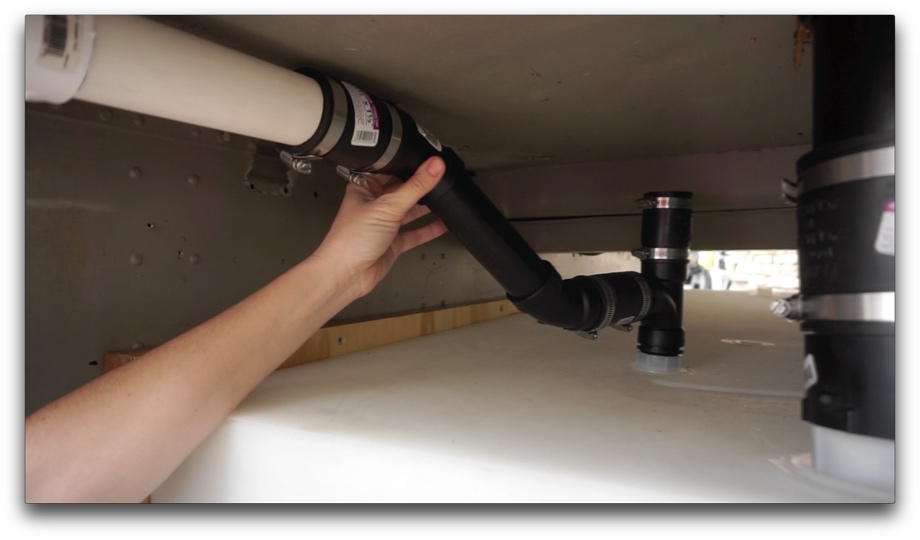
The next step was figuring out how to get from our kitchen drain/vent down into that T. The trickiest part of this project was determining the angle and drop from the roof of the water bay so it fits directly into that T. Where do we need to start the slope? How long does it need to be? It is supposed to have ¼” slope for every 1 foot of distance for proper drainage. We dug around in the geometry parts of our brains and did a few calculations. Since the location of the T in the bathroom drain was fixed, we had to use 45° pieces connected by a straight piece of pipe to create the slope.
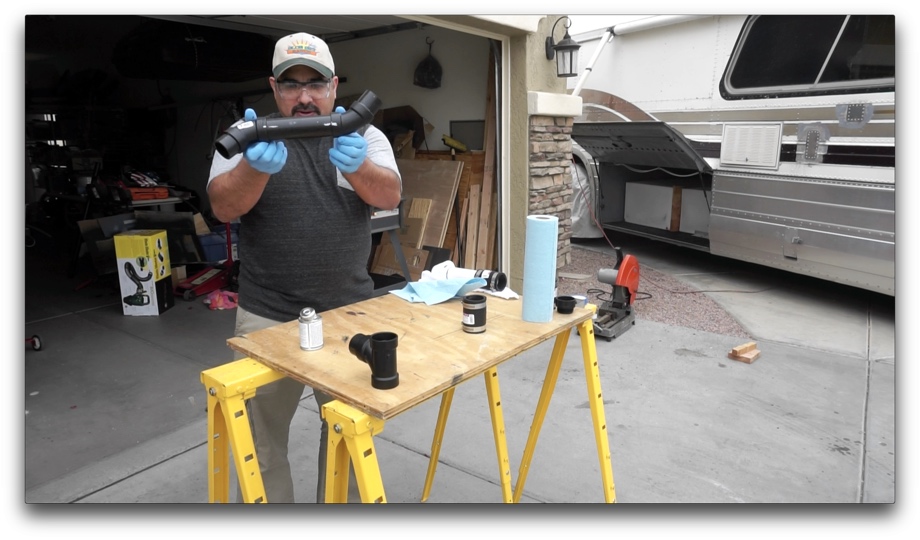
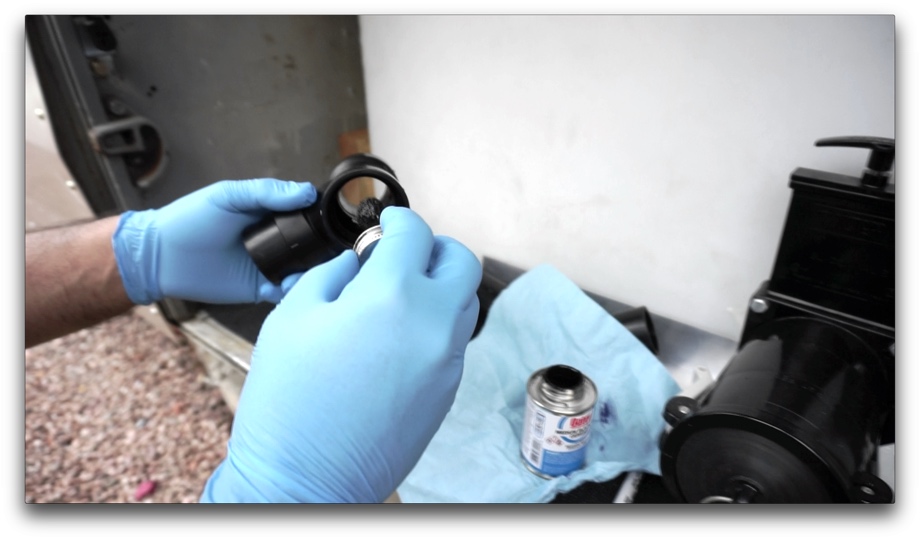
Once we figured out how to slope it, we again figured out where to put the rubber couplers in the lines. After we cut everything to fit and mocked it all up, we glued all the different sections together using ABS cement and fit everything into place.
Slowly but surely, the plumbing is starting to take shape. The next plumbing project will be the shower drain. However, as always, there are a few other non-plumbing projects that have to come first. Thanks for hanging in there with us as we chip away at the million little projects of building a bus. We are so appreciative of all of the support!
Watch the video:
Click here If you cannot see the video.
Parts We Used
1 1/2" ABS Pipe
1 1/2" Sanitary Tee
ABS 45 degree elbow
ABS Male Street Adapter
1 1/2" Rubber coupler
1 1/2" PVC Schedule 40 Pip
PVC 1 1/2" 90 Degree Street Elbow


Tools we used
This drill is amazing
PVC Primer and Glue
ABS Medium Black Cement


0 Comments
Comments powered by Disqus