


When we first bought the bus, we knew right away we needed to do something about the driver’s and passenger’s chairs. First off, cosmetically they were in really bad shape. We looked into recovering them, but the more we sat in them, the more we realized it wasn’t just the upholstery. They were really uncomfortable. Then, when we looked underneath the driver’s seat to see how it was mounted onto the pedestal, we were shocked. There are large spacers between the top of the pedestal and the bottom of the seat. That cannot be safe! We knew we needed to replace the chairs.
![]()
We spent quite a while researching RV captains chairs. Wow! Good ones are very expensive - like $1200-2400 per chair! Quickly, we decided to look for other options. There is an RV salvage yard here in Phoenix, and we thought we might be able to find a decent set of seats there. Unfortunately, we didn’t find any decent ones with the features we were looking for. More research ensued.
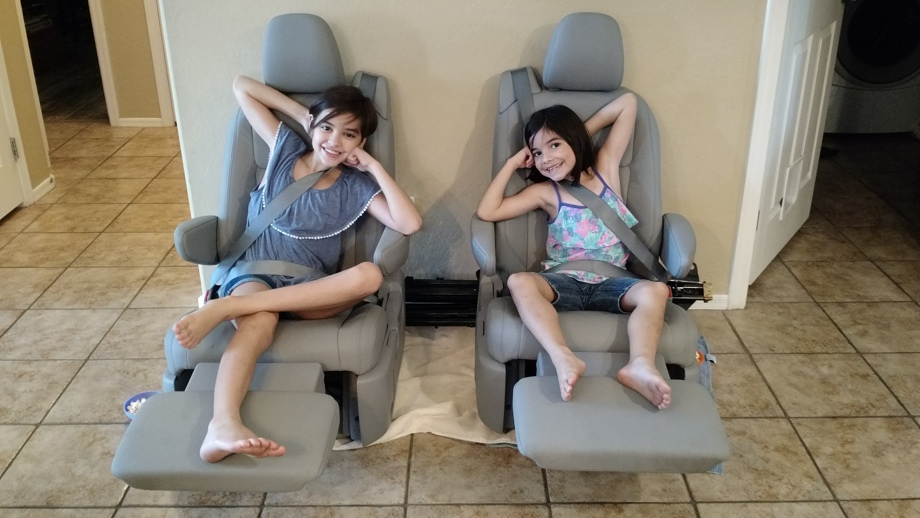
Finally, Juan landed on an overlander forum with our answer. People were getting seats out of Toyota Sienna vans and installing them in their overlanders. Funny enough, we actually have a Toyota Sienna SE, but the Sienna Limited second-row seats have a special extra feature. Footrests! Yes! Just what I wanted. These chairs checked off all of our needs and wants for RV chairs. First and most important, they have built-in seat belts with the shoulder strap. This was our number one need. Some other features we love are the fact that they recline, are leather, have two armrests (unlike many seats from cars that only have one armrest), and of course the bonus footrest. We knew we could figure out a way to mount these to our current chair pedestals. The hunt was on for these Toyota Sienna Limited second row chairs.
When we looked on Toyota website, the seats brand new were something like $3000 each. Luckily, we found them on eBay, and the company selling them was local. Perfect. This company gets brand new Sienna seats from another company that removes the second row of seats from the van to make it wheelchair accessible. We drove into Phoenix and picked up two brand new seats exactly like we wanted for $800 for the pair. The seats also came with the rails that would normally mount the seats into the van floor.
UPDATE - I guess the guy no longer sells on eBay - No worries - I have the information to his actual place:
DAW Seats
2516 E Jackson St, Phoenix, AZ 85034
PHONE: (480) 634-3618
Finally, the time came to start the installation. For this project, we were only installing the passenger seat. We were ready to try to get the bus across the border into Mexico again to take it to the painter. This time, a bus friend was going to come with us and we needed a safe place for him to sit on the drive down. After finishing our walls and interior “RV mock up”, we had a couple of days before we were to go to Mexico, so we took a day and got the passenger seat installed. (We will install the driver’s seat later).
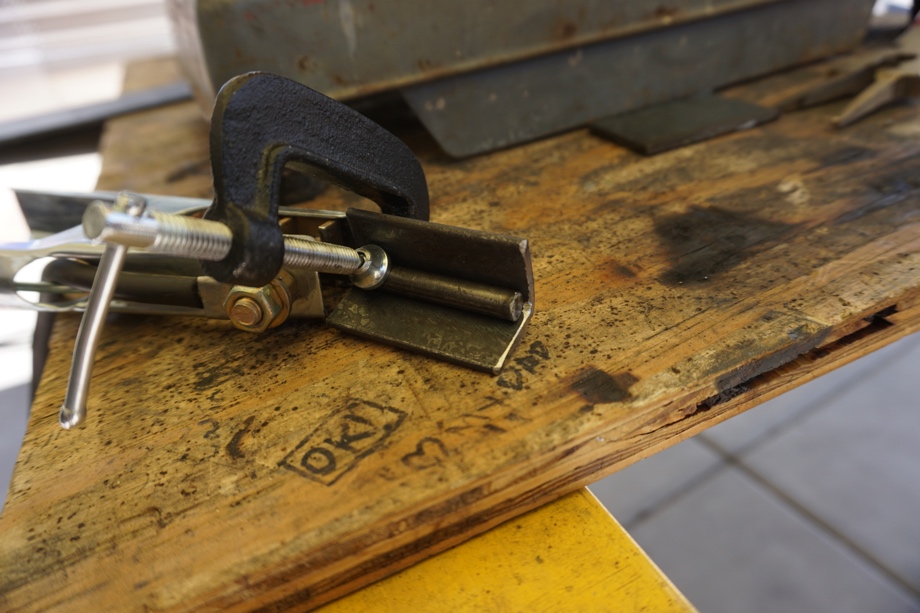
We planned on using the original rails that came with the chair, modifying them, and mounting them onto our existing chair pedestal. The chairs clamp onto small rods on the rails. Then, when you want to remove the chair from the van, you simply lift a lever in the back of the chair and it opens the clamps and you can pull the chair off of the rails. We really wanted to retain that feature. It would be nice to be able to remove the seat without unbolting the entire pedestal, especially if we ever need to get the chair out of the way if we are bringing something large in or out of the bus.
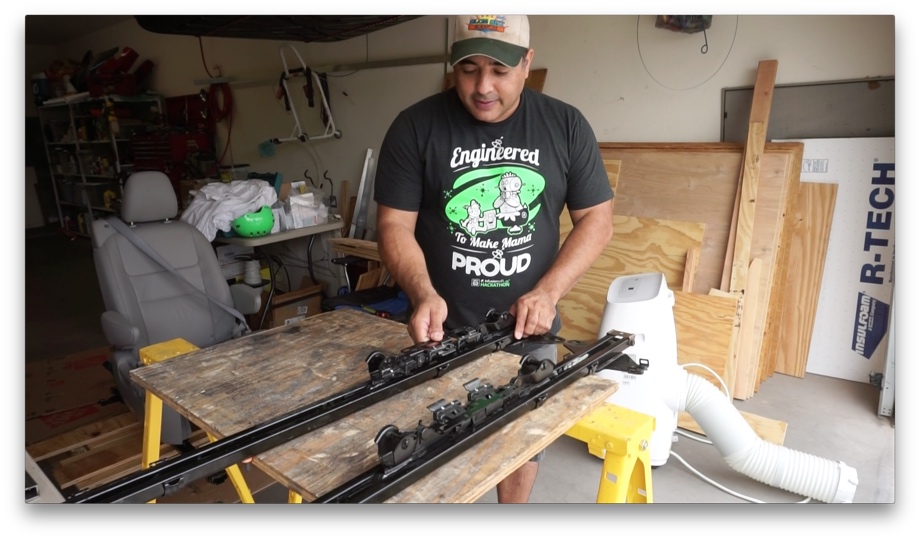
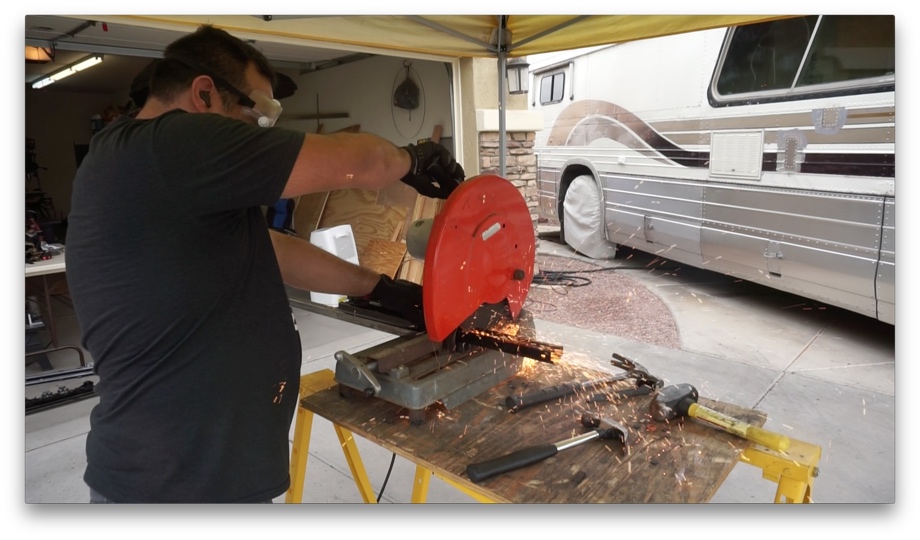
However, as things sometimes (or in our case, "usually") go, Plan A didn’t quite pan out. The rails made the chair sit too high off the pedestal. Plan B to the rescue. We cut and welded up our own flat mounting bracket with rods and attached it to the pedestal.
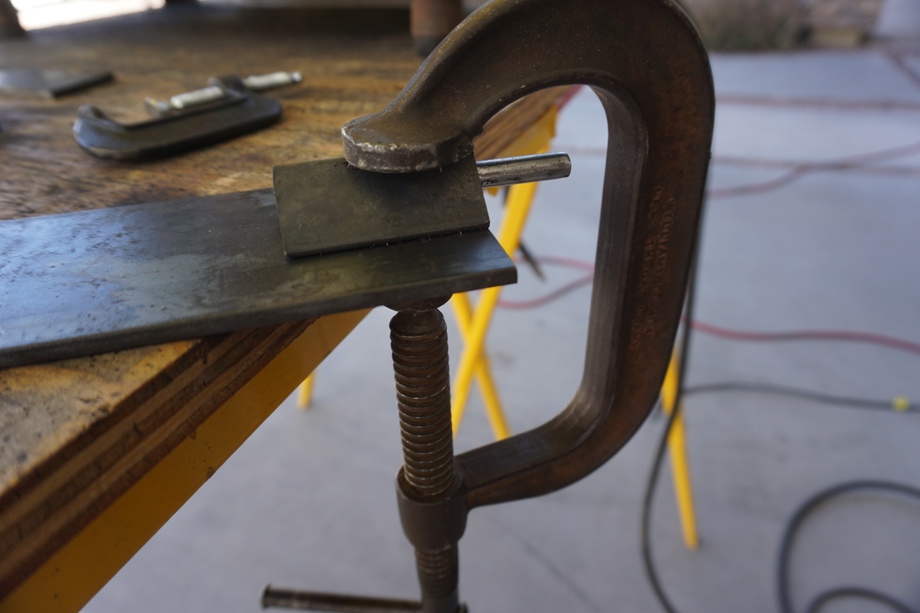
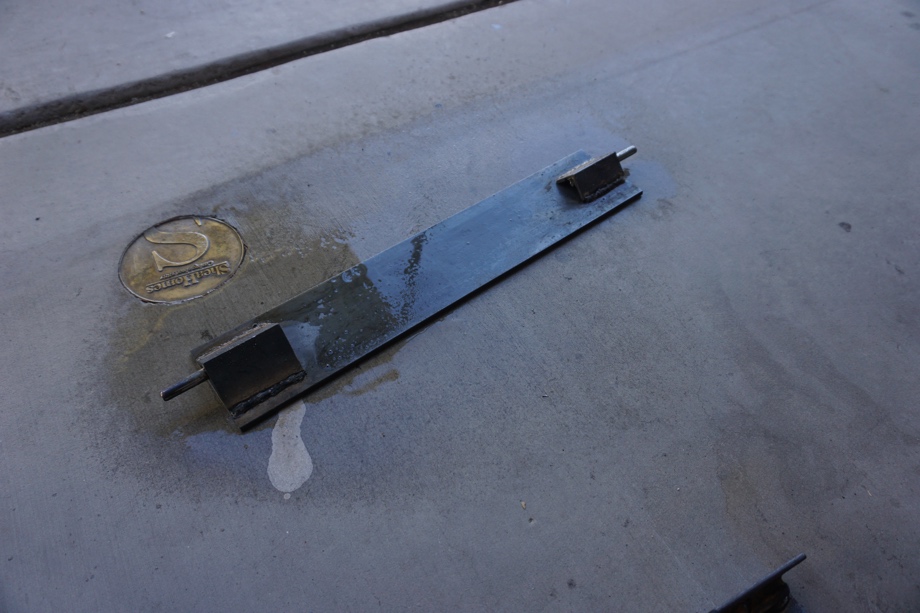
This brought the seat back down to the correct height. One last note, by reusing the existing pedestals, we were able to retain their best feature - they rotate. So, when we aren’t driving, we will be able to turn the chairs around to face toward the living room. Then we can recline the seats and put the footrests up and have more “livable” seating.
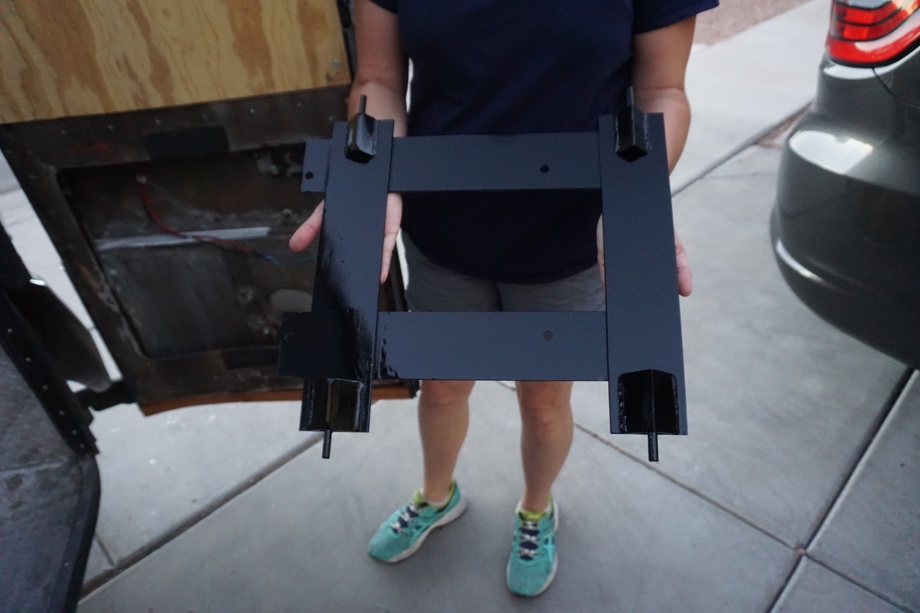
After putting a coat of paint on the new mounting bracket, we installed the pedestal and bracket and then simply had to snap the chair into place.

We left for Mexico about five minutes after the chair was in place.
Next up: Find out what happened on our second attempt to take the bus across the border.
Watch the video:
Click here If you cannot see the video.

0 Comments
Comments powered by Disqus