


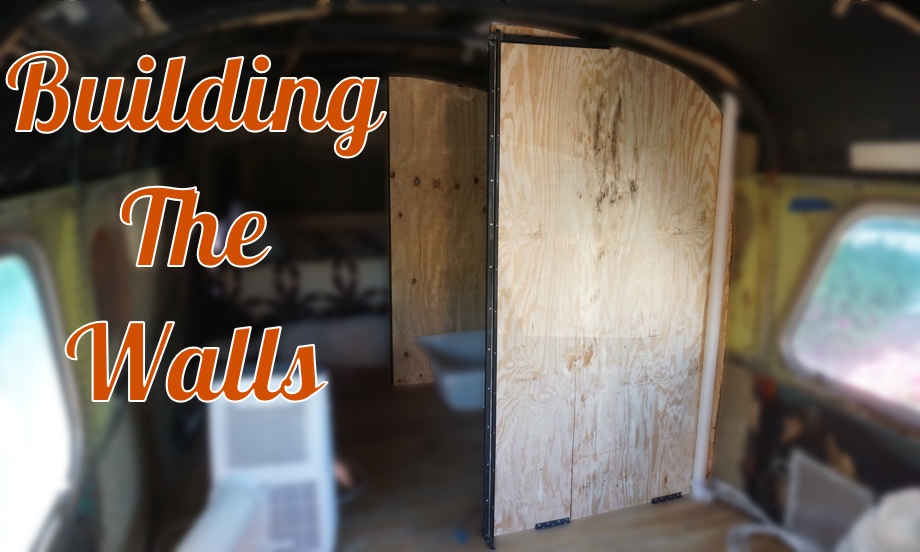
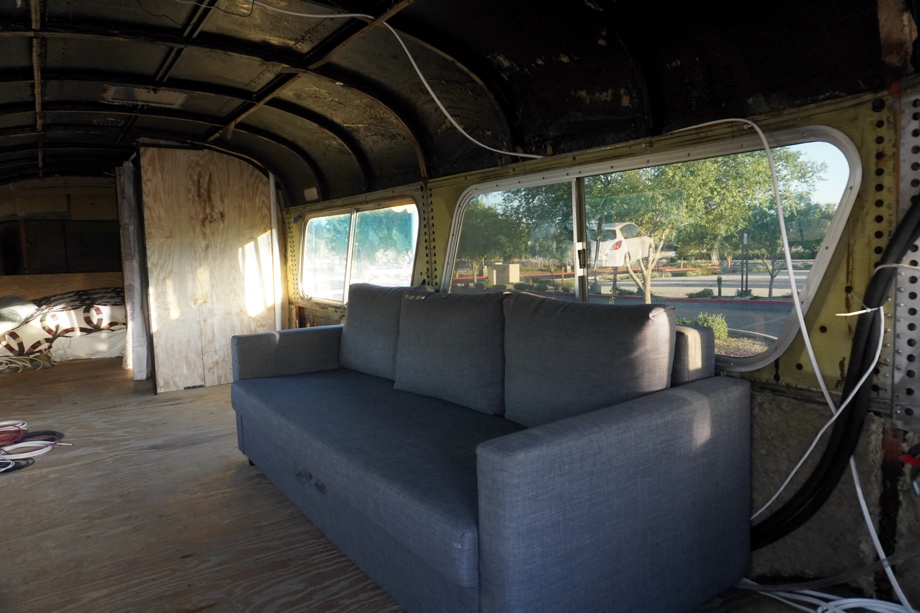
After being denied border crossing into Mexico when they said the empty bus (though it is registered, titled, insured as an RV) was too much bus and not enough RV to enter, we knew we needed to throw together a temporary interior. We had a couch that we could put in. Hey, look, a living room! A friend gave us an old mattress that he was getting ready to throw out, so we put that in the back with a quilt and pillows. Great, a bedroom! Last up to get it to the painter in Mexico was a bathroom. We needed to build the bathroom walls. That was the project.
We are planning on building pocket doors on either side of our walk-through bathroom. We already had built and installed the mounts for the pocket door tracks. In order to make our mocked-up bathroom, we decided to simply build the walls on the interior of the bathroom. Eventually, the pocket doors will slide in between this wall and another on the opposite side.
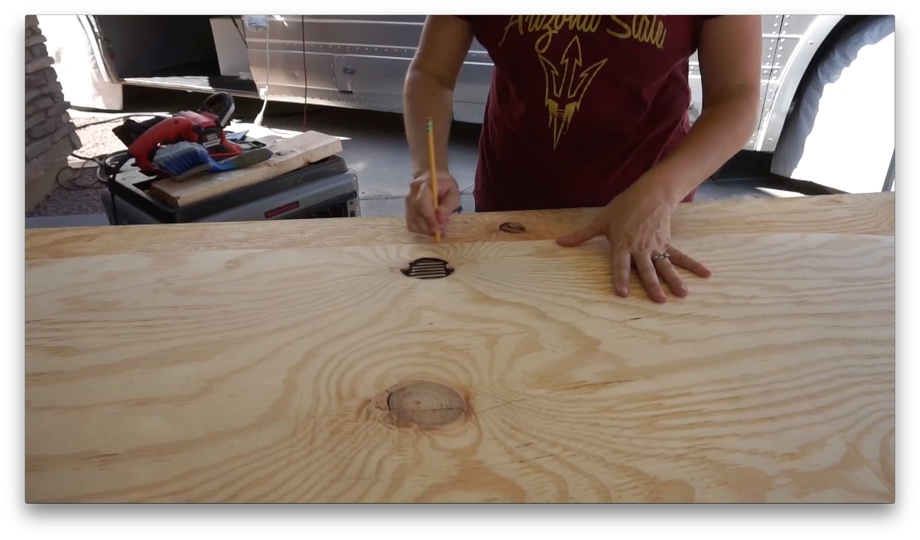
We have decided that we will make the interior walls out of ½” birch plywood supported by a vertical piece of ¾” angle iron that is anchored through the subfloor and welded into the pocket door mounts on the ceiling. We knew that the most difficult part of making the walls would be cutting the curve of the ceiling and wall - yes, even the wall has a curve to it. The birch plywood is about twice the price of cheap ¾” plywood (and we have several leftover sheets of the cheap stuff), so we decided to try our first attempt at cutting these walls with the cheaper plywood. We didn’t want to screw it up on the more expensive wood.
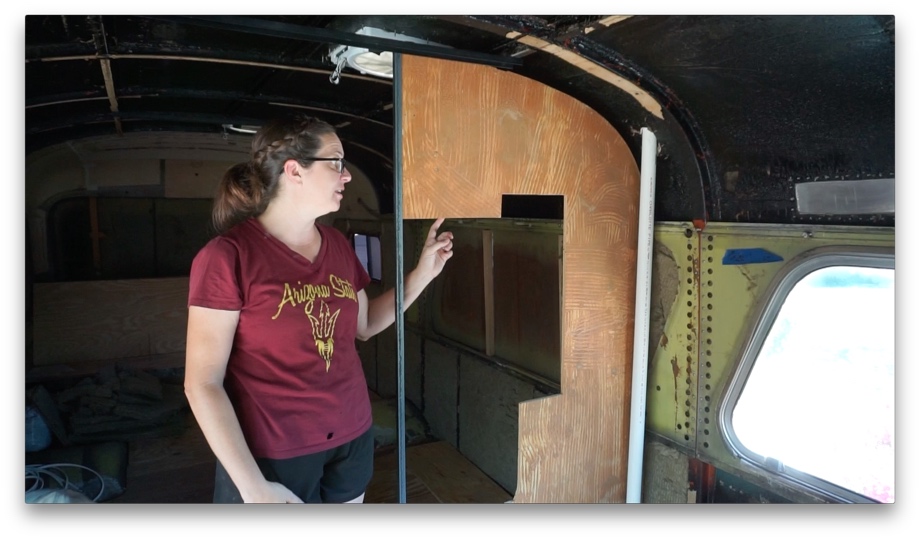
When we initially tore down the previous owner’s interior, we saved an interior wall to have as a template for the curve of the roof. It was pretty close to correct and was a good starting point, but it didn’t line up well on the wall and our ceiling will be different than the previous one so we needed to make some adjustments.
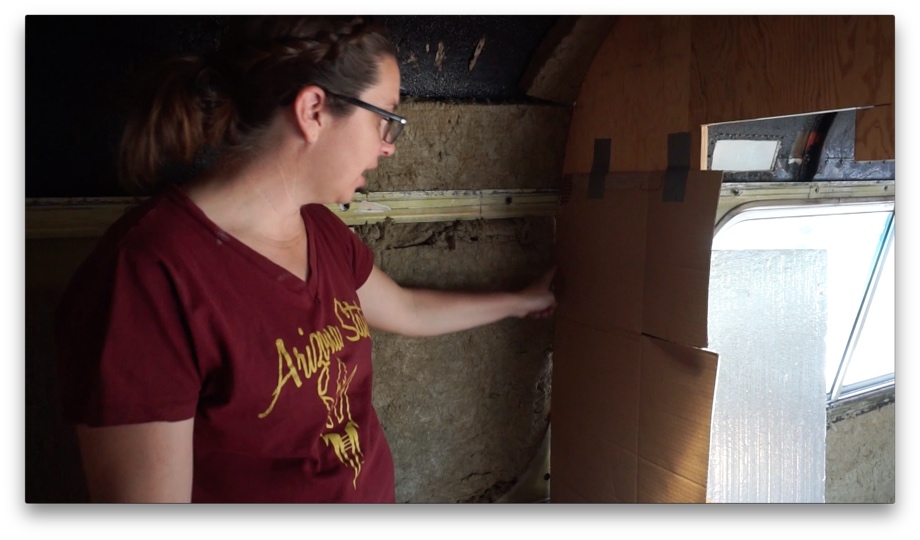
Cardboard is a great tool for making templates like this. We stood up the old wall and taped some cardboard to the places that we needed to fill in. Then, we cut the cardboard the way we wanted the final wall to be shaped.
Finally, we laid that wall/cardboard on the sheet of plywood, traced, cut, and hoped for the best.

After a few tiny alterations, the wall fit great.
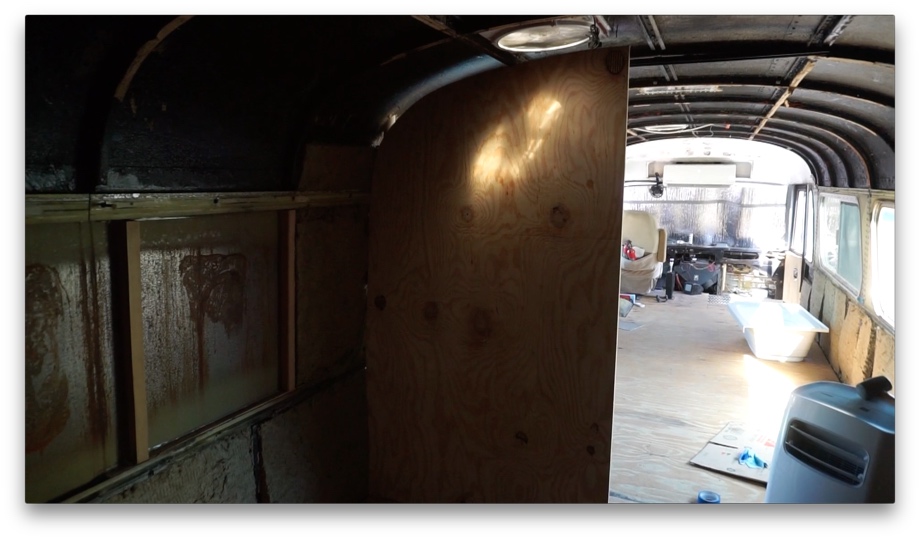
We then used that new wall to see if it also fit on the other side of the bathroom. You just never know with these buses - a curve in one place can be slightly different than a curve a few feet away. We knew we couldn’t just make the assumption that they would be the same. So we set up the first newly cut wall in the second space, and behold, it fit! We used the new wall to trace and cut the second wall.
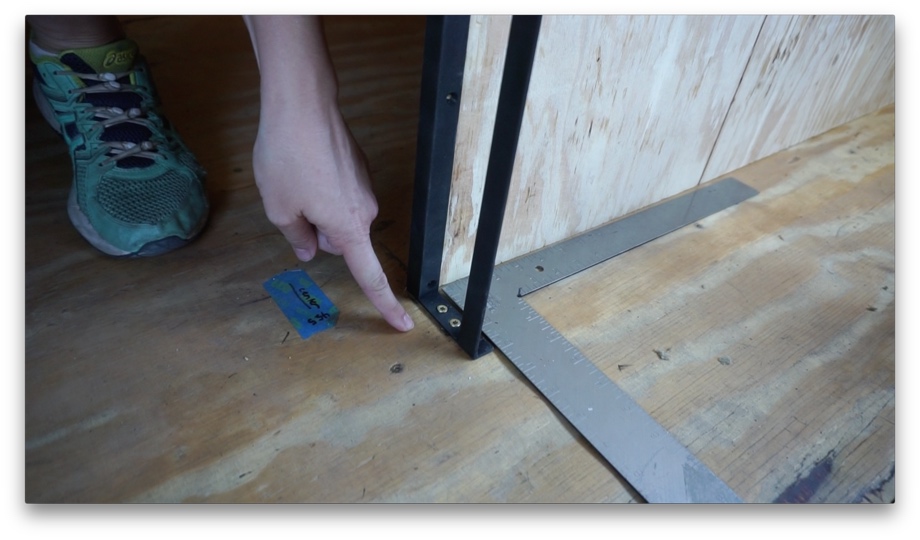
The next part of the project was to make the vertical angle iron supports. Even though we are only doing the interior walls for the pocket doors right now, we had to make the vertical supports for the exterior walls now as well. After measuring and cutting the angle iron, we drilled holes to allow us to screw it into the plywood walls.

We decided to weld a small flat piece of metal to the bottom of each vertical support, essentially creating a tall u-shaped piece. This allowed us to screw the whole thing down into the subfloor through that center flat piece.
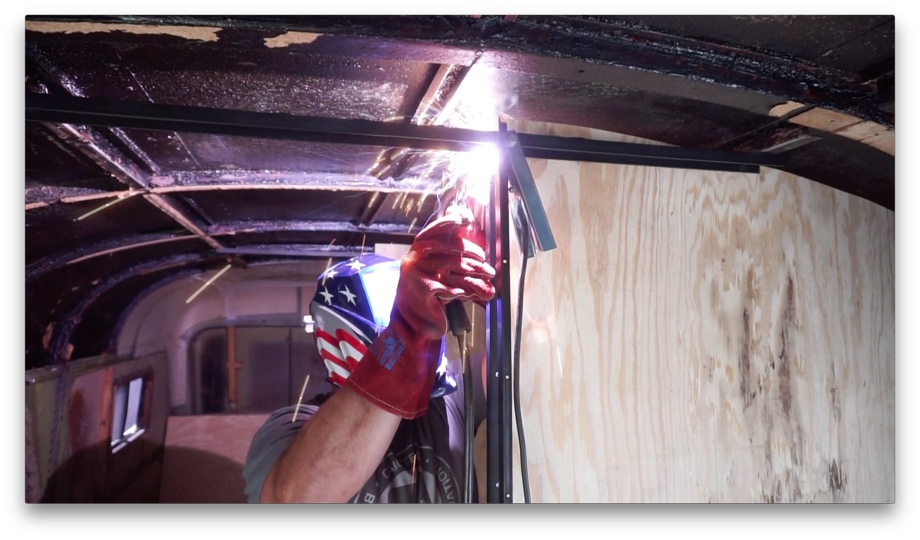
The tops of the supports then got welded into the steel mounts we made for the pocket doors.
We screwed the walls in and made some additional supports along the bottom of the walls. Finally, we installed the toilet and hung a curtain across the “bathroom” and then called it done ... for now.
Is it “RV” enough for Mexico yet? Coming soon...
Watch the video:
Click here If you cannot see the video.

0 Comments
Comments powered by Disqus