Last month, we shared with you how we had to backtrack in order to figure out where to drill the hole for the toilet plumbing. The placement of the toilet was dependent on the wall. The placement of the wall was dependent on how we mounted the pocket door hardware. So, we had to figure out the pocket door hardware before we could do anything else.
We will get to that in just a minute.
Let me start by explaining a bit about our planned layout. The front of the bus will be our living room (i.e. two couches facing each other, one of which will pull out and be our bed). Next will be the kitchen and hopefully a small desk space. Then, there will be a walk through bathroom with closets on one side and the shower, toilet, and tiny vanity on the other side. Finally, the kids’ bunkroom will be in the back. Our plan is to put a pocket door between the kitchen and bathroom and another pocket door between the bathroom and bunkroom.
The original layout of the bus was similar, with a couple of main differences. First, the bus was built for just two people, not a family with children. So, the back was the master bedroom. Also, the bathroom was enclosed with an interior wall. The door to the bathroom opened and then closed off the hallway. It just made it feel so extremely cramped in the bathroom and also in the teeny hallway passing through from the kitchen to the bedroom.
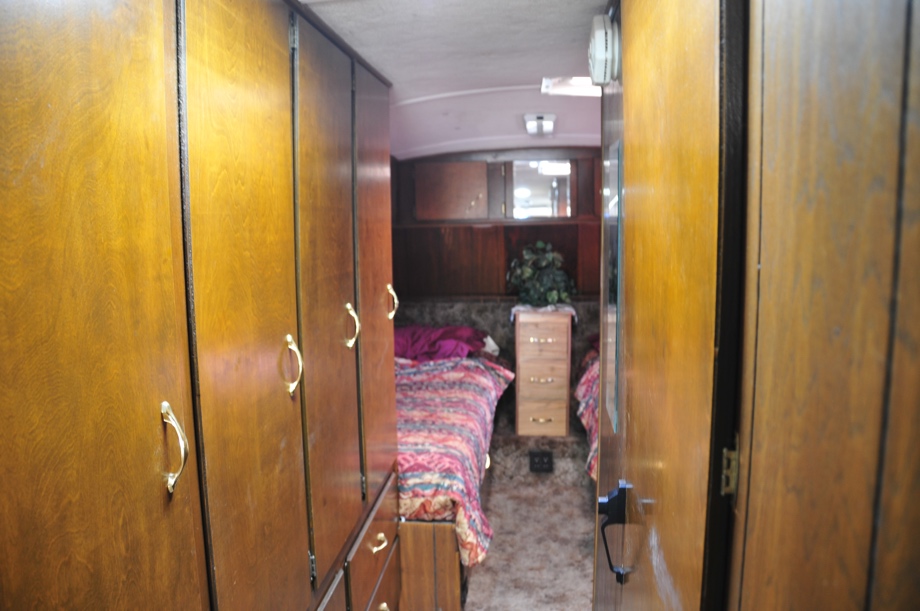
We decided pretty quickly that we didn't like the interior wall of the original bathroom, and we thought the walkthrough bathroom with a pocket door on either side made a lot more sense for our large family. We will discuss more of our ideas and thoughts behind the layout when we get to the actual interior build-out, but for now, let's get back to the pocket door.
We could choose to put in regular swinging doors, but pocket doors seem like a better solution for us, taking up both less physical and visual space. The bonus is that we can enclose our vent pipe in between the two walls the pocket door goes into because the door doesn’t go all the way to the side bus wall.
Alright, now that you have an idea of where we are going with all this, let’s get back to the pocket door hardware. This is a bus. The roof is curved. Pocket door track is straight. And it’s made to be mounted on a wood header. Ha! We needed to find a secure way to both mount the track and hold the weight of a door. We decided to make our own steel c-channel that we could secure to the ribs in the ceiling. Then, the actual pocket door track could mount inside that. In addition, we will be adding a vertical piece of angle iron on either side of the c-channel that will both support the walls and support the weight of the door pulling down on the ceiling hardware.
To create the c-channel, we took two pieces of ¾” angle iron and cut them to length to be secured to the roof ribs. Then we lined them up with the pocket door track to get the correct distance apart.
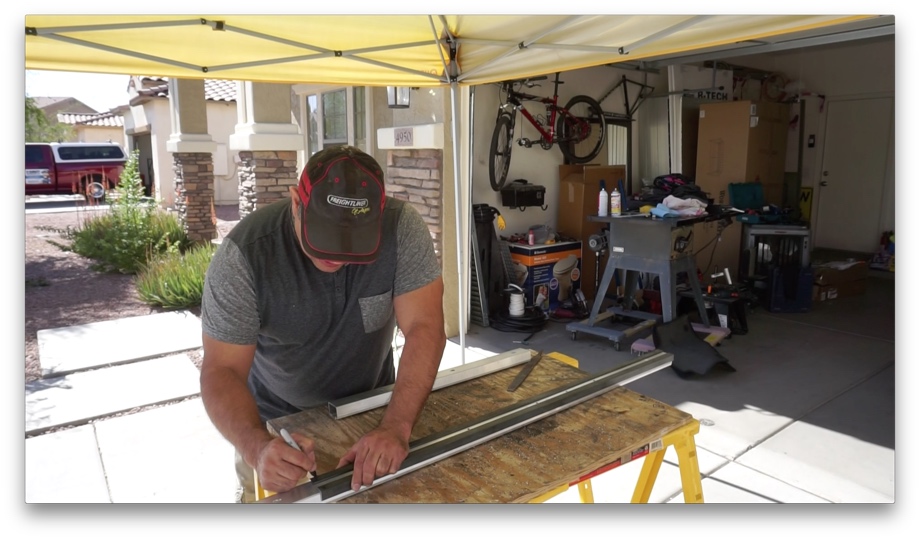 We put a little scrap piece of 16 gauge aluminum next to the track to give us a tiny bit of wiggle room. We didn’t want to make it so tight that the track gets stuck. With the correct width, we marked where we needed to weld cross-brace pieces based on where the mounting holes were in the track. We cut those pieces and used a scrap piece of the track to clamp everything in place.
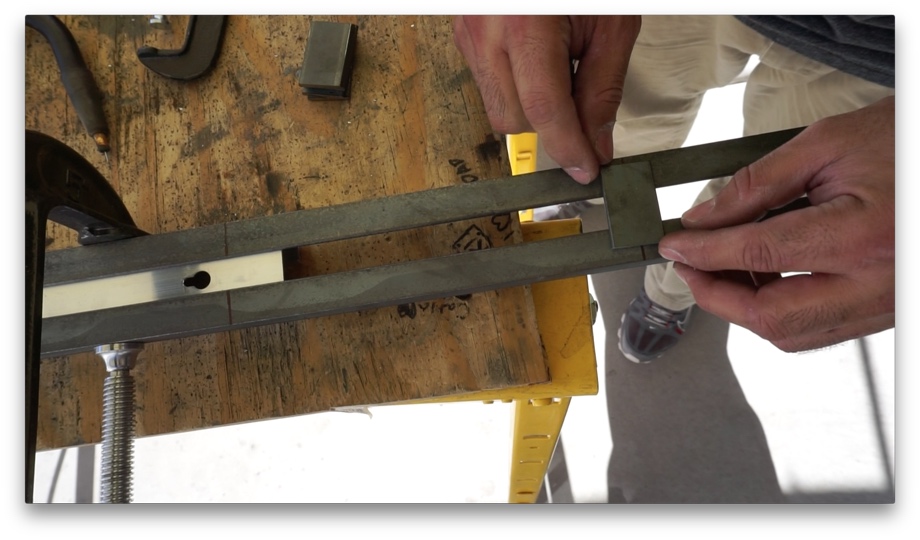
Then, Juan tack welded in all of the cross brace pieces. We made sure that everything still fit and lined up, and then he welded it all in place.

We took the channel into the bus, drilled holes in the ribs, marked where the holes in the c-channel needed to be and drilled those holes on the drill press.

We double checked again that everything would line up, and then we sanded it down and painted it. Actually, Catia painted it. All the kids love to help with whatever projects they can, and she’s getting pretty good at spray painting.
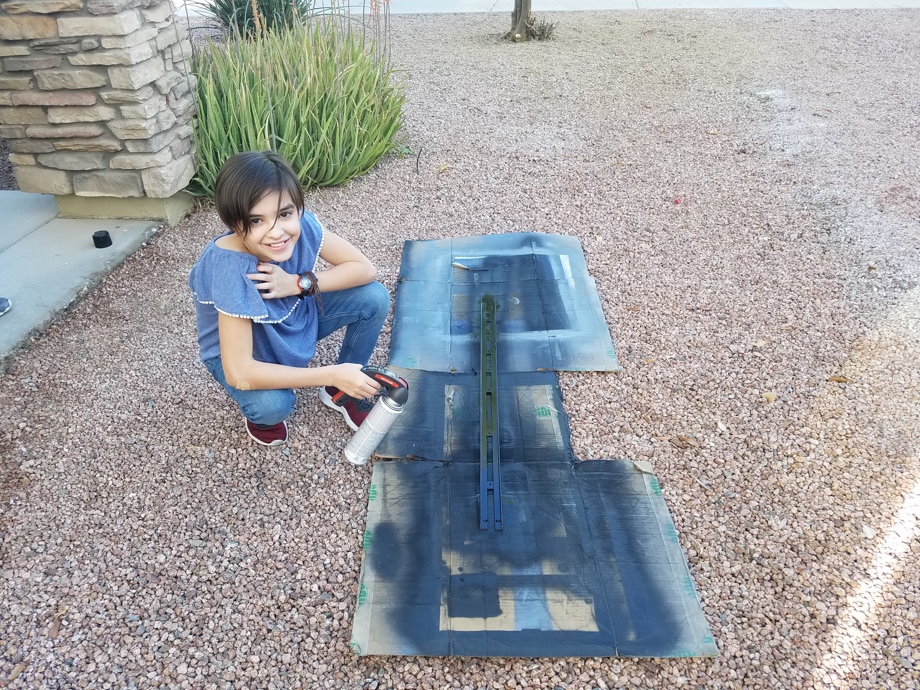
While we won't actually build the walls or pocket door for a while, we were able to go ahead and secure the c-channel into the ceiling.

Then, we mocked up a wall in place against it. That allowed us to place the toilet where it will go so that we could drill a hole for toilet plumbing, all so we could know where the waste tank would be so we could secure the tank so we could start the rest of the plumbing.
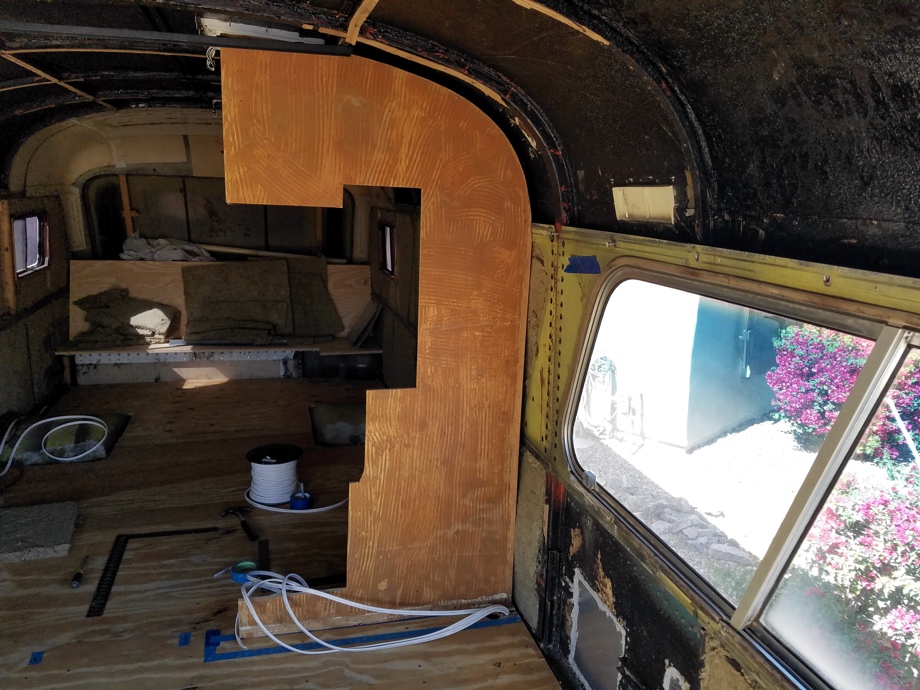
In fact, we have actually already made the second pocket door c-channel (for between the bathroom and bunkroom), because...we have to know where the wall on the other side of the bathroom will go so that we can know where the bathtub will go so we can know where to drill the hole for the tub drain so we can do that plumbing.
Whew! It makes my head spin sometimes. But, with each little project, we are getting one tiny step closer to the dream of traveling. Cheers to all the RV renovators and bus converters out there grinding it out to make your dreams come true!
Watch the video:
Click here If you cannot see the video.
Parts We Used
Johnson 100PD Commercial Grade Pocket Door Hardware
Johnson Soft Close Hardware Kit
3/4" x 3/4" x 1/8" Angle Iron (We bought this at a local metal store)
3/4" x 1/8" Flat Stock (We bought this at a local metal store)




0 Comments
Comments powered by Disqus