


Paint Update
As many of you recall, we dropped the bus off to our painter in Mexico in mid-June to get painted. Mexico has had very heavy rain in this last monsoon season. This is very good for Mexico - very bad if you want to get a bus painted. As the weeks turned into months, we anxiously awaited updates on the progress of our bus and the rain continued to fall. The painter has been very good about providing updates and pictures of the progress. A few days ago, the painter texted and was very excited to announce that they had started to spray the bus! The following series of shots represent the updates:
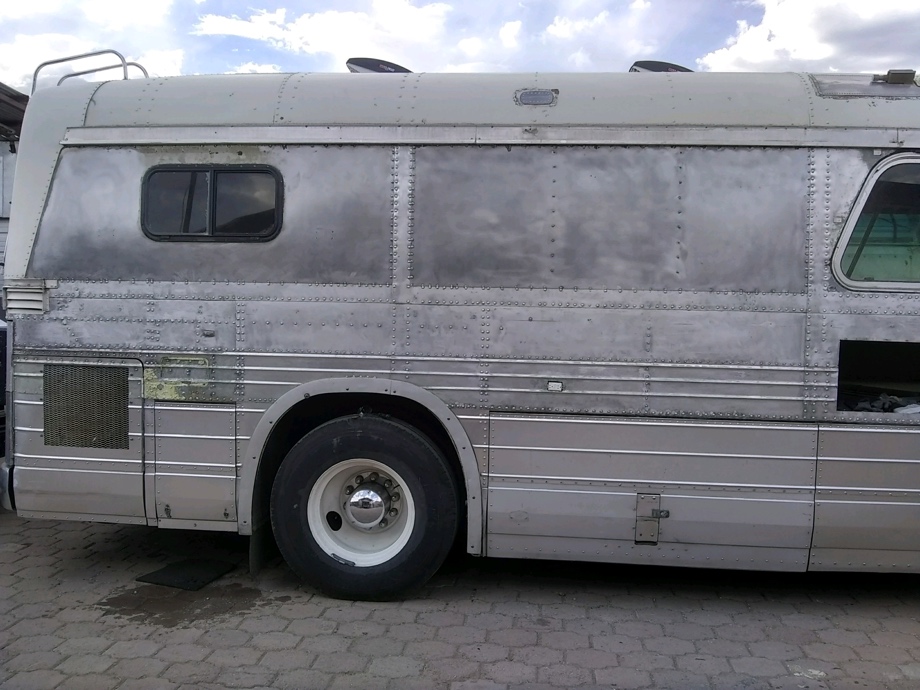
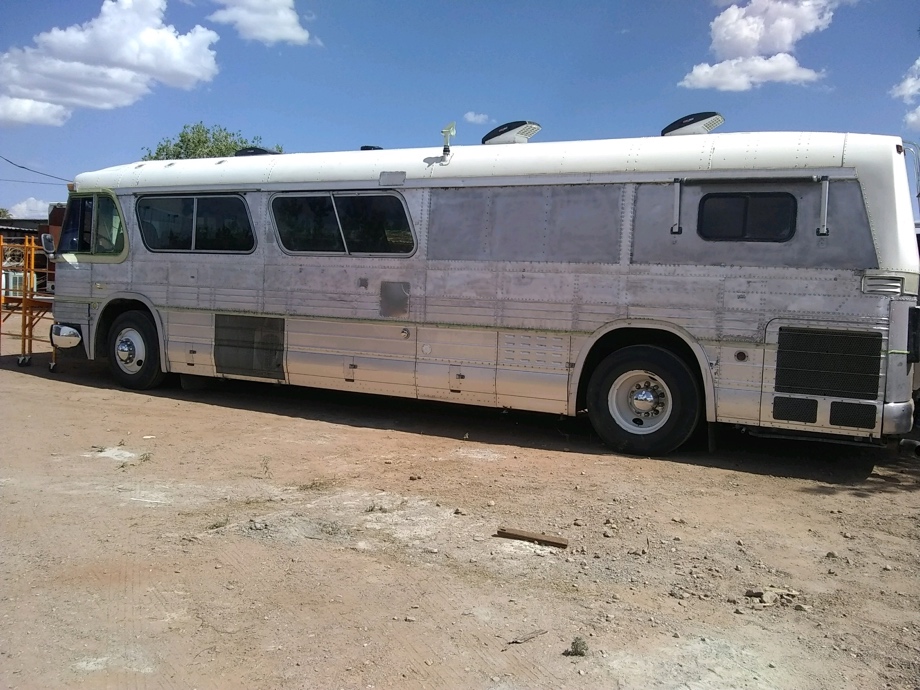

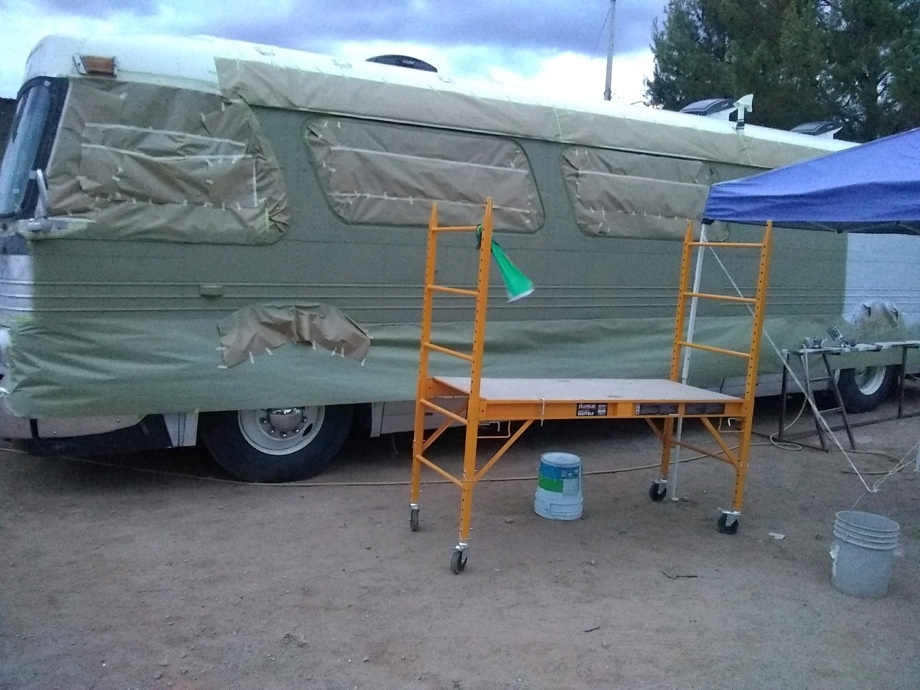
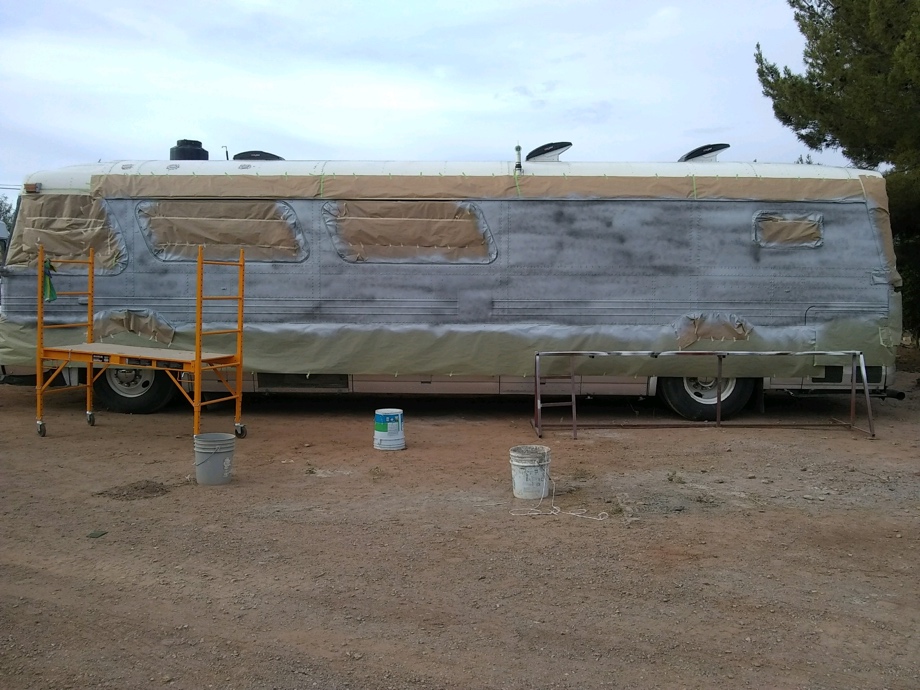
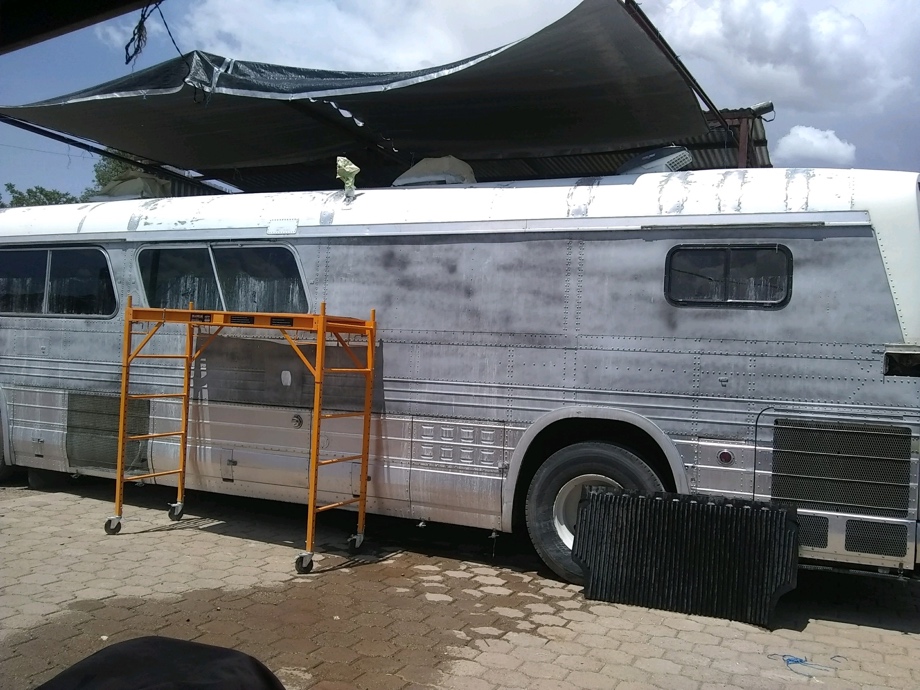
Of course, the progress could not be made without some hiccups. The bus needed much more bodywork than he had anticipated. Originally we had not intended to strip the bus all the way down to the bare metal, but there were so many layers of paint that it really needed to be stripped. There was also an issue with the headlight buckets. When the painter went to remove them, they were so rusty he was afraid they were not going to be able to be remounted.
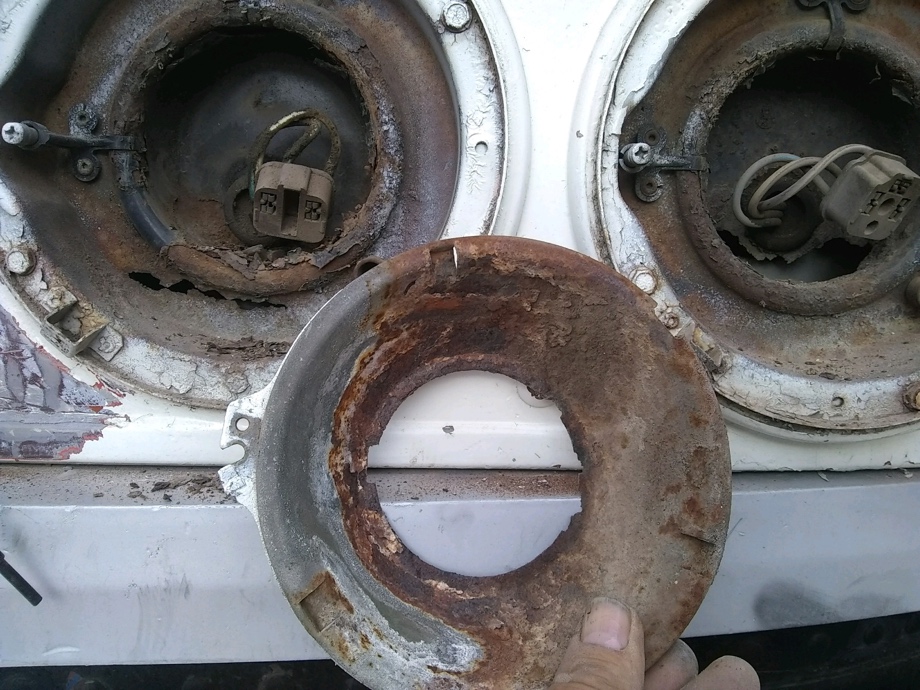
Fortunately, a bus friend in California had some he could part with and sold them to me at a very fair price. With all that out of the way, the bus is now well into being painted and we expect that sometime in the next two weeks we will be taking a trip down south to go bring her home!

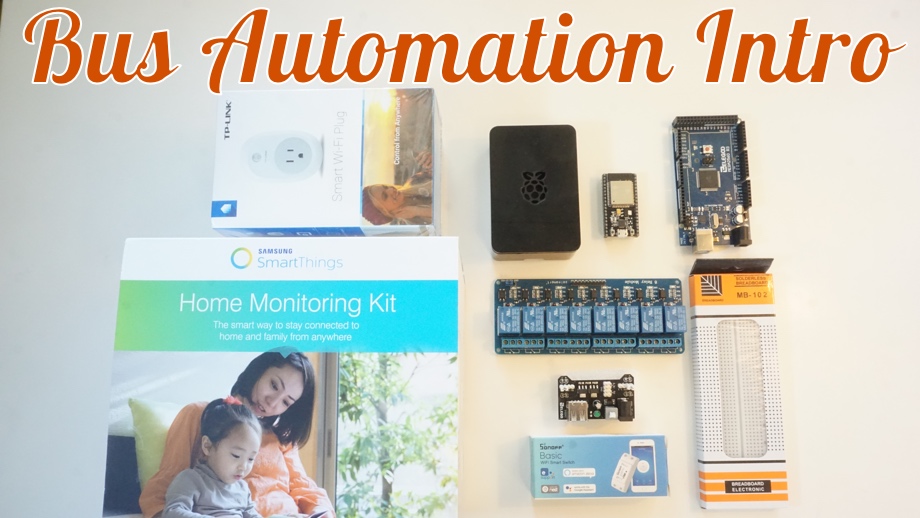
Bus Automation
With the solar complete the next "big" project on our plate is figuring out how we want things inside the bus to function. This includes how we want the lights and electrical to work and how we need to run the wiring. After doing a load of research, we discovered that we might be able to make some home automation components work really nicely in the bus. If we can make this work, it will reduce the internal wiring, specifically for the lights and switches. Home "bus" automation will also allow us to monitor and control things when we are away from the bus.
Currently, we are in the beginning stages of researching, planning, and purchasing products to play with. We thought we would share with you what we have learned so far.
Big Issues
The three most popular hubs at the time of our research are Amazon Alexa, Google Home Hub, and Samsung Smartthings.
There were a couple of major issues that we discovered almost immediately when we began the research.
- Standard RV lighting is not usually 120 Volts AC like in a house. RV lighting is typically 12 Volts DC like a car system. Unfortunately, most smart home stuff is designed to run on 120 Volts AC.
- Many home automation platforms require full-time fast internet to work properly. In a modern house with a fast, reliable connection, this is not an issue. RV parks, however, are known to have pretty terrible connections, and boondocking connections can often be limited. This is a much larger concern.
These two issues alone made going with the three most popular home automation platforms a non-starter.
With this realization, we started to consider that we might have to make something "home grown". Our needs are not extremely complicated, and this is mostly an exercise to see how we can simplify the wiring inside the coach anyway.
![]()
Fortunately, a little more research led us to an open source project called "Home Assistant". When I read the creators vision for "home automation", I knew this was the platform we need to be using. Their pragmatic approach to home automation aligns perfectly with what we are trying to accomplish.
Of course, Home Assistant needs a machine to run on. It can run on many different pieces of hardware, but one very popular thing to do is run it on a dedicated Raspberry Pi. Raspberry Pi is basically a computer on a very small board that is surprisingly powerful (1.4 GHz quad-core processor) and inexpensive (around $35). It runs the Linux operating system, and there is even a dedicated image for the Home Assistant project.

One of the most exciting technologies we discovered was MQTT. MQTT was originally developed by IBM in the late 90's. It is designed for connecting remote locations where network access and bandwidth is limited and where a "small code footprint" is needed. The Internet of Things (IoT) has adopted this protocol as their main means of communication. It turns out that this is a perfect fit for small devices needing to communicate with each other.
![]()
MQTT is awesome but still a bit "raw" in its native form. Enter Node-Red - which provides a graphical programming interface and drag and drop capability for interfacing with MQTT. It also provides a visual flow for the automation and a full-blown javascript programming language interface.
![]()
Now that we have most of the platform pieces figured out, we need a way to actually implement some of the things we want to do. Hardware for this has to be easy to program, flexible, inexpensive, readily available, and networkable. Arduino platform fits this set of criteria almost perfectly. Arduino boards are fully programmable with many example "Sketches" available online and huge communities behind them. There are a multitude of libraries and routines written to interface with the Arduino and allow it to function with numerous sensors and devices.
As awesome as Arduino is, there are a couple of key components missing that pushed us into yet another platform. The ESP-32 is a very inexpensive "controller on a chip" that has full Arduino stack as well as a whole bunch of other features built in. Some of the major ones for what we are doing are:
- Dual Core 240 Mhz 32-bit CPU
- Built-in wireless connectivity - Full Wi-Fi (802.11 b/g/n) + Bluetooth (v4.2 BR/EDR and BLE)
- Hardware supported PWM functionality (up to 16 channels) - this is very important when trying to "dim" LED lights or control how fast a motor is running
- 10 built-in touch sensors (capacitive sensing GPIOs)
- Ultra low power "sleep" mode (using only 5uA of power)
Now that we have most of the technology pieces sorted out, we need to start building some prototypes of how things might work in the actual bus. We are excited to share what we learn along the way.
Watch the video:
Click here If you cannot see the video.
Parts/Technology We Used
 Home Assistant
- Raspberry Pi
- MQTT protocol
 Node-Red
 Arduino
- ESP32 by Espressif
CanaKit Raspberry Pi 3 B+ Premium Kit
Arduino Mega 2560 Most Complete Ultimate Starter Kit with Tutorial
ESP 32 Development Board
Electronics Fun Kit, Breadboard, wires, Resistors, LEDs
8 Channel 5V DC Relay module expansion board
Agoal Sonoff Wifi Switch


0 Comments
Comments powered by Disqus