


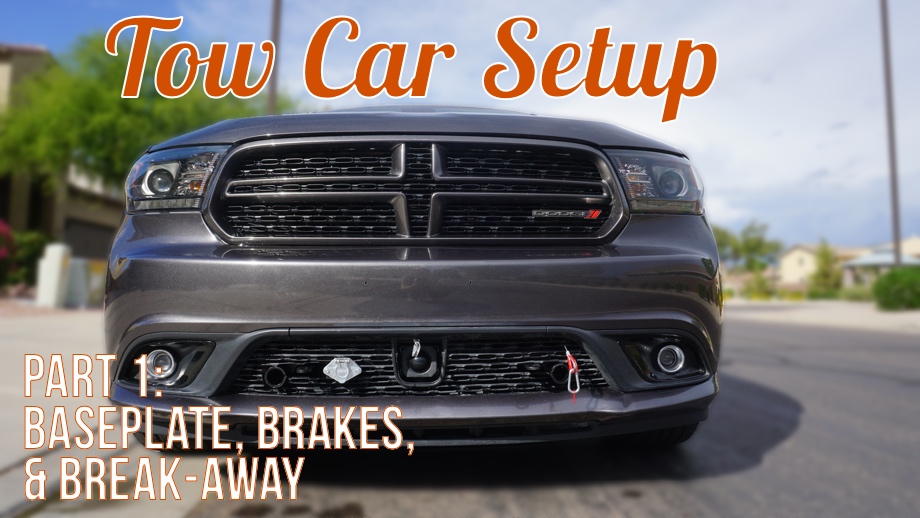
While we are still waiting to pick up the bus from the painter, we have been keeping busy. We spent the summer building our solar rack, then we spent several weekends working on projects around the house in preparation for selling it, and this past weekend the time came to set up our tow vehicle.
For the last five years, we have driven our beloved Toyota Sienna. We never thought of ourselves as “mini-van people” until we got one right before our fourth child was born. We seriously love that van. It has been easy, comfortable, and hasn’t given us a single problem. Unfortunately, it isn’t a good candidate to tow behind the bus. In order to flat-tow this vehicle (four wheels down), it would require thousands of dollars of work to the transmission (requiring an auxiliary pump to be running while it is being towed). The other option is to put it on a tow-dolly. The particular trim package we have, the SE, has lower ground effects than other trims on the Sienna and when the front end is put on a dolly, the rear end nearly touches the ground. The other issue for us is that we really don’t want to have to deal with stowing a tow dolly when we are parked. Lastly, we really wanted to bring a 4WD vehicle with us to make it easier to scout boondocking locations or just go on fun off-roading drives without the bus.
After much consideration, we made the decision to look for a different vehicle to tow behind the bus and be our main vehicle when we are out and about while traveling. Our requirements were that it needed to be able to be flat-towed and preferably be 4WD, but the main thing was that it had to fit six people minimum and hopefully still be able to fit a load of groceries. That last issue definitely limited our options. We narrowed it down to a few choices and then finally settled on the Dodge Durango.
One quick note: not all Durangos are able to be flat-towed. The best resource to use to research what types and models of cars are able to be towed is the Dinghy Towing Guide. Based on the research we did, we knew that only Durangos with the V8 engine that are AWD are able to be flat-towed because the 2-speed transmission can be put into neutral. We were on the hunt. We never buy new cars, so we were specifically on the hunt for a 2014-2016 Dodge Durango R/T or Citadel AWD with the V8 Hemi. After searching for several months, we finally found a 2014 Durango R/T AWD on Craigslist being privately sold just about 3 miles from our house. While it’s got a few scratches here and there and needed a lot of cosmetic clean-up when we brought it home, it was what we wanted and needed so we made the purchase.
The next step was to decide on all the “gear” needed to actually turn this into our tow vehicle (or “toad” or “dinghy” as they are commonly referred to, but I don’t like either of those words...ha...so I just call it the tow vehicle). The main components for setting up a tow vehicle to be towed behind a motorhome are a baseplate, a tow bar, a braking system, an emergency break-away brake, and the tow lighting.
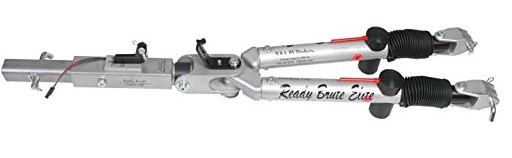
We chose the tow bar first. After a lot of research, we decided on the Ready Brute Elite. While most likely a tow bar from any of the major brands like Roadmaster or Blue Ox would have worked just fine, there were a couple of things that lead us to choose the NSA Ready Brute Elite. First is the reviews. All the reviews we read were fantastic. People really seem to like the product. Second, they have a lifetime warranty which the other two major brands do not have. Third, we liked the simple mechanical integrated brake system (which checked off another item on the list). A bonus was that it is less expensive than the cost to purchase some of the other tow bars plus a supplemental brake system. The emergency break-away brake also came from NSA.
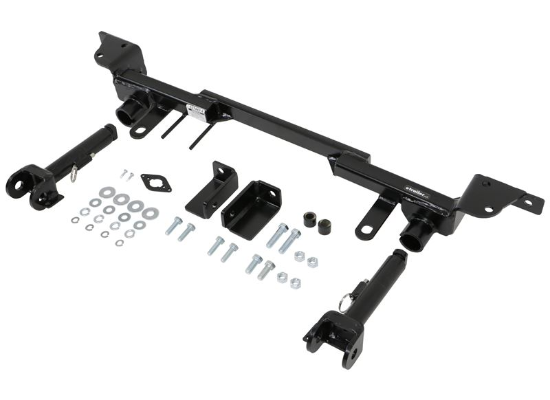
Unfortunately, NSA doesn’t make their own baseplates. Their tow bars, however, are made to work with different brands of baseplates by purchasing the correct clevises to attach to the end of their tow bar. We decided on purchasing a Roadmaster baseplate that is made to fit on our Durango.
Lastly, we had to figure out the tow lighting. We will cover that in more detail in part 2.
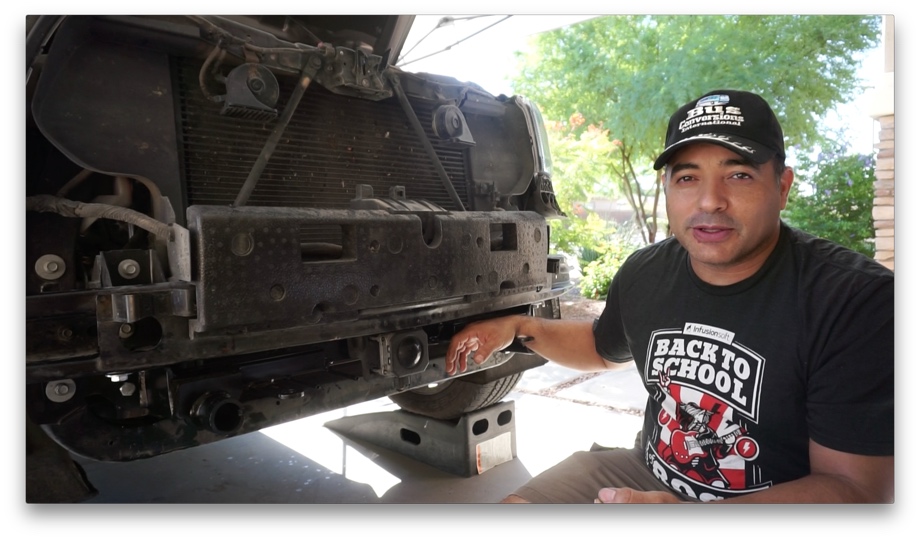
Okay, after all the research and planning, we had the car and all the supplies and were ready to go. How hard can this be, right? I mean, the baseplate is made for our car. We watched several videos of other people installing it. Shouldn’t be too bad. Ha! Well, after dismantling the whole front end of the car, we held up the baseplate to start installing the first couple of bolts. Those went in just fine. But, then we realized the holes for the next few bolts weren’t lined up. In fact, one of them was probably ½” out of alignment with the hole on the car. “Wasn’t this baseplate made for our model of car?” We decided to just drill out the hole on the baseplate a bit bigger, paint it, and try again. “Okay, that fits now. Let’s keep putting it together and bolting everything in.
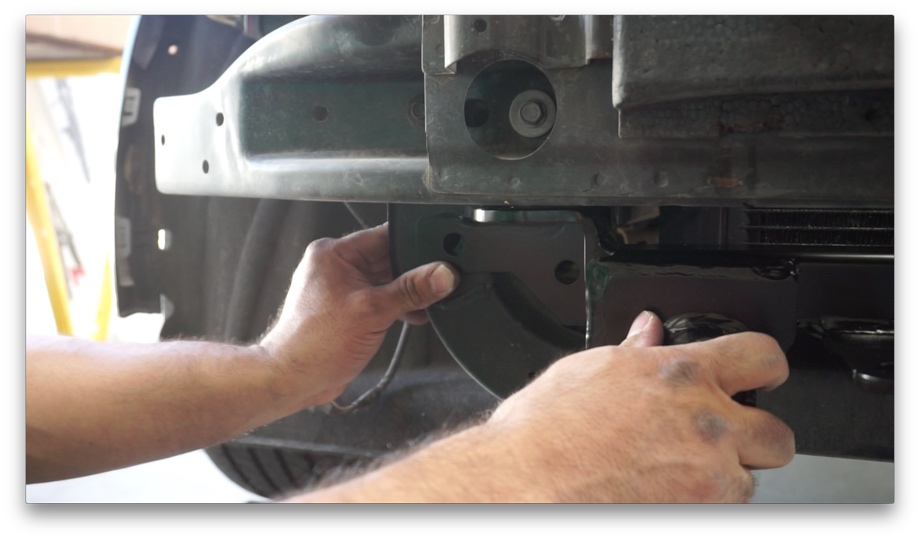
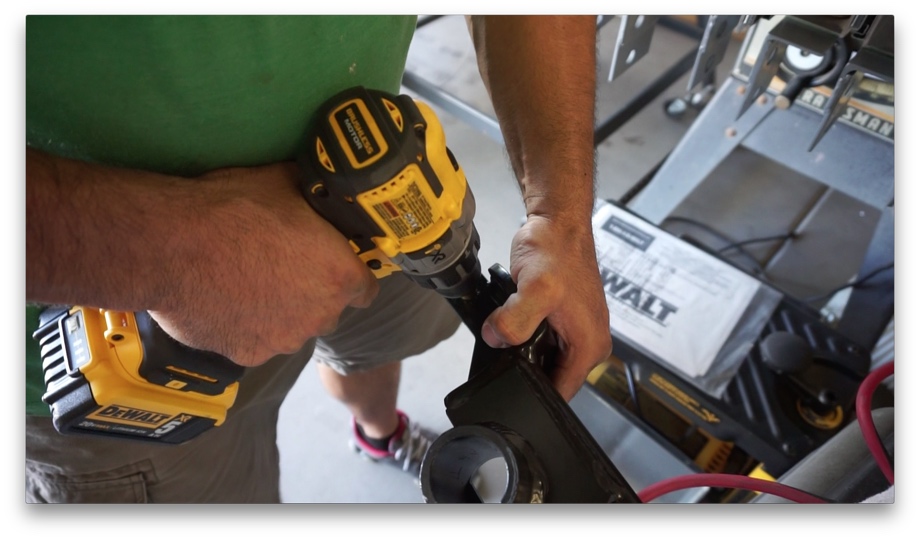
Hmmm, a couple of these bolts don’t seem to want to go all the way in.” They’re close. They were threading in four or five turns but then seeming to get stuck. “Yep, that bolt just snapped in half. The other half is stuck up in the hole.” Ugh...really? We looked at the instructions again to see what size bolt this says it was. 10mm x 1.5. We looked online at the Blue Ox instructions for their baseplate for our car just to cross-check. Yep, the bolts for that location are 10mm x 1.5. What’s the problem? Well, either way, we have to get some new bolts. So, Juan went off to the hardware store and confirmed what he suspected. Roadmaster had packaged 10mm x 1.25 bolts in with the baseplate. Right size, wrong thread pitch. Roadmaster, you need to up your quality control game. A misplaced hole and the wrong bolts? We ended up having to drill out that sheared off bolt that was stuck in the hole and then re-tap the two holes that we tried those wrong-threaded bolts in. Finally, after all those mishaps, we got the baseplate on. That took the whole first day. It definitely should not have been that hard, but if you follow our adventures at all you should know this is just par for the course.
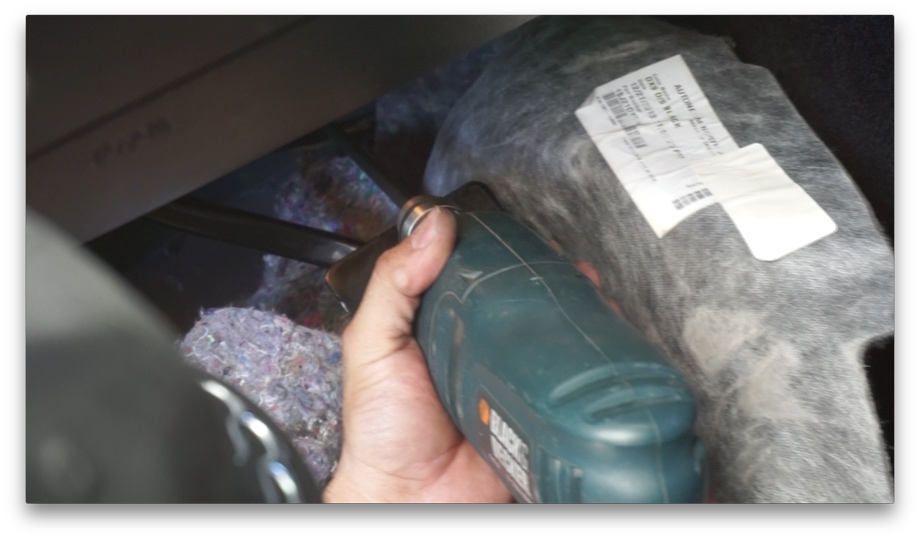
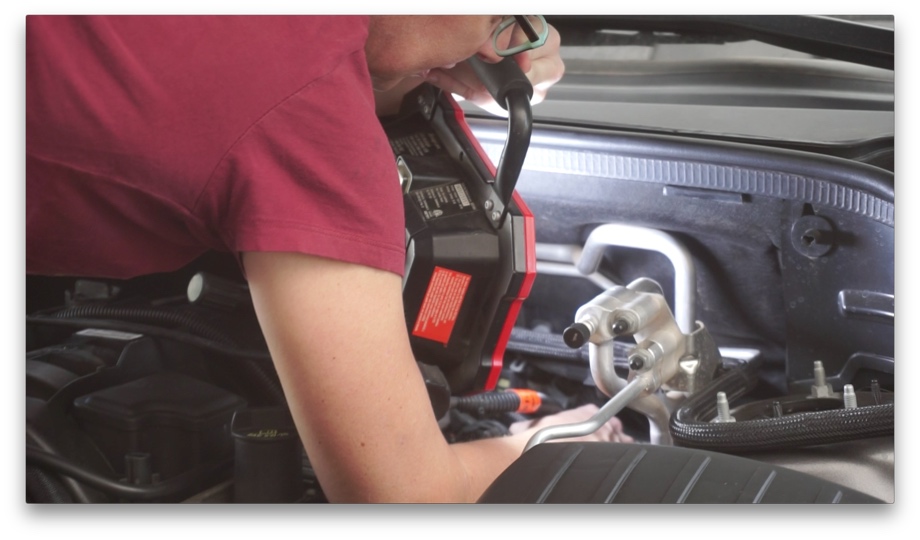
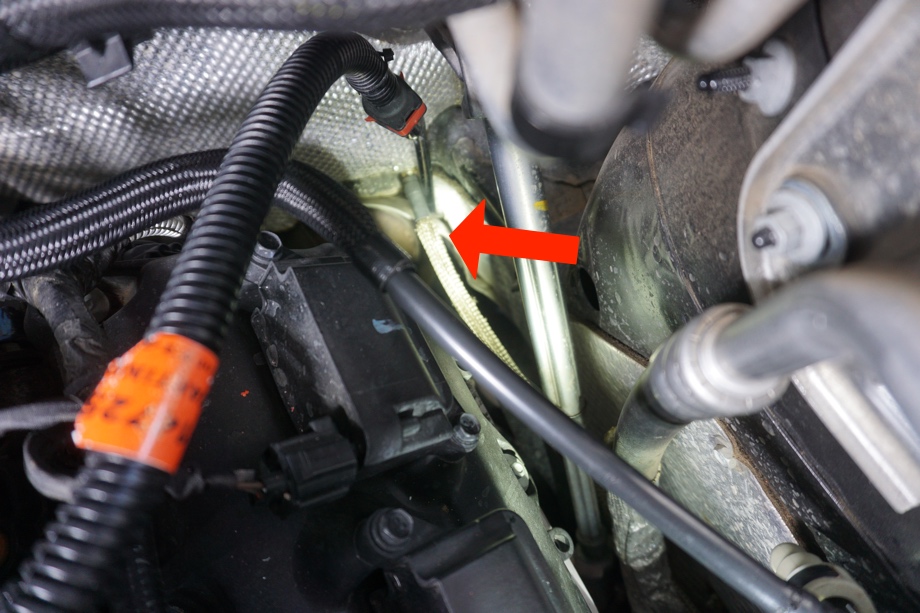
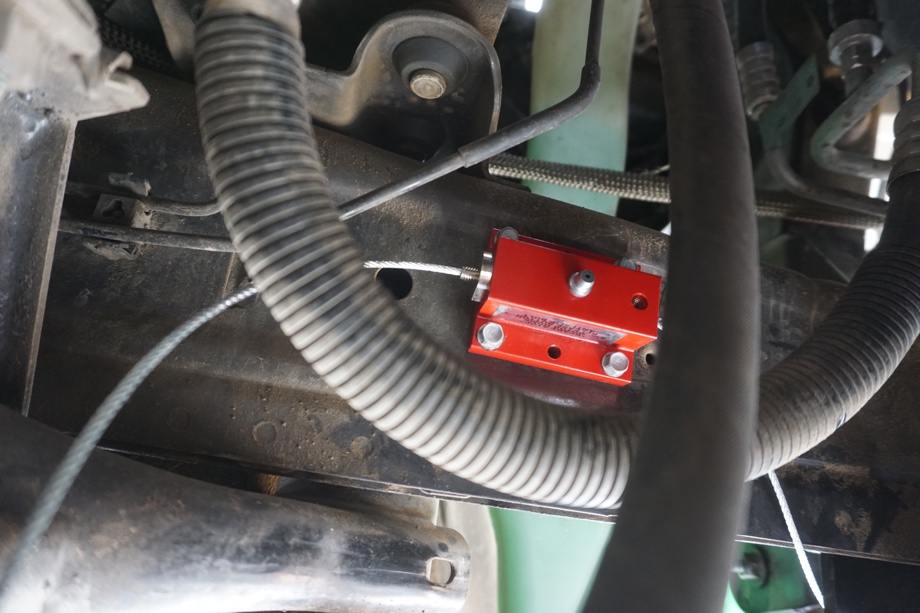
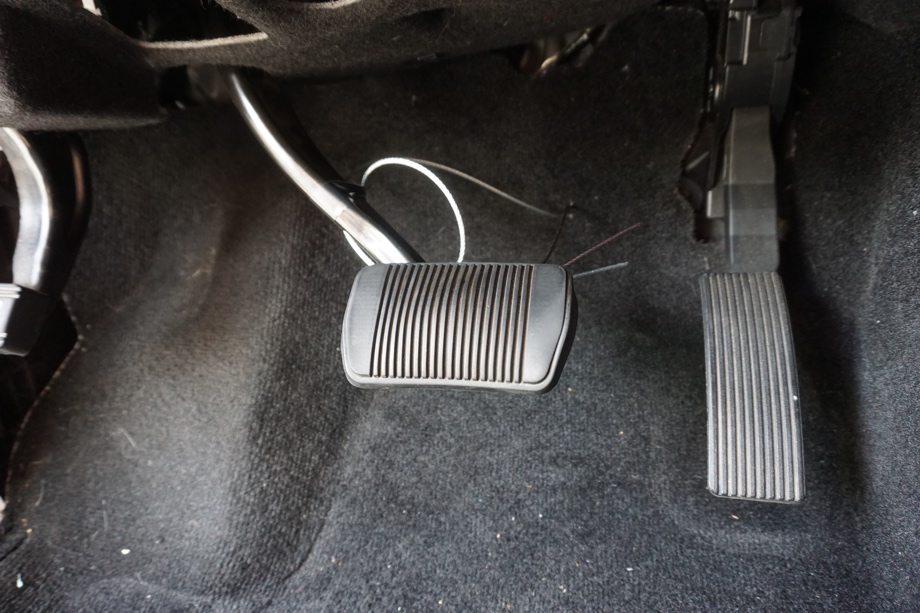
Next up was installing the brake cables for both the main brake that is part of the tow bar and the break-away brake cable (this emergency line pulls and holds the brake in the catastrophic event that the car breaks away from the motorhome). Again, we watched several videos of these being installed on our model of car or similar cars. We knew this would be tricky because the cable has to go through the firewall to attach to the brake pedal. The Durango has a "double firewall" with about a 1.5” gap in between. A couple of the issues we ran into were that once we knew approximately where we wanted to drill through from the inside of the car, we were just making a guess at where that would come out on the other side of the firewall. There is a fuel line nearby and we just prayed we wouldn’t hit it. The other issue was that we couldn't reach up to that engine-side of the firewall location from under the car. That meant I was crawling up under the hood, literally, and laying or squatting or contorting into whatever position I could on top of the engine and reaching my hand down as far as I could to get to the place we needed the cable to feed through that firewall. In the end, we narrowly missed the fuel line. Again, running and setting up the main brake cable took the majority of the second day.
 The third day, we worked on running the break-away brake line. This needed to go through the firewall just below the main brake cable, so more “crawling up under the hood” fun was had. It was nearly just as tricky as the main cable, but it went as smoothly as we could have hoped for I suppose. After all of those projects were done, we were able to reassemble the front end of the car again.
The next day, we finished up with running all of the wiring for the lights on the Durango. We will share all of that in Part 2 next week.
These projects were definitely more time consuming than we had hoped, but we are pretty happy that we were able to get it all finished up. When the bus gets back from the painter, we will still have to address the "bus side" of all of the tow car hook-ups.
Watch the video:
Click here If you cannot see the video.


0 Comments
Comments powered by Disqus