


The time has finally come to start installing our solar rack and panels! We have been anxiously awaiting the day. As you know if you have followed along this past year, we designed and built our solar rack while the bus was away being painted. We didn’t even have our bus here to test fit anything. We built a model of the curve of the roof big enough to fit ¼ of our entire rack that we worked off of while the bus was gone. Then we proceeded to build what Juan had been dreaming about - a massive solar array to fit in a compact way on the top of a curved roof of a vintage 35’ bus. And then, we waited for the bus to come back from paint. That wait took a bit longer than expected (worth the wait!). Then, none of the lights worked, so we had to address new lights on the bus to make sure we were safe. And, now...FINALLY...we get to see if what we built last summer will actually fit on the actual bus, not just the model in our garage.
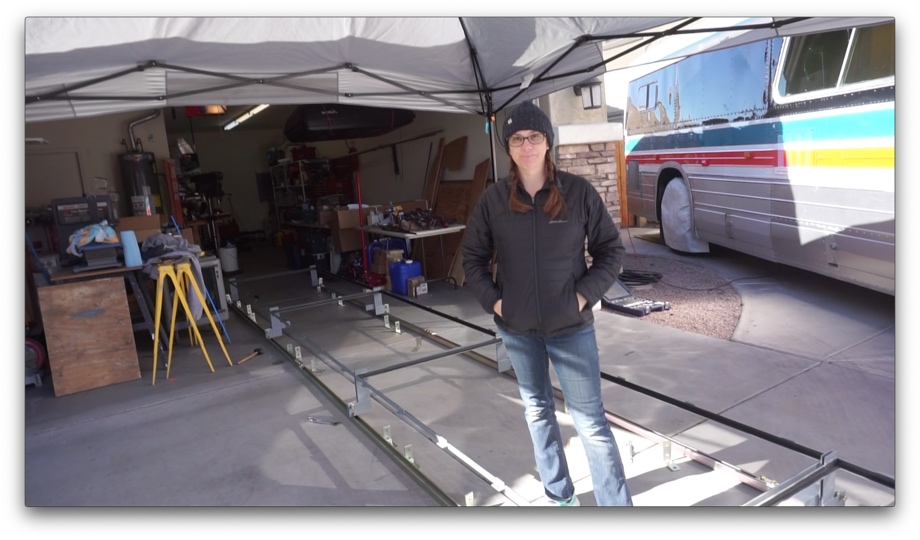
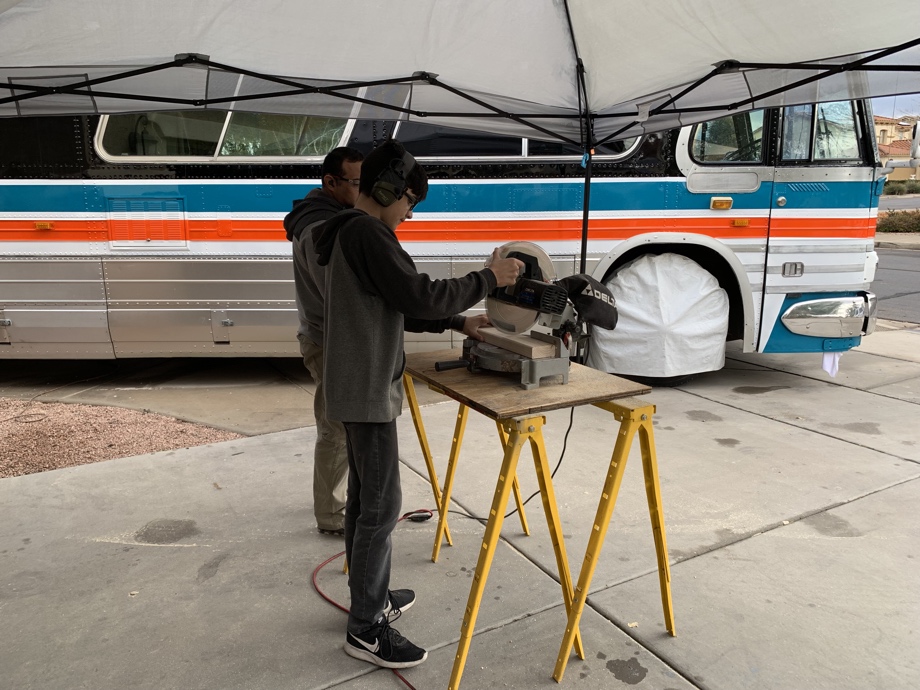
But first, as always, there were steps to take before we could take the racks up on to the roof. Of course! Prep is always the most important part of any project. For this, we had two prep-projects to complete. First up was to lay out everything in our driveway and garage. Remember when I said our roof model was only big enough to fit ¼ of the rack at a time? We designed our rack in four upper and lower sections nearly identical to each other. But, we had never actually put all four sections together at the same time. Our entire rack system is built onto Superstrut rails and mounted onto those rails with L-brackets. In order to minimize what work needed to be done once we were on the roof and also to triple check all of our measurements, we decided to lay it all out down on the ground and pre-install all those L-brackets exactly where they needed to go. One less step to do on the roof.
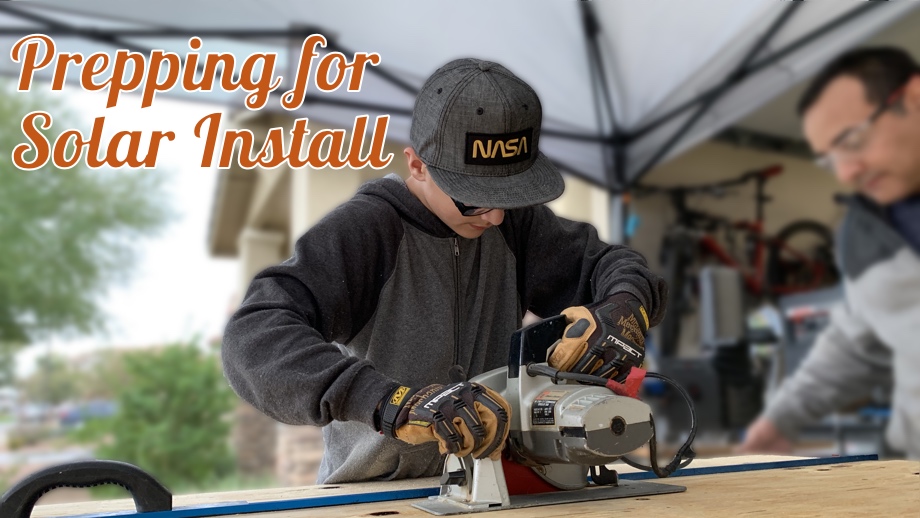
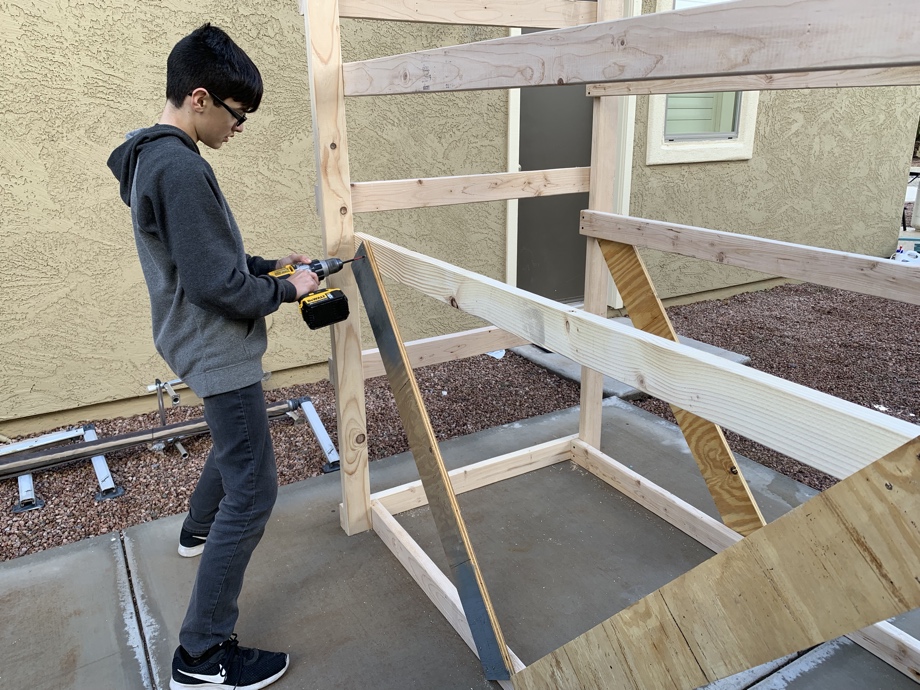
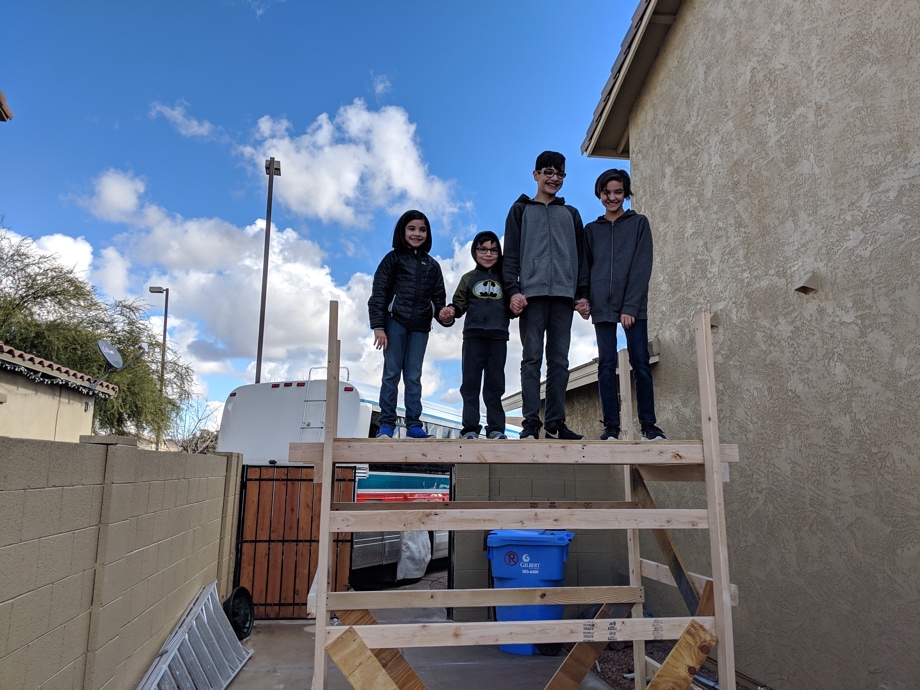
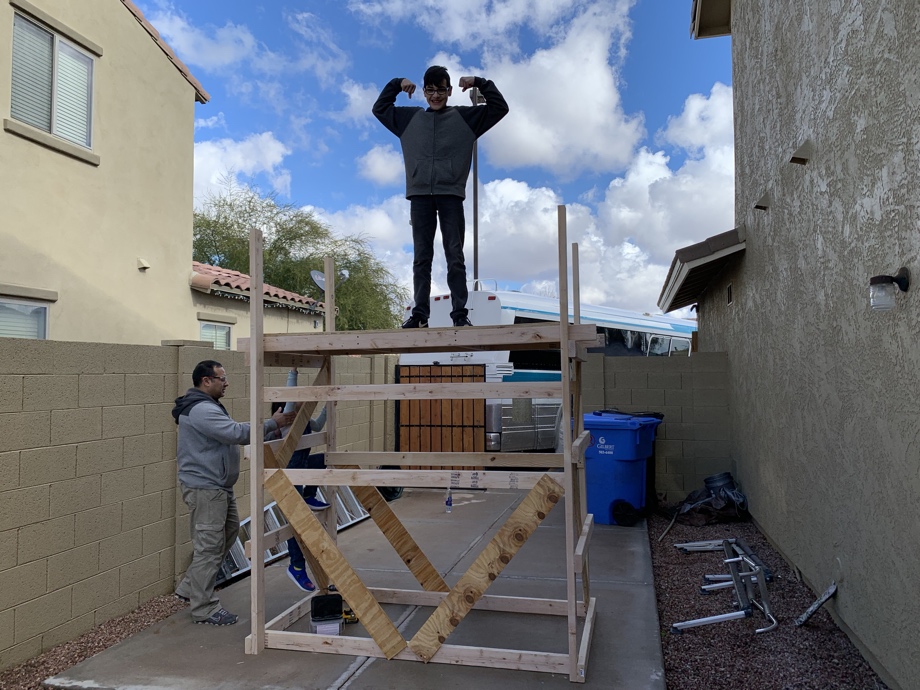
Once we were satisfied that we had everything ready to go, we had one more prep-project. Scaffolding. Our rack components are large and awkward and our solar panels are huge, so taking them up and down ladders would be a bad idea. We knew we needed scaffolding to go next to the bus. Then, we could safely and securely hand the rails and racks and panels up to people on the roof. We researched renting scaffolding, but we encountered a few problems with that idea. First, the sizes of scaffolding available just weren’t quite what we were looking for. We needed it to be quite wide in order for two or three people to comfortably fit and it needed to be just the right height to hand the racks and panels up. The sizes available were just too small. Also, we knew we might need it for several days (or more) and it was fairly expensive. We knew we could custom build scaffolding for a lot less. So, we found some inspiration on YouTube, of course, and modified his plans to fit our size requirements. The best part was that our 13-year old son took charge of this project, and with just a bit of guidance from dad and mom, he built the scaffolding himself! Total cost less than $50 in supplies. Super proud of our boy! And, spoiler alert, we could not have done this install without that scaffolding. It’s been a huge lifesaver. Totally worth spending the $50 and several hours to build it.
 After those two prep-projects, we were ready to start installing the Superstrut rails first. They’re the foundation for the whole thing and we had to get that part exactly right. Next week, we will show you how that part came together.
Watch the video:
Click here If you cannot see the video.
Parts We Used
3/16" x 3" Steel Flat Bar
2" x 2" x 1/8" Steel Angle
1-5/8" Super Strut Channel
4 hole 90 degree Superstrut fitting
1/2" x 1 1/2" Grade 8 Bolts
1/2-13 Grade 8 Hex Nut
1/2" Grade 8 Locking Washer


0 Comments
Comments powered by Disqus