


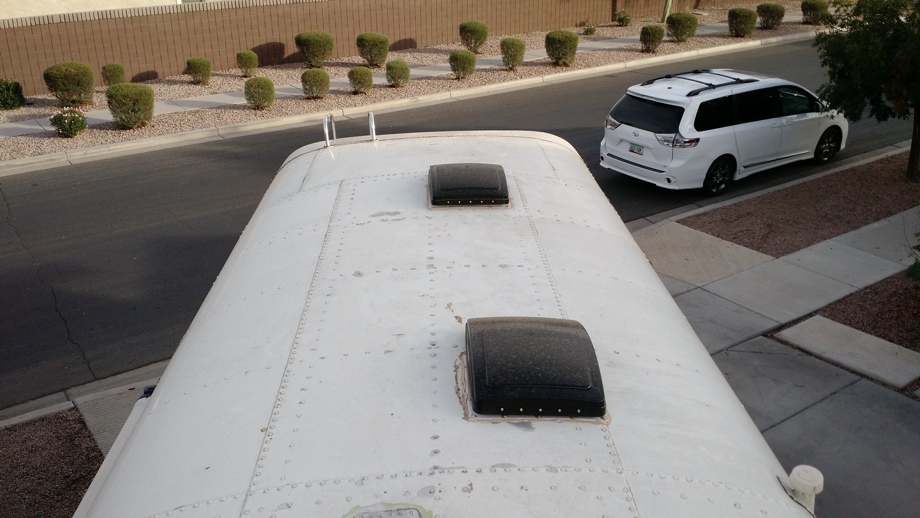
The bus finally made it into Mexico to the paint shop! Some of you may be wondering why we aren’t waiting until the end of our renovation to have the bus painted. The main reason is that we want the roof repainted before we install our solar panels. And the solar installation needs to be our next major project, before we really begin the interior build out. We intend on bolting some points on the solar rack through the ribs on the roof. That means that we need to get the solar rack mounted before we can finish the interior insulation and close off the ceiling. All of that necessitated having the bus painted now (well, at least the roof, but if the roof is getting painted, might as well do the entire bus at the same time).
When the bus returns from the painter, we intend on having the solar rack and solar panels ready to mount. However, we didn’t have a solid plan for the rack nailed down before we took it to the painter. So that has been priority number one while the bus has been gone - design, plan, and build the solar rack. One little problem...how are we going to design and plan how to mount huge flat panels on a curved roof without the roof here to work on? Build a model, of course.
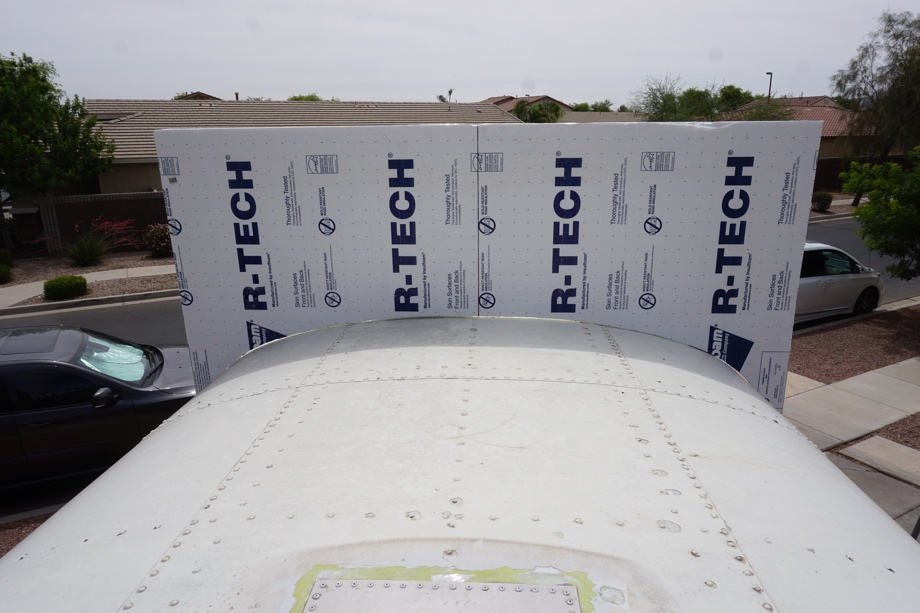
So, that’s what we did. Before we left for Mexico, we made a template of the curve of the roof. The mounting points for the solar panels will only be about 21 inches off center on both sides of the bus. Therefore, we really only needed to know the exact curve for center 48 inches or so of the roof. We decided to use a piece of foam board as our template. Juan and I went in the bus and made a straight edge go right across the bus, from one side window to the other side window. We then took measurements from that straight edge up to the roof every three inches. We transferred those distances onto the foam board, connected the dots, and cut along the dotted line. That became our template for the curve of the roof.
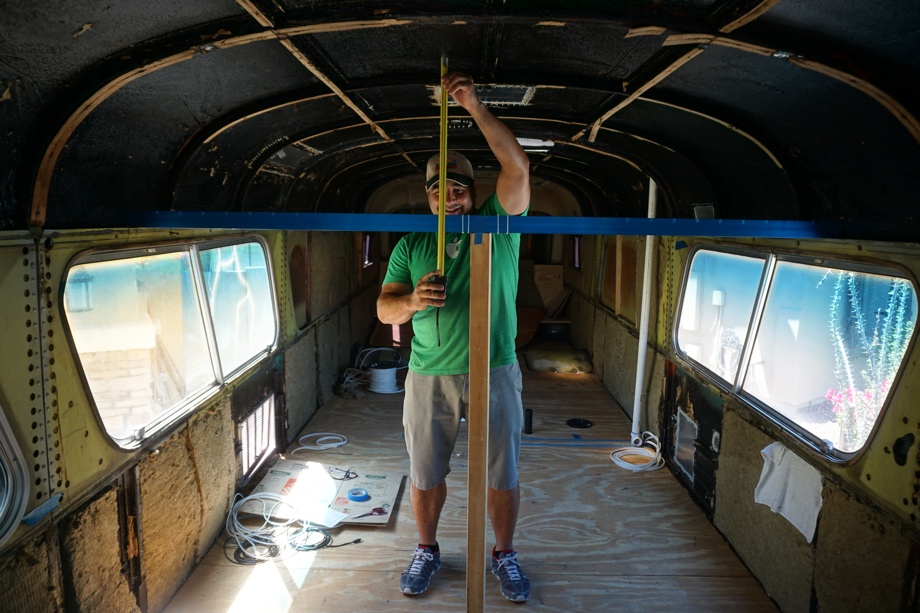
We double checked that by taking the other side of the foam board (the part we cut away) up on top of the roof to be sure the curve was correct. A little fine tuning on the extreme sides and we had a great fit.
We then used that foam template to trace onto plywood pieces and essentially create a mock-roof section of the center of the bus, big enough for one of our large panels.
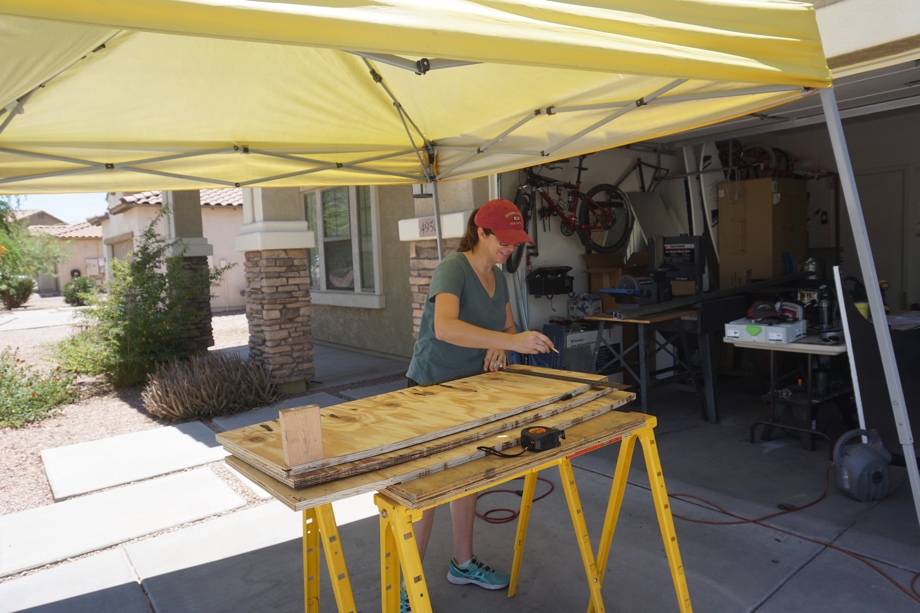
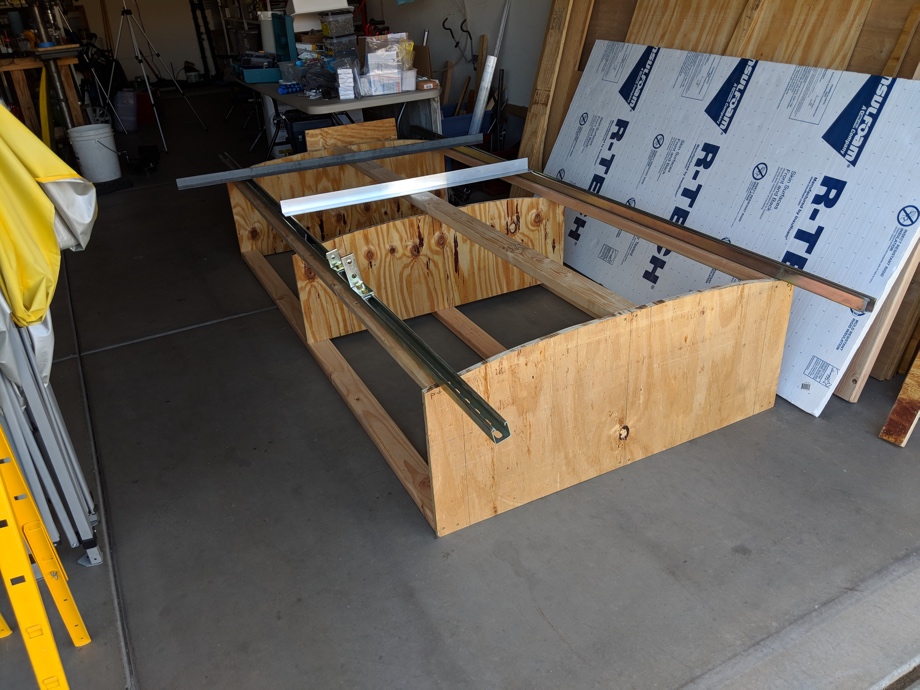
This will allow us a place to design and build our solar rack on the exact curve of the bus roof without the bus actually being here. Bonus, we aren’t having to climb up and down onto the roof a million times while trying to plan all of this out. We can also work in our garage where it has been a nice cool 110 degrees F instead of the scorching 115 degrees F it is outside. Wink, wink!
In the video, we show you the process of building the template and model of our roof. Juan also shares a brief overview of our plans for installing 3500 Watts of solar panels onto a space about 27.5 feet x less than 4 feet. Then, in the next couple of posts and videos, we will share with you our process of planning and building this large solar rack on our curved roof.
Watch the video:
Click here If you cannot see the video.

0 Comments
Comments powered by Disqus