


When we decided to travel in a motorhome versus a truck and trailer, we knew that we would need to find the safest way for the kids to be seated. Of course, there would have to be seat belts. In addition, we have two children that are still in car seats/booster seats. They are meant to be installed forward-facing, so that had to be part of the plan as well. Finally, we needed to do something that is secured extremely well, not just surface mounted into our flooring.
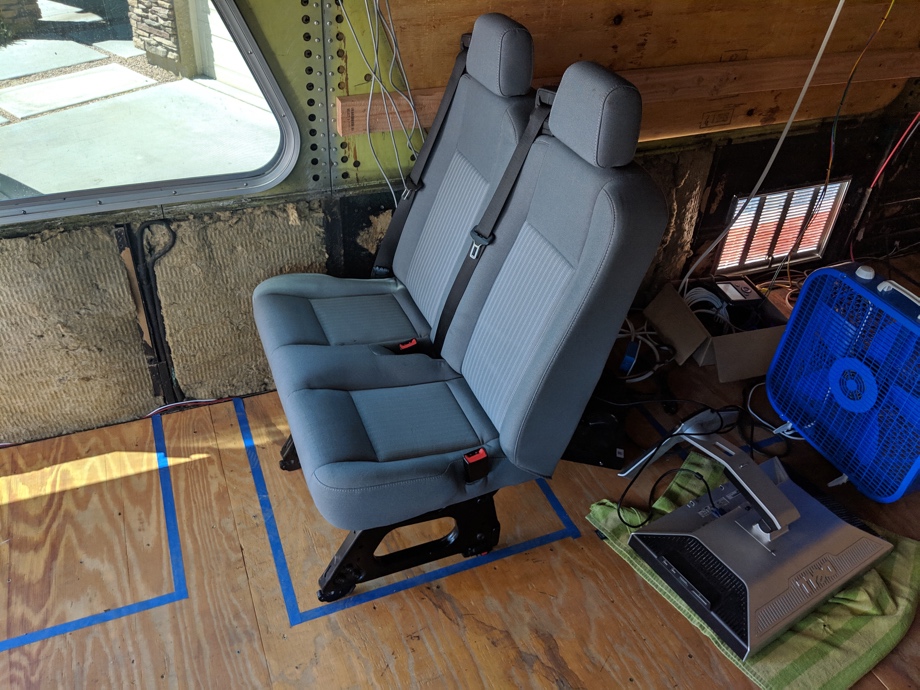
As we were keeping our eyes out for ideas, a bus friend introduced us to another bus family that had a great solution. The Daut family had installed Ford Transit van bench seats forward-facing in their skoolie. This looked like an interesting option because they didn’t look too big or bulky and they had built-in seat belts. The Dauts were so kind as to meet up with us and let us take a look in person, take measurements, and answer some of our questions. These seats seemed like the perfect option for us. Now, we just had to find some.
In general, Transit van seats are not too difficult to come by via eBay, Facebook Marketplace, or Craigslist. However, the specific seats that we wanted are a little less common. We wanted the narrow double bench seats. They make a wider double bench that is about 36” or 37” wide, but the ones we needed are 31” wide. By choosing the narrower seats, we could put one set on each side of the bus and still have a wide enough walkway between them.
After looking for a couple of months, we finally found some locally in great condition. Another full-time traveler was doing some remodeling in his Ford Transit and was selling the rear row of seats in his van. These were the exact ones we wanted. We drove forty-five minutes across town to his campground and literally pulled them out of his van and loaded them right into the back of our car. He was very kind and let us take measurements and pictures of the mounting brackets. We got a steal of a deal, only paying $60 per bench. We drove the new-to-us seats home and they sat waiting for over a year.
Finally, the time had come to install them. We could have bought a set of the mounting rails from eBay for about $75-100, but we decided to make our own mounting brackets. We really didn’t need the long rail that is meant to be recessed into the floor of the van. We only needed the actual part that the chairs clamp onto. If we had bought the rails, we would have cut them up and modified them anyway, so we came up with a design.
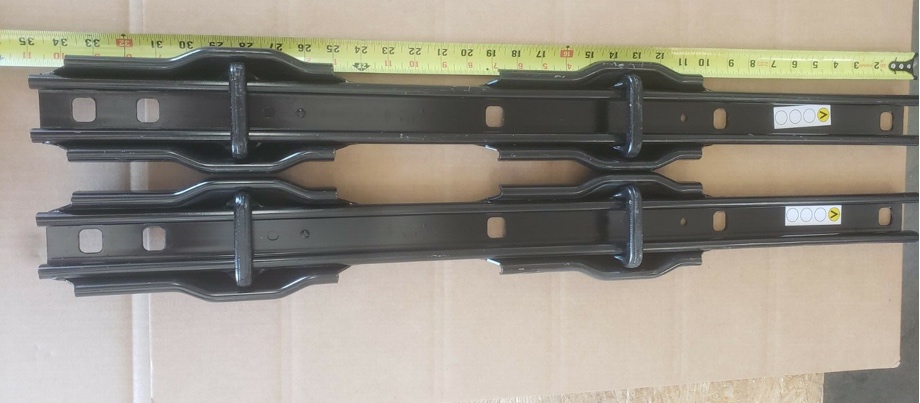
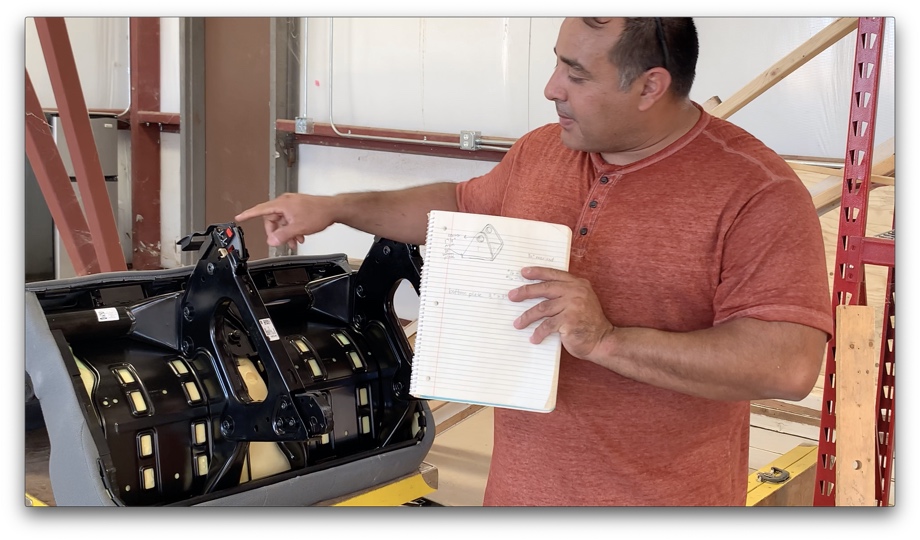
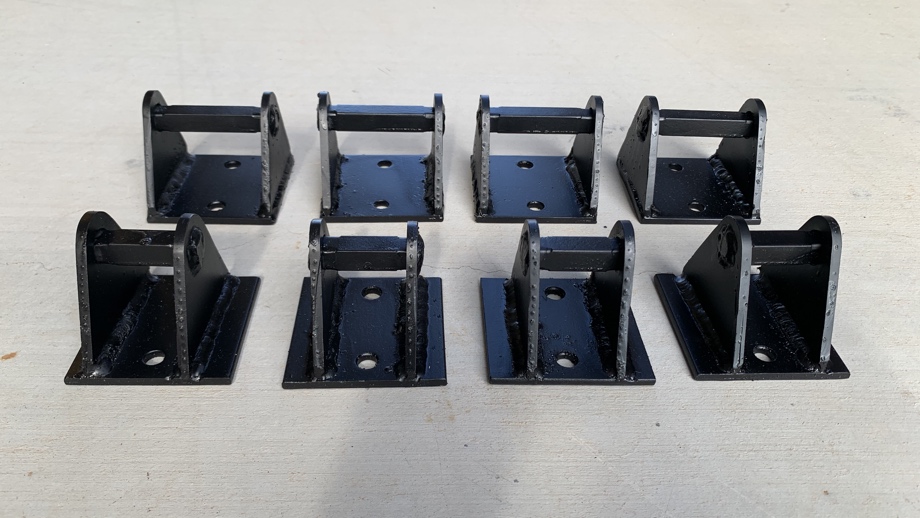
On the original rails, the rod that the feet of the chairs clamp onto is a ½” square solid metal rod. We happened to have some of that already! We decided to make one bracket for each foot of each bench, eight in total. The first step was to determine how high off the ground those rods needed to be. Then we built a framework to hold that mounting rod. We used 3/16” steel plate to create a base and two sides. We drilled holes in the sides to insert the ends of the square rod.
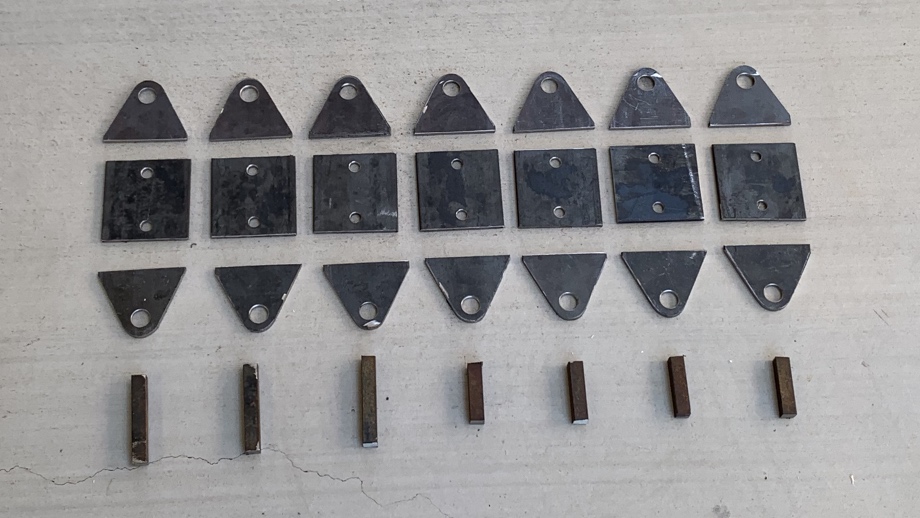
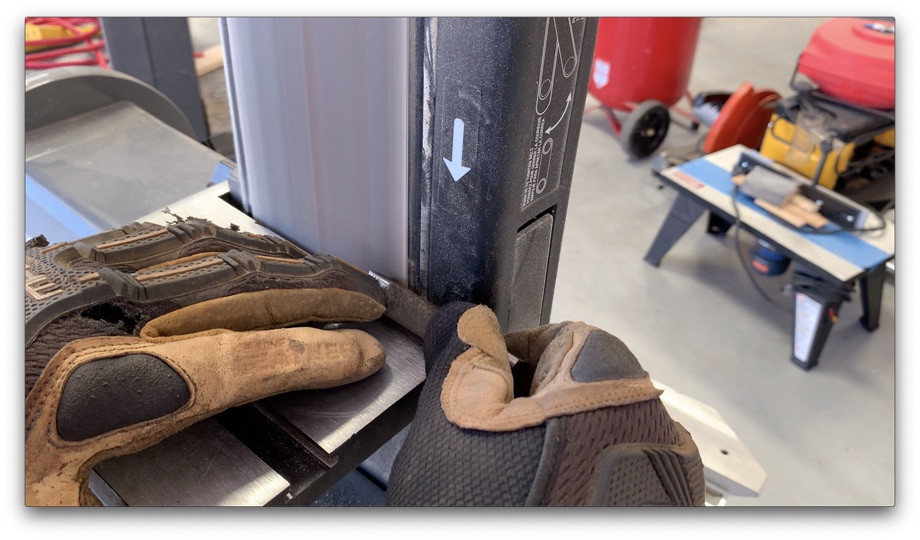
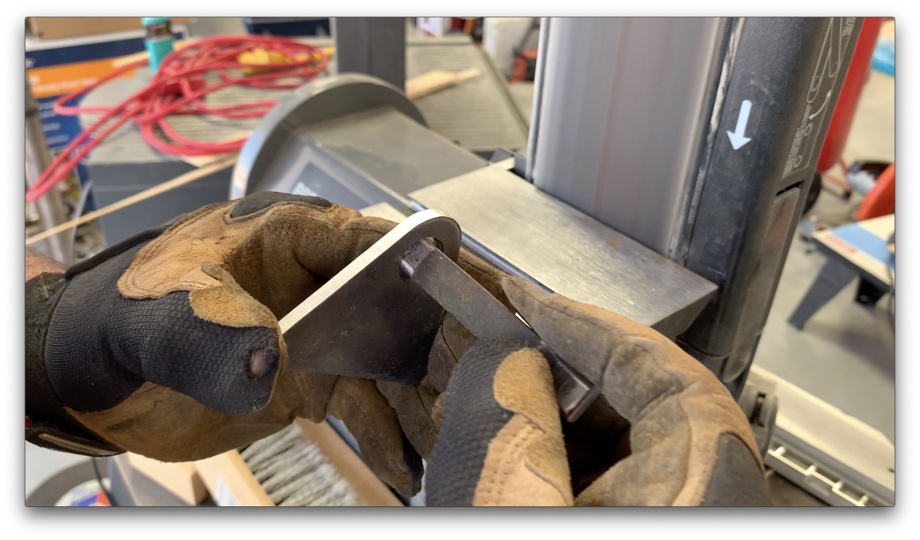
Hmmm...square rod in a round hole? We slightly rounded the ends of the square rod to fit them in the bracket.
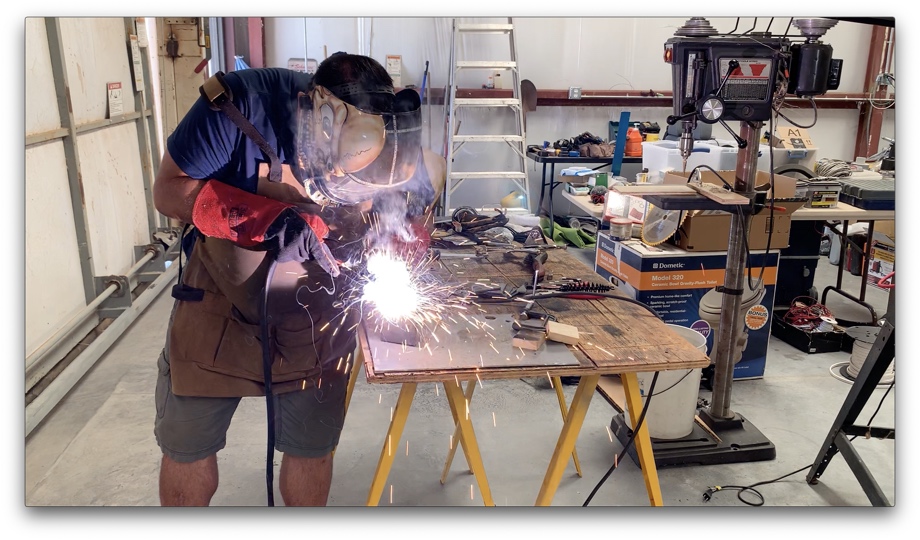
Then, we welded it all together. Finally, we painted them black to match the feet of the chairs.
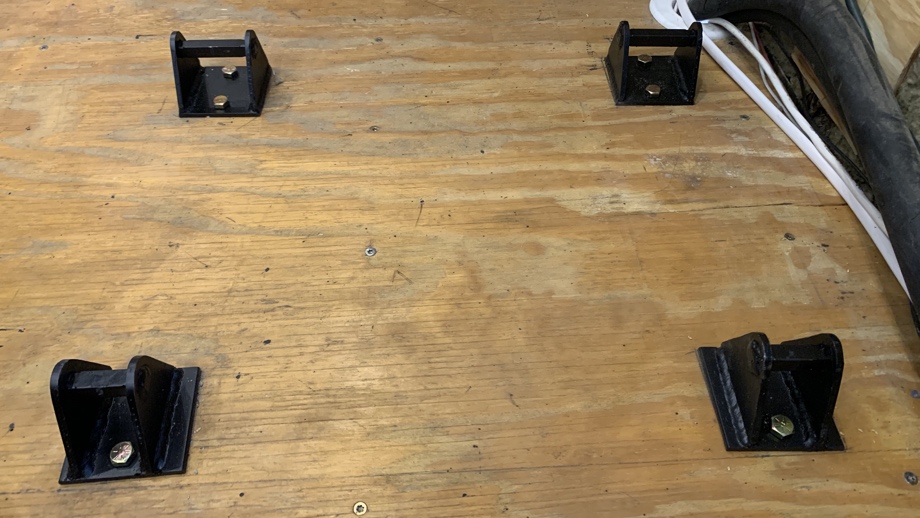
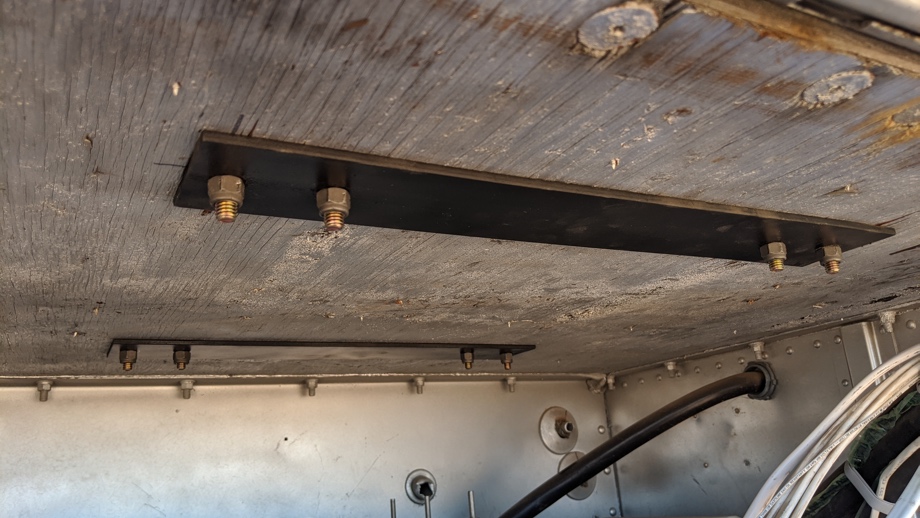
After finishing the brackets, it was time to bolt them through the floor. We used two ⅜” grade 8 bolts to mount each bracket through the 1 ½” subfloor. Then, we made large bars out of the 3/16” steel plate to act as large washers under the floor. This time, however, instead of using one plate per mounting bracket, we chose to do a large bar that spans two brackets. This should prevent the chairs from ever being able to pull the brackets out of the floor in the event of an upward force.
Finally, we were able to simply snap and lock in the chairs. The great thing is that the benches are still removable. We don’t anticipate removing them often, if ever, when traveling. However, it is a nice feature that we will definitely be using while we are finishing this build.
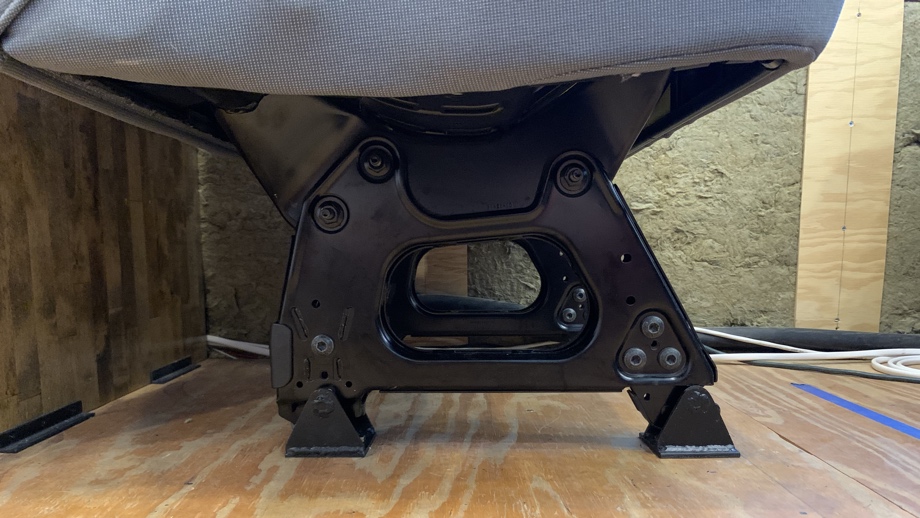
We are very pleased with how sturdy and strong the mounting brackets turned out, and we feel very secure with the installation of these seats. The best part is that the kids will have amazing views out the huge side windows while traveling safely seat belted in.
Watch the video:
Click here If you cannot see the video.


0 Comments
Comments powered by Disqus