


Today, we are sharing a quick project that took one “To-Do” off our mental checklist. The original bus wiring had all the battery systems were wired together. The batteries would drain rapidly only lasting about 3 or 4 days. We got in the habit of always unplugging the batteries ... until we forgot for the last time. $450 later (for two new batteries) got the old bus started again. Since then we have removed all that wiring and we have been pretty good about keeping the batteries charged up with a plug-in 120V battery charger. Until we moved to the off-grid property and were not driving the bus two times a week. We still remembered to charge it, but the intervals kept getting longer and longer until one day we went to drive the bus and it would not crank the starter. We knew we had to find a better solution.
We considered trickle chargers, fancy DC-DC chargers, even buck converters tuned to 13.5 Volts. We wanted a charger that could intelligently manage lead-acid batteries with an adaptive multi-stage charging algorithm. As we considered different options to keep those starter batteries charged, we realized that the solution was right in front of us. Our large house battery bank runs at about 56V. All we had to do was treat it as a “PV” solar array on a solar charge controller, and we could charge the 12V bus batteries. Could it be that simple?
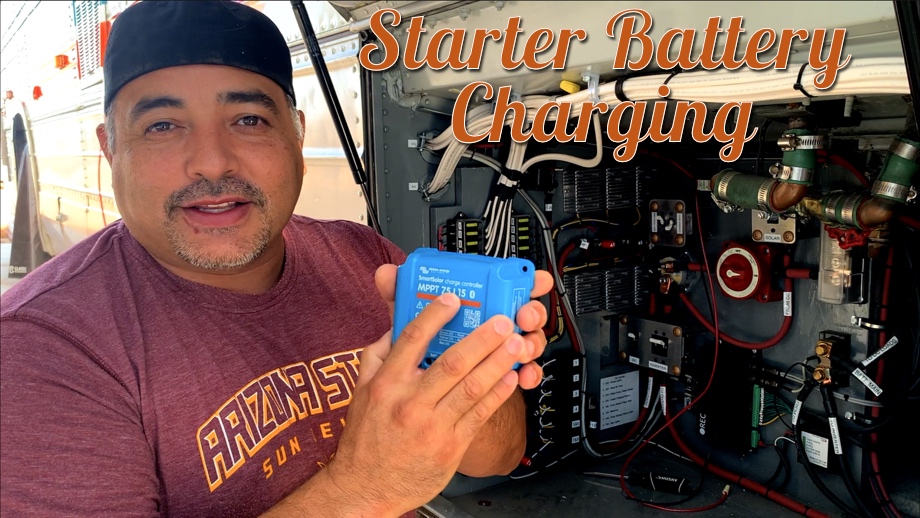
We thought it was worth a try. We bought a Victron Smart Solar MPPT 75/15 for about $118.00 and found a small space on the roof of the electronics bay that we could mount it. We also added a dedicated 10Amp circuit breaker. All we had to do was hook up the wiring. We pulled the 56V house battery power off of our main posts and ran it to the circuit breaker. Then we used 14AWG wire from the circuit breaker to the PV inputs on the charge controller.
Luckily, the original bus wiring already has a large gauge cable running from our electronics bay to the starter batteries because that bay previously housed huge blower motors for the air conditioning system. We simply hooked the output of the charge controller to that line with 10AWG wire.
Once we were all wired up and ready to go, we flipped the circuit breaker and watched what happened. The great thing about using the Victron Smart Solar MPPT is that it has Bluetooth monitoring and we can track it all via the app on our phones. We quickly saw the charge controller start doing its work. It was charging the batteries at 15Amps. It was behaving just like it should. It doesn’t care that the PV array isn’t actually a PV array.
The one thing we were concerned about was how much power this would draw daily off our house batteries to keep the starter topped off. On the first day, it used more than we hoped, about 1.26kWh, which is more than our residential refrigerator. However, it was in bulk charge mode. Once it was fully charged, it switched to absorption then float mode and the power use dropped drastically. Now, it just always floats and only uses about 0.1kWh or less per day.
This is exactly what we hoped for - something simple to just always keep the chassis batteries topped off so we don’t even have to think about it or worry that we haven’t charged them in awhile. Clearly, once we start traveling and driving much more often, this should not be as much of a concern. However, if we are parked somewhere for a week or two, now we don’t even have to think about charging up the batteries. It will also keep those lead-acid batteries happier for longer to stay at the top of their range.
One less thing to think about = success for a small project.
Watch the video:
Click here If you cannot see the video.


0 Comments
Comments powered by Disqus