


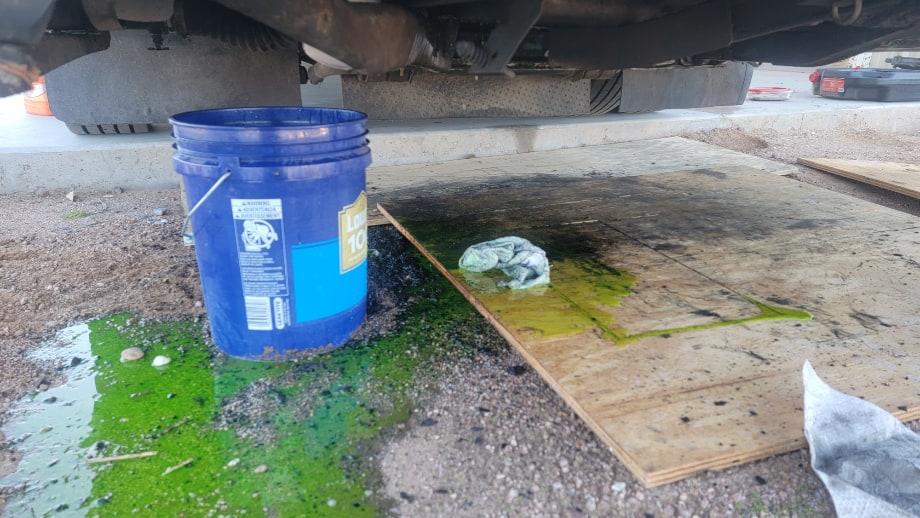
As we pulled into our friend's property in Lubbock, Texas in late November 2022, we were surprised to see our tow car and the back of the bus covered in oil. A lot of oil! There has always been a very small oil leak but this is the stop where we saw a significant increase in the amount of oil splattered on our poor tow vehicle as well as how much oil we had to add to get the oil level in the engine back to "full". We watch our fluid levels closely and it was obvious that something significant had changed.
To fix the oil leak, we had to identify its source. Upon inspection from underneath, it seemed to be coming from the top of the engine. However, access was limited due to the engine's proximity to the firewall. We were on our way back to family in Arizona for Christmas where we also have a safe place to work on the bus, so we decided that we would just stock up on extra oil and keep adding at each stop until we got home a couple of weeks later.
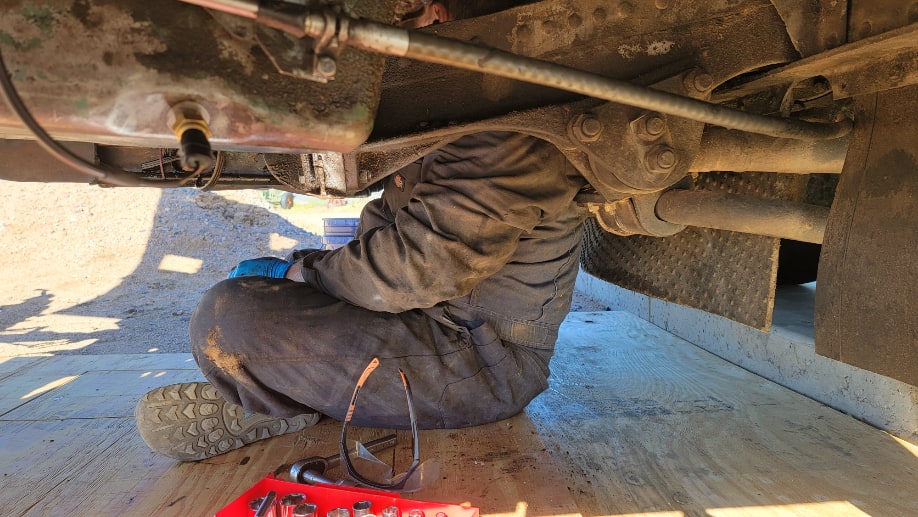
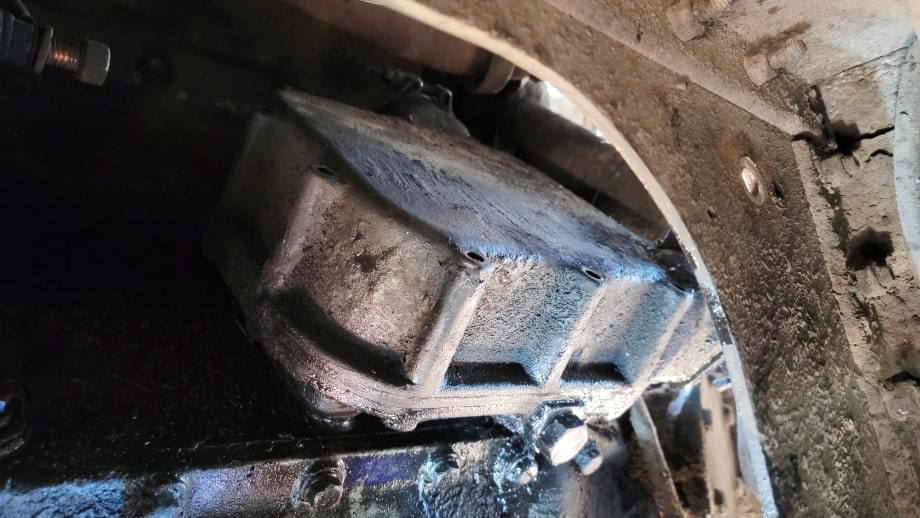
Once back at the shop in Arizona, we wanted to see what we were facing with this leak. To get a better view, we attempted to access the engine from above through the rear bedroom's access panel. Unfortunately, it was a challenging task as the exhaust manifold occupied most of the space, hindering our view. Eventually, we discovered that through the "hell hole," (an area behind the engine and in front of the rear axle) we could get a much better view. The firewall contains a large hole that offered a decent view of the inner side of the engine. Luckily, the concrete pad sits about six inches above the ground on one side, so we hung the tail over the dirt and with that little bit of extra clearance, I had just enough room to sit up in the hole and get a good look.
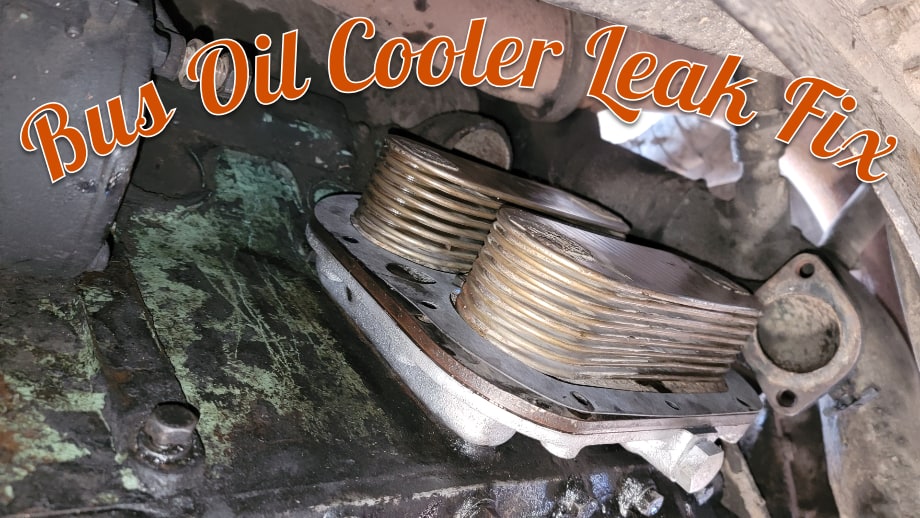
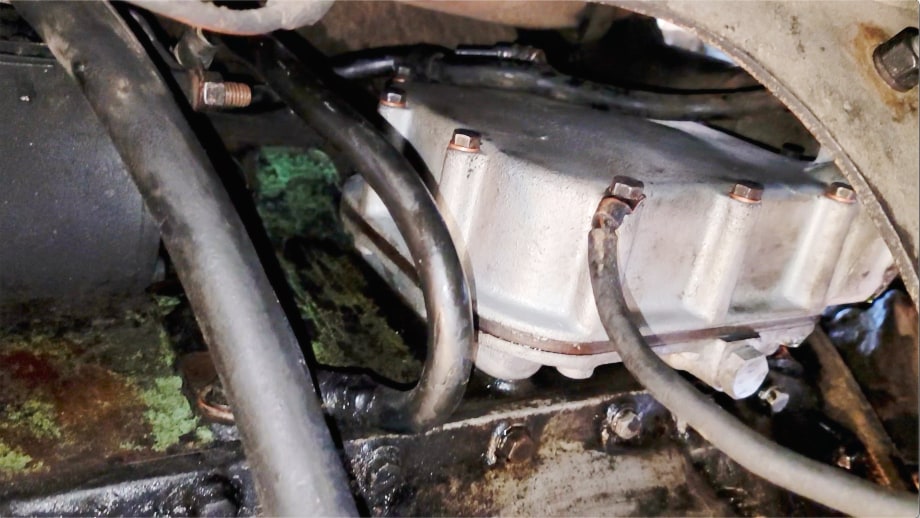
Upon discovering the source of the leak in the engine, it became apparent that the oil cooler was the culprit.
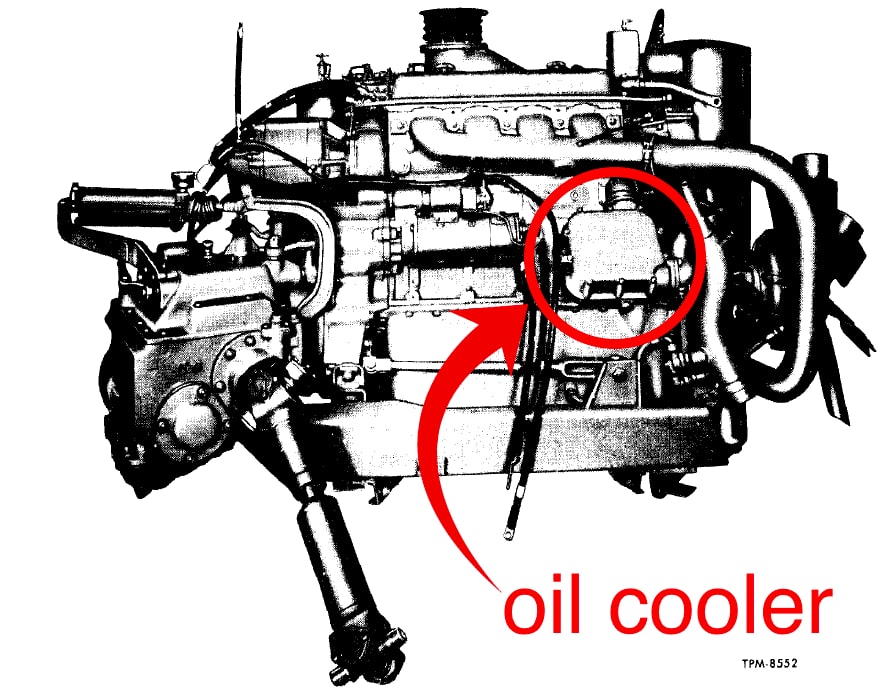
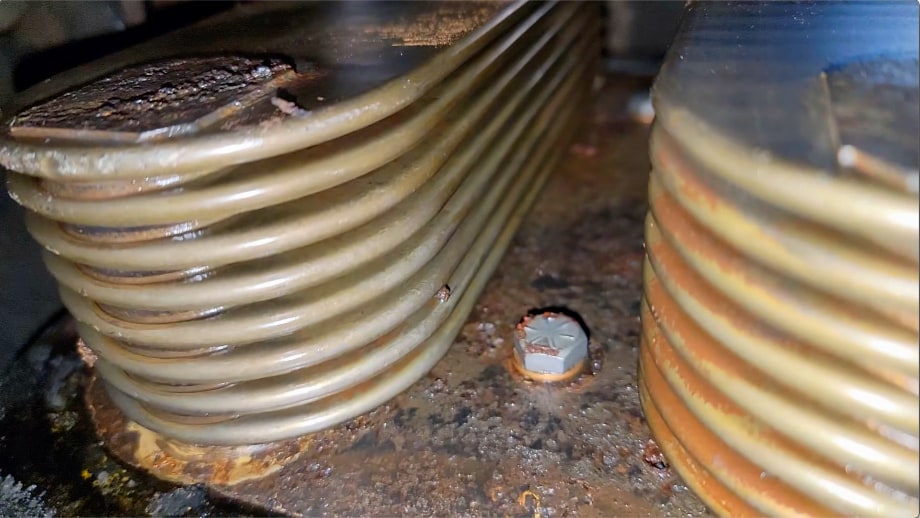
This particular component uses coolant from the radiator to cool the engine oil through a series of fins and grooves. I reached out to Scott, the Bus Grease Monkey, and he recommended that the entire cooler should be removed and resealed. Afterward, I contacted Luke from US Coach to inquire about the seals required for the oil cooler, and he had them in the mail that same day. Both individuals were extremely helpful and provided me with some tips for removing the cooler. Luke suggested that it might be easier through the upper access panel, although that would mean I would need to remove the rear exhaust manifold. I also consulted the Vintage Bus Mechanics page on Facebook for further suggestions. The general consensus was that it should be possible to remove the cooler from underneath.
So now I had all the parts and a plan. All that was left to do was remove the part and reseal everything. How hard could it be? In my conservative estimate, I gave myself 2 days thinking it would probably only really take 1 day. Like most projects on the bus, this was a gross underestimation.
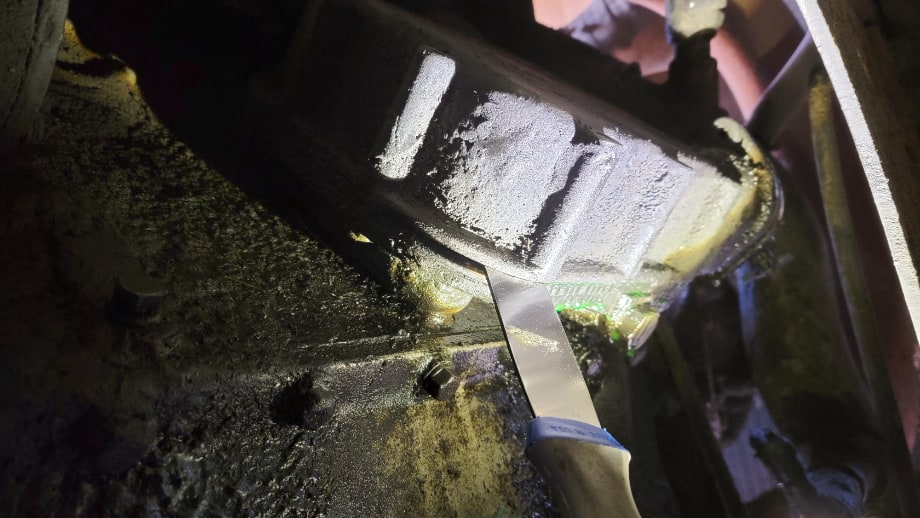
The first task was to drain as much coolant as possible. I then disconnected the 12V starter batteries and removed all related cables and wires from the oil cooler. After that, I removed all the bolts holding the oil cooler and tried to remove the upper housing. Unfortunately, it was stuck and wouldn't come off, even though I had removed all the bolts and loosened the clamp. I used my phone and flashlight to check for any missed bolts or parts, but couldn't find anything. After struggling for over an hour, I contacted Scott for advice. He suggested using a small, thin, flat scraper to gently tap where the two parts join, as they can sometimes become "glued" together due to heat and age.
The next day, I put the technique I learned into practice, and it worked like a charm! I made sure to be patient and avoid causing any damage to surfaces. As a result, I was able to successfully separate the upper housing. However, removing it was a bit of a challenge since it barely fit through the small access hole at the rear.
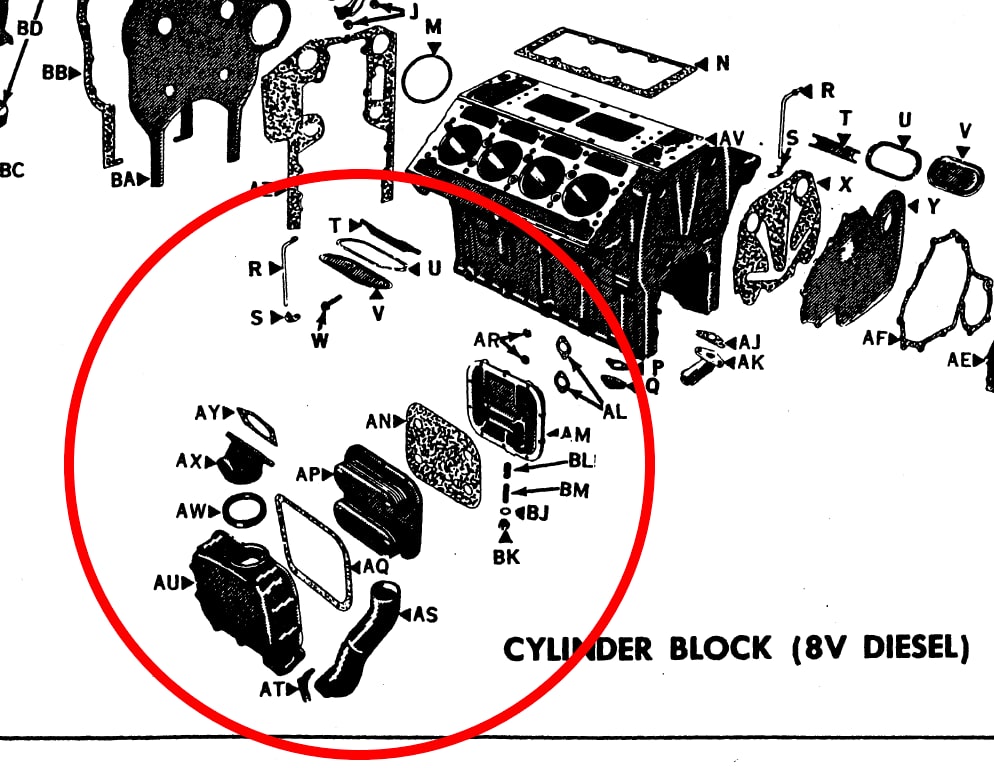
After taking it out, I proceeded to remove the remaining parts. The cooler inner part was held in place by only two bolts, which I managed to remove without much difficulty. Once again, I had to use the scraper to carefully separate the middle section from the lower one.
The lower section was attached to the engine block with six bolts. I believe that the two bolts at the left end of the lower plate were the cause of the leak. These two bolts were very loose and their placement matched the stream of oil we had noticed when searching for the leak. Unfortunately, you cannot get to the bolts without removing the entire assembly.

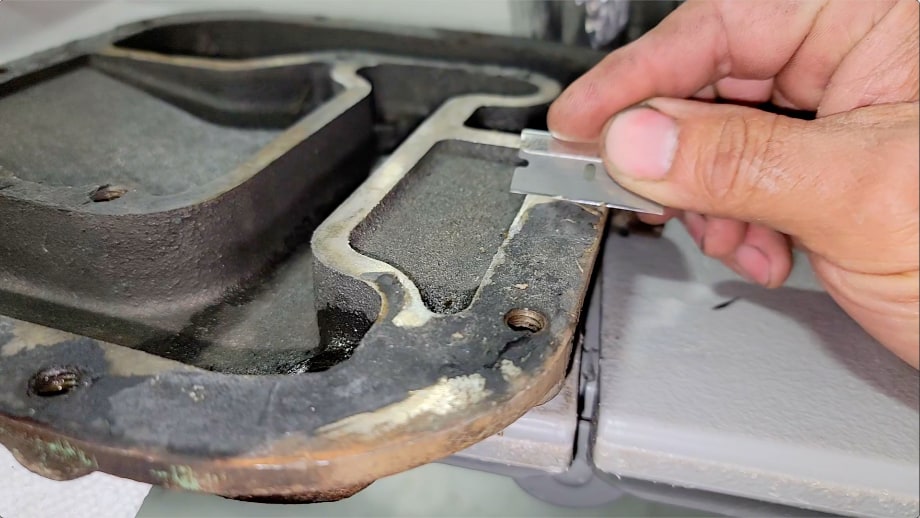
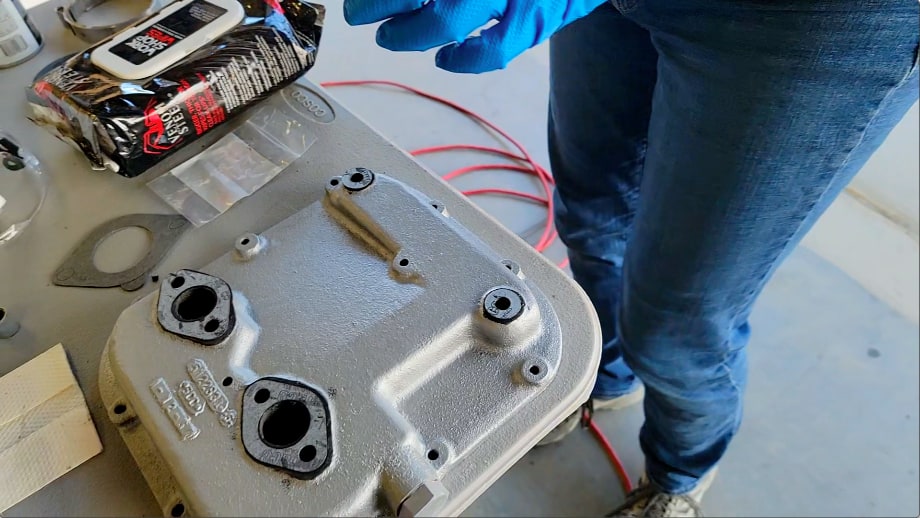
After dismantling the parts, I took the time to thoroughly clean them. Due to the long-lasting leak, the housings were covered in an impressive amount of oil and grime. I began by using a scraper to remove most of the oil and then proceeded to brush and degrease the rest. Once the cleaning was done, I focused on removing the stuck gasket material, which took several hours and a handful of razor blades.
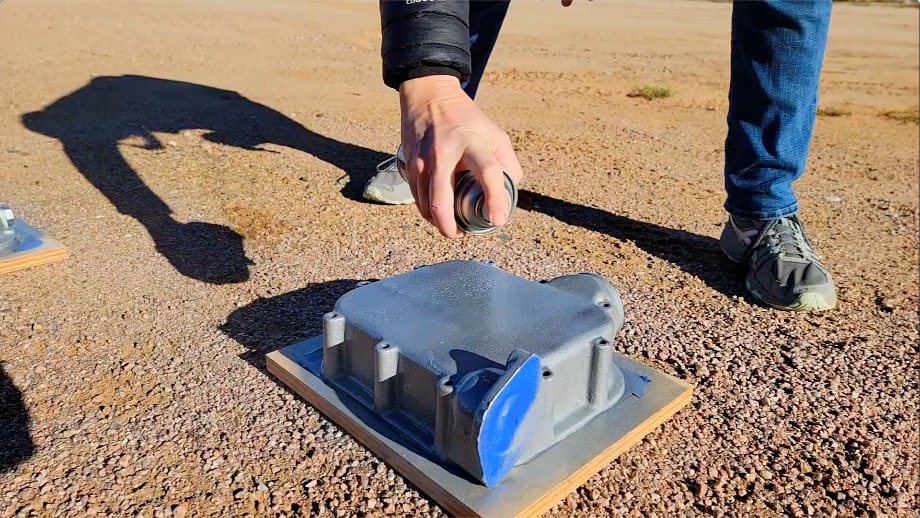
At first, I thought the parts were made of aluminum, but after testing with a magnet I now believe them to be steel. To prevent rusting and aid in discovering future leaks, I gave them a fresh coat of paint.
I reassembled the cooler in reverse order from the disassembly process. I applied a very small amount of Permatex The Right Stuff 90-minute gasket maker to the oil side of the cooler to ensure there were no leaks and to act as an adhesive for the gaskets due to the limited space. Although everything assembled great, there was one thing that continued to concern me.
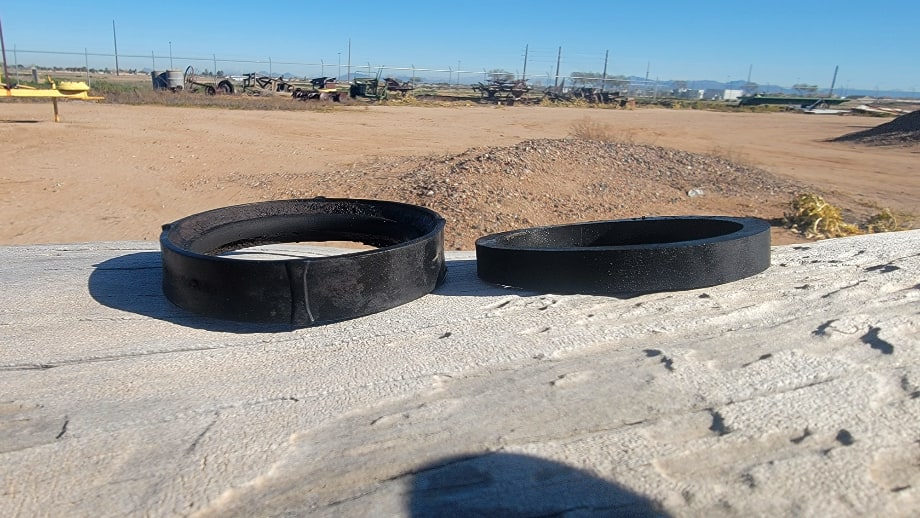
As someone who's fairly new to working on old Detroit Diesels, I must confess that there are many things I don't know. For example, the seal I received for the upper coolant outlet didn't resemble the one I removed. Frankly, I had my doubts about whether it would work properly. I contacted Luke to confirm the part number, and he assured me it was correct.
Despite my reservations, I went ahead and installed the new seal. Unfortunately, upon refilling the coolant, it started to leak when the water level reached the top of the oil cooler.
I immediately informed Luke, hoping to obtain a different seal. He asked me to take some measurements and promptly shipped a new one. In the meantime, since the old seal wasn't leaking or damaged, I reinstalled it. Although I had to adjust it a few times, it eventually sealed perfectly. If someone has more insight into this new seal (flat vs beveled) I would love to hear it.
After we finished this repair, I had fantasies of pulling into the next campsite with a car that was not embarrassingly covered in oil. Thankfully, this rebuild has held for the 4000 miles we have since driven the bus.
Unfortunately, we developed an even worse oil leak in a different spot not long after we took off on the next leg of our trip - but that is a story for another time.
Watch the video:
Click here If you cannot see the video.


0 Comments
Comments powered by Disqus