


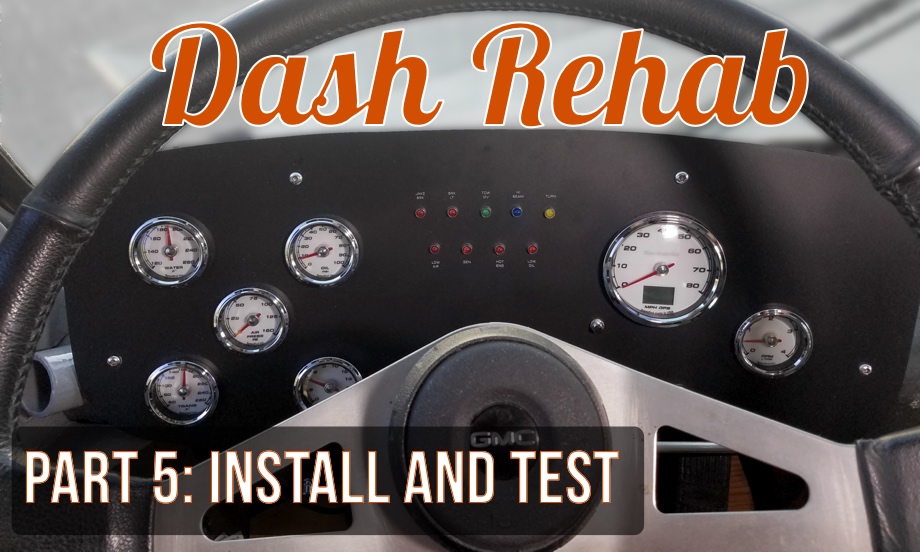
In Part 4 of our Dash Rehab series, we showed how we wired the gauges up in a wiring harness as well as how we wired each of the major sensors. Wiring them in this way made installing them very simple. We plugged in the two wiring harnesses we created plus the GPS antenna for the speedometer and then bolted in the panel. In this installment, we will reveal the end product, take a test drive to show how everything is working, and provide a full break-down of all the costs involved in the project.
Raw Materials
Our project started out with two pieces of 14-gauge aluminum sheet from our favorite local metal shop, AZ Metals. One sheet measured 28" by 6" and the other measured 28" by 14". These cost us $19.30.
Total: $19.30
Processing Metal
Once the aluminum panels were all cut and shaped, we sanded them and sent them off to be anodized black at Anodizing of Mesa. This cost $50 for both pieces. After that we had the pieces laser etched at The Leading Etch to label all the lights and switches. This was $50 for both pieces also.
Total: $100.00
Switches, Lights, and Gauges
Next, we purchased all new heavy-duty toggle switches and extensions (the chrome pieces that makes some of the switches longer). We bought these on Amazon for $72.59 (full links to the exact products we purchased will be listed below). We also bought an additional chrome button for the windshield wiper fluid for $8.28 (it was a pretty fancy button). We found LED indicator lights in red, green, blue, yellow on Amazon for $17.98. The USB adapter for the 5V signal generated in the back was purchased from WalMart for $4.99. We purchased the "Legacy" Gauges from Speedhut.com for $1,119.65.
Total: $1223.49
Final Tally
$1342.79 For all new warning lights, switches, gauges, and panels.
Review
The ability to customize the Speedhut gauges is pretty amazing. They have an online designer that allows the customizing of just about every aspect of the gauges: colors, fonts, ticks, custom logo and text, backlight color, bezel - the number of options is unreal. They look incredible. More importantly, the new gauges and sensors are working great. In our last post, we explained how and where we installed each sensor as well as how we verified that they were working correctly. We have been using the gauges for about a month now with no issues at all.
See the gauges in action:
Click here If you cannot see the video.
Links to Some of the Products Used
Some of these are affiliate links
Heavy Duty Toggle Switches
Toggle Extensions
Chrome Toggle Guard
Fancy Chrome Button
Five Mixed Color LEDs
Five Red LEDs
Wire Connectors
Molex Connector
ATX Extension Cable


Tools We Used
wire crimper
2 1/16" hole saw for smaller gauges
3 3/8" hole saw for speedometer
Shank for the hole saw


The Exact Gauges We Chose (before customization)
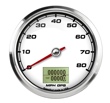 80 MPH GPS Speedometer
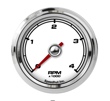 4K Diesel Tachometer
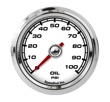 0-100 PSI Oil Pressure
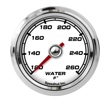 120-260 F Water Temperature
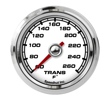 60-260 F Transmission Temperature
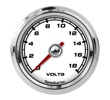 0-18V Volts
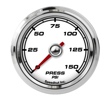 0-150 PSI Air Pressure

0 Comments
Comments powered by Disqus