


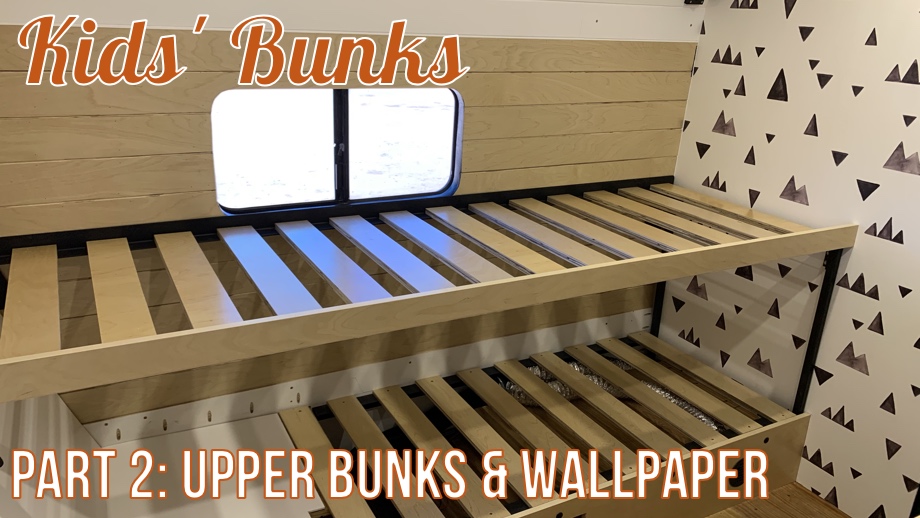
After finishing the lower bunk beds, we were ready and excited to move up to the top bunks. Like we explained previously, we are using 2" x ⅛” angle iron to build the bed rails in order to maximize vertical space. It’s thin but strong and will allow us to have as much headroom as possible over the beds.
To support the upper bunk rails, we took two different approaches. On the front ends of the beds, we built legs with 1” square steel tube. We welded on a “foot” that we bolted into the floor and also welded on another tab that we bolted through the front wall. The front end of the rails are then bolted into that square tube.
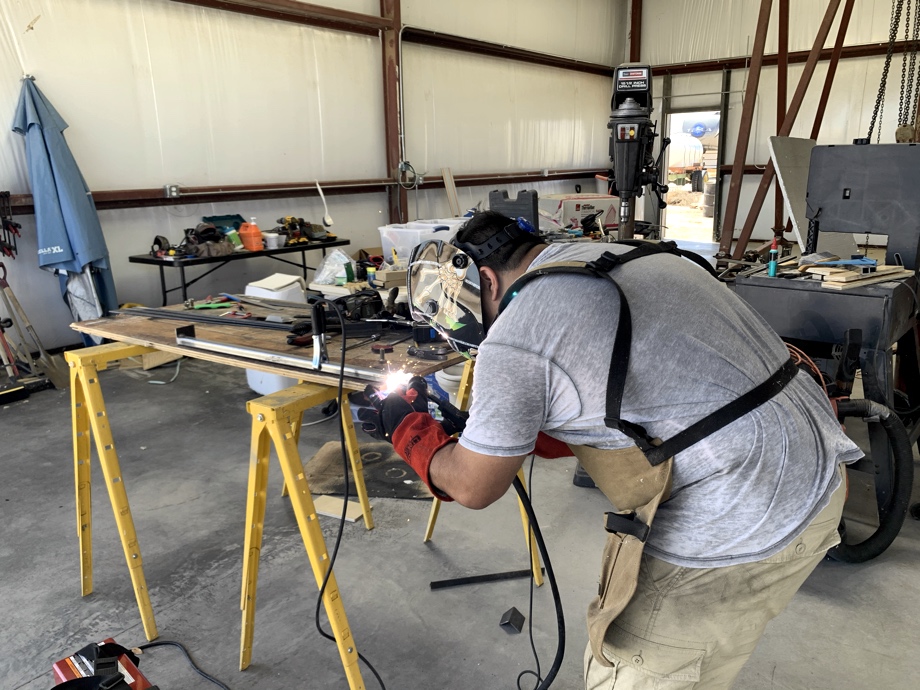
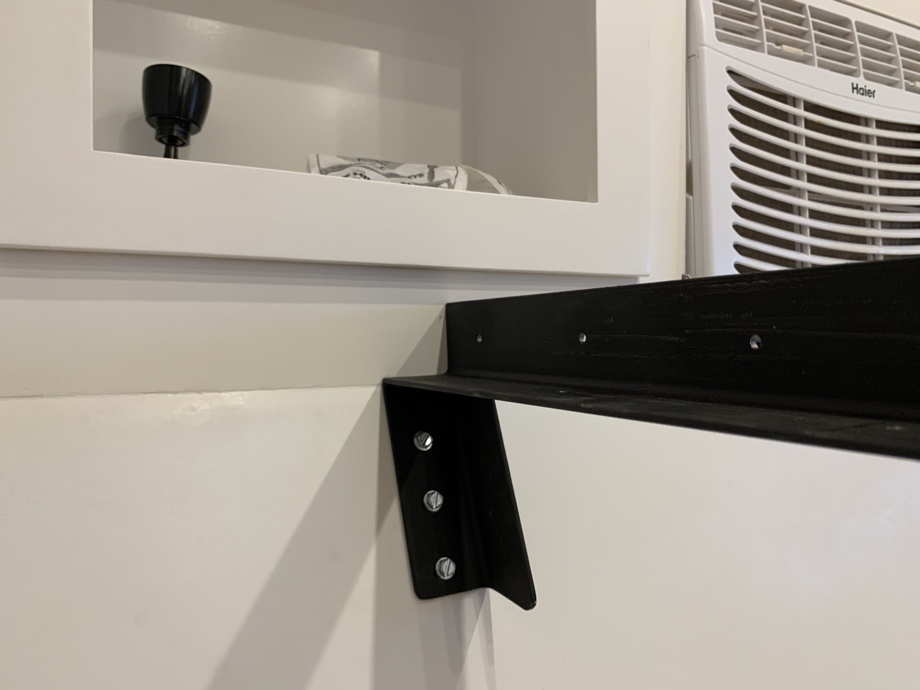
On the back end, there is nowhere to put a leg because the bed stretches all the way over the rear “bench” area/engine cover. In order to securely attach the rear of all the upper bunk rails, we welded on a large angled bracket made with 2" angle iron and then bolted that to the rear wall.
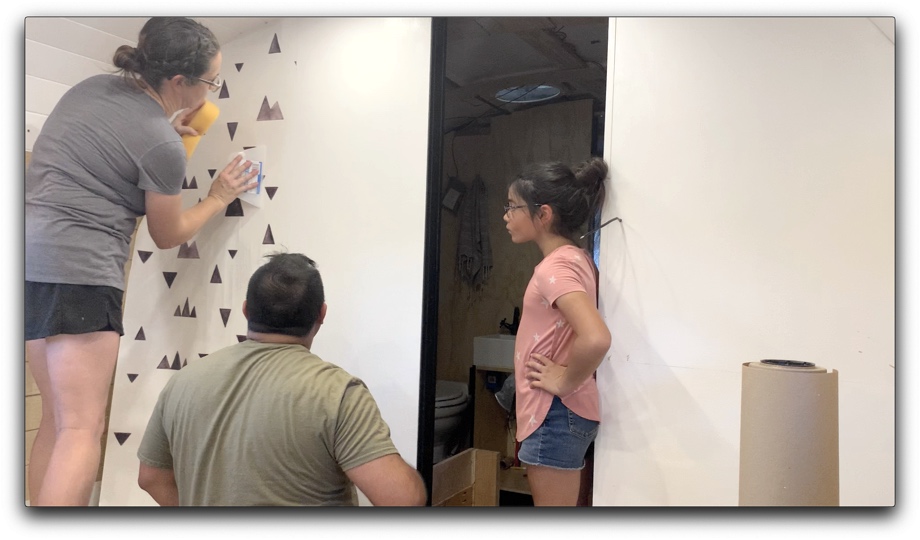
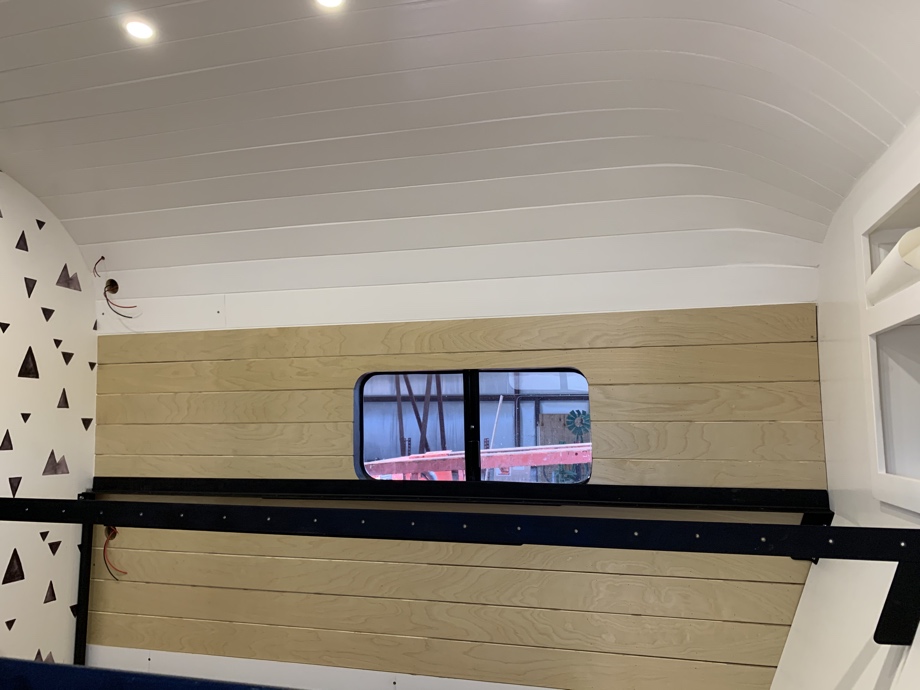
Before we could actually install any of the upper bunk rails and supports, we had to wallpaper the front wall of the room. We painted the walls white ahead of time in order to give the wallpaper adhesive something better to stick to instead of just bare plywood. The kids chose a fantastic modern mountain design wallpaper that we ordered from Spoonflower. We were a bit nervous to wallpaper for our first time ever, but it was not that difficult.
The type of wallpaper we chose was prepasted and simply needed water to be sprayed on the back. We had a garden sprayer handy so chose to use that to mist the back of each piece, making sure to the entire back was wet. Then, we “booked” it to activate the adhesive, and got right to hanging it. It was about 110℉ the day we did this, and the adhesive was setting up quickly so we had to move quickly.
Since nothing is actually perfectly straight in this bus, we had to measure out and give ourselves a straight line to work from for our first piece. Then we used a really damp sponge and a smoothing tool to work the paper into place and eliminate any air bubbles. Finally, we used a small Xacto knife to trim the excess from around the edges. Then, we simply repeated the process for each additional strip.
It ended up being much easier than we anticipated, but more importantly, the kids really like their choice of wallpaper after seeing it on the walls.

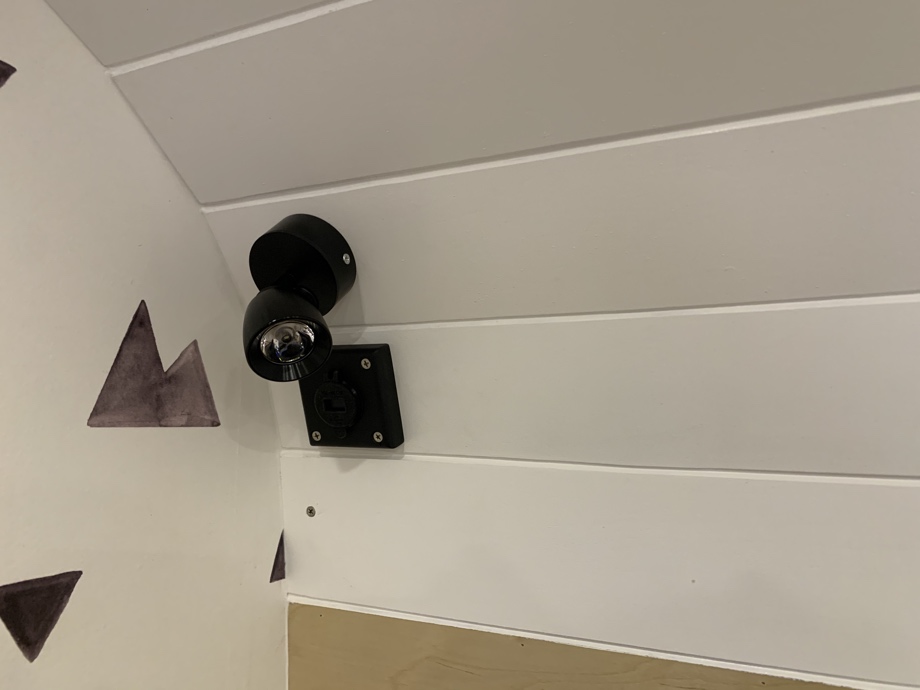
Next up we wired and installed a 12V reading light and a USB charger for each bunk.
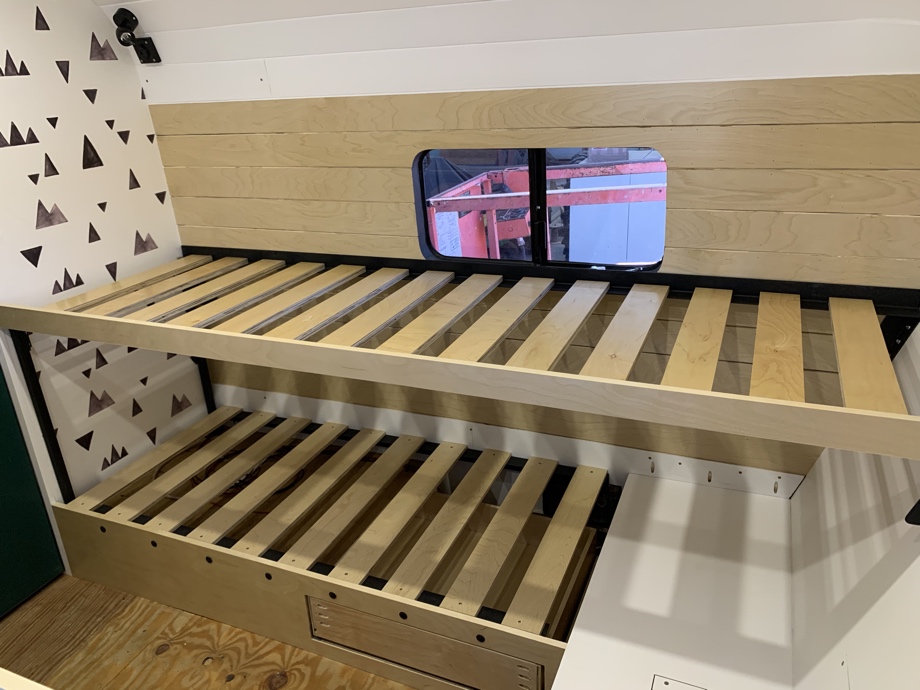
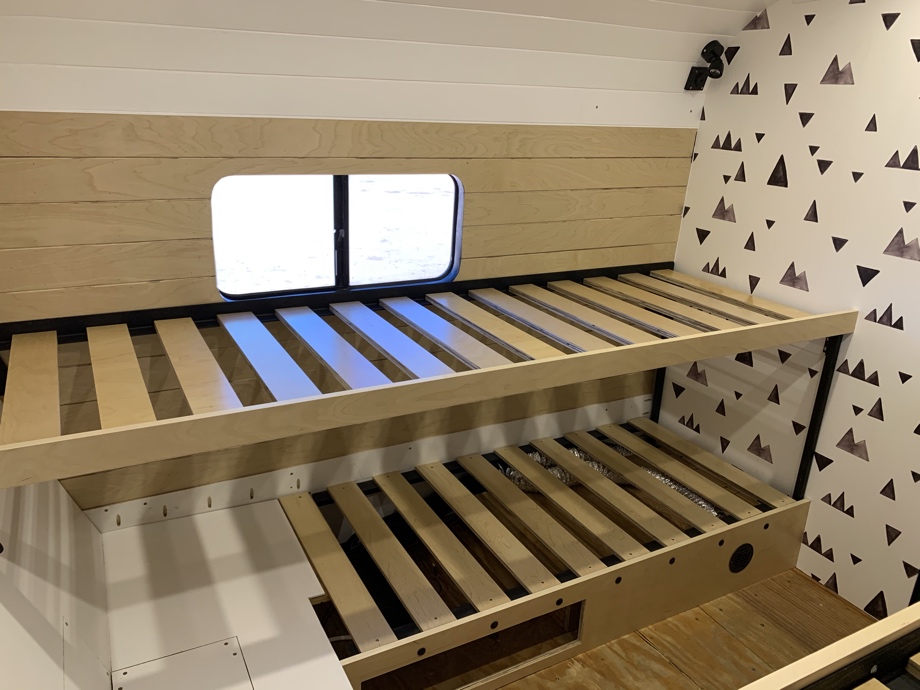
Finally, we were able to install the upper bunks. We spray painted all of the rails, legs, and brackets black. We brought them in and bolted everything in place.
We then added a small piece of ¾” prefinished birch plywood to the “middle of the room” rails to coordinate with the lower bunks and cover the rails. The last thing we did was add slats to the rails. For the lower bunks, we used ½” plywood, for the upper bunks (which our teenagers will use), we used ¾” plywood for extra strength. The slats are 3.5” wide and spaced 2.5” apart.
The room is almost done and the kids love it. We still need to order mattresses, get cushions for the bench area, install the drawer faces for the lower bunks, and install flooring. All of those things will wait just a bit, and we will move onto another project.
We love this kids’ room, but more importantly, they love it! They can’t wait for this little bus to be their home.
Watch the video:
Click here If you cannot see the video.


0 Comments
Comments powered by Disqus