


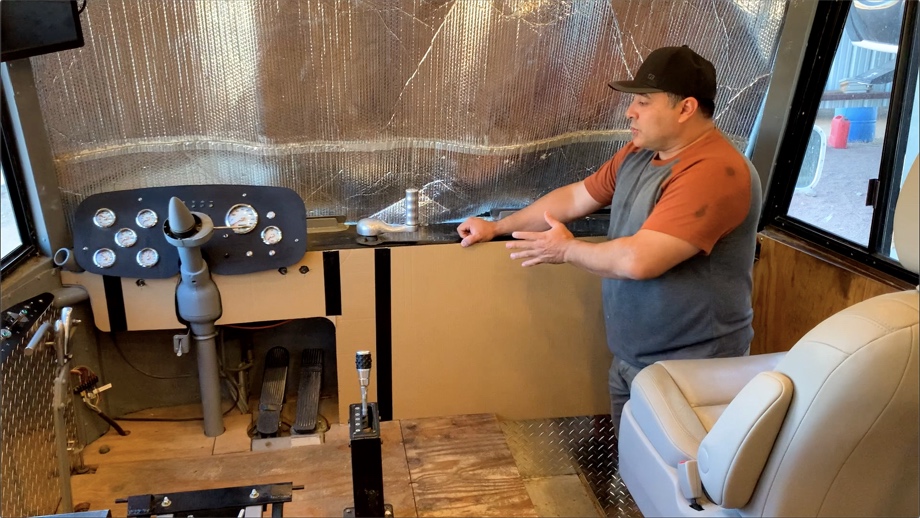
Since the day we ripped off the old tan vinyl coverings from the dashboard and entry wall, we have been welcomed into the bus by chewed-up metal and aging defrost system. Last week, we shared the new defrost system, and today we finally get to share how we covered it all up. The goals for this project were to keep the design simple, functional, and cleanable.
We know that this front entryway and dash will likely get quite dirty, so we decided to use one of our favorite building materials again - pre-finished birch plywood. Besides looking nice, the finish on it is exceptionally easy to clean. We have not found anything yet that we cannot remove, including sharpie markers. Because we have a planked ceiling and walls and slatted couches, we decided to keep these pieces simple and solid. The last consideration we made was to keep the front wall removable. This will give us access to the defroster, windshield wiper motors, mini-split drain, front door mechanism, and some wiring.
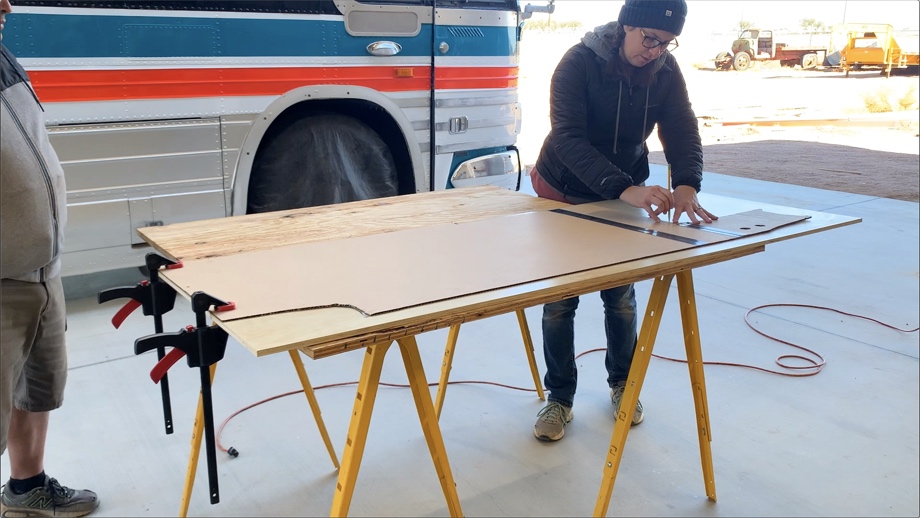
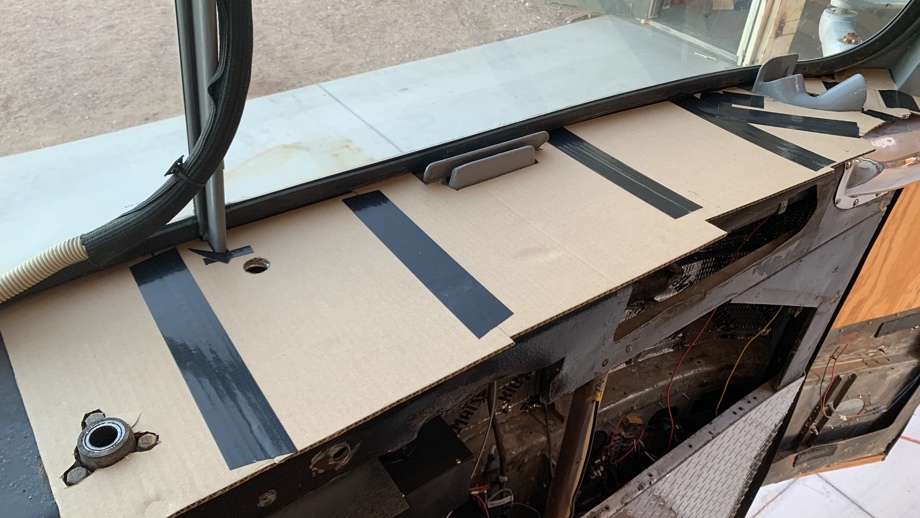
Once again, we made use of large flat pieces of cardboard to create templates. At $50 for a sheet of plywood, we only wanted to cut that once. Large flat pieces of cardboard and craft paper have been a lifesaver for us throughout this bus build for creating all kinds of templates in these strangely shaped spaces.
We began with creating a template for the front wall, notching for the steps, cutting holes for the windshield wiper knobs, and shaping it around the driver’s area. After multiple nips and tucks, we had something we were happy with.
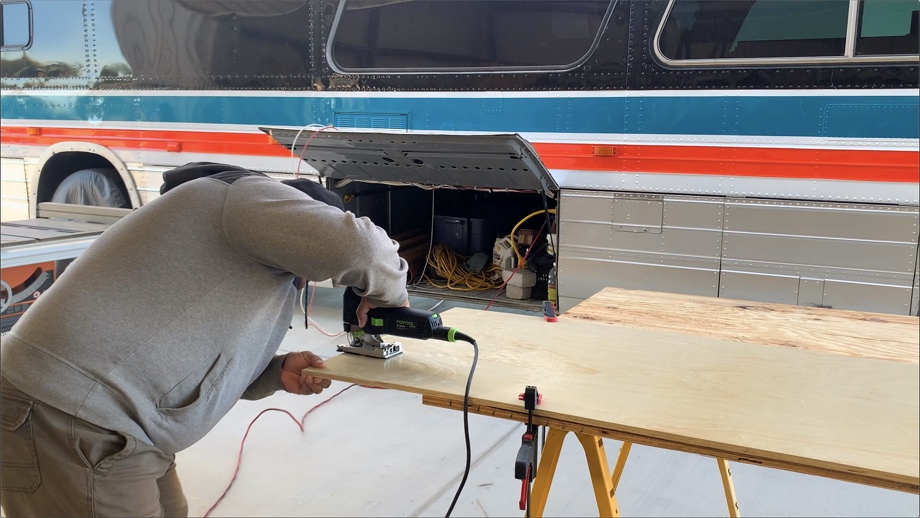
We were then able to trace that onto the plywood and cut it out. Thanks to the template it was very close to fitting correctly, but still needed a few minor adjustments. Also, we left it too tall temporarily. After we got a close fit, we paused and moved onto creating the top piece.
This is where the major challenge was. We really wanted to make this all one piece, but we were not sure it would be possible. There are multiple defrost vents, the door opening handle, and nooks and crannies to work around. We could not even template it in one piece. To make the template for this, we worked in small sections. As we got each new section to fit well, we pieced them together and duct-taped them. Once we had our frankensteined template, we traced that onto a couple of larger pieces of cardboard to make a second template. Again, we still had to shave here and trim there to make it fit.
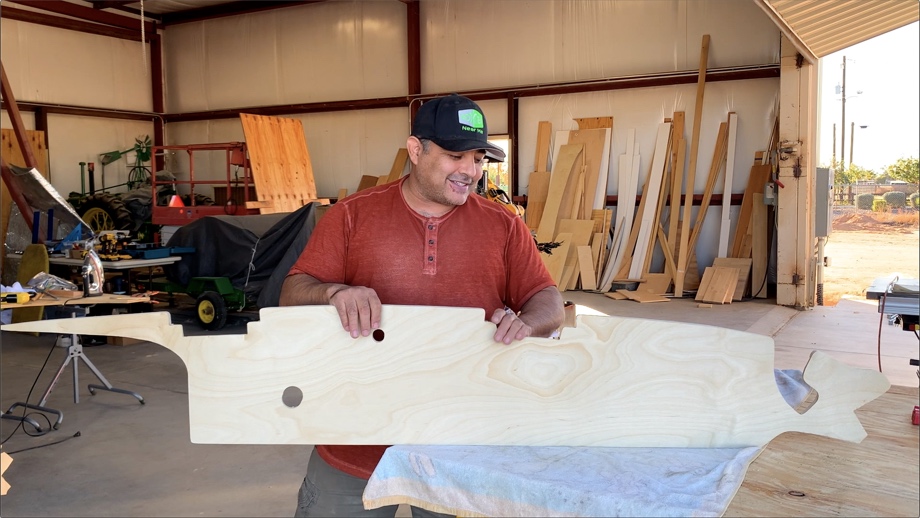
Now the real question came in - could we actually make a ½” wood piece fit in all one piece? The cardboard template fit but it was thin and somewhat flexible.
We traced the template onto the plywood and got to work. There were still so many adjustments to make, but it was so close. One of the biggest things we had to do was router out some sections on the back of the panel where bolt and rivet heads stick up and the defrost vents sit up higher than the metal. Finally, we were able to work it into place and make it lie flat. We edge banded the front and screwed it in from the bottom so no hardware would show. I still cannot believe we made that piece fit in there.
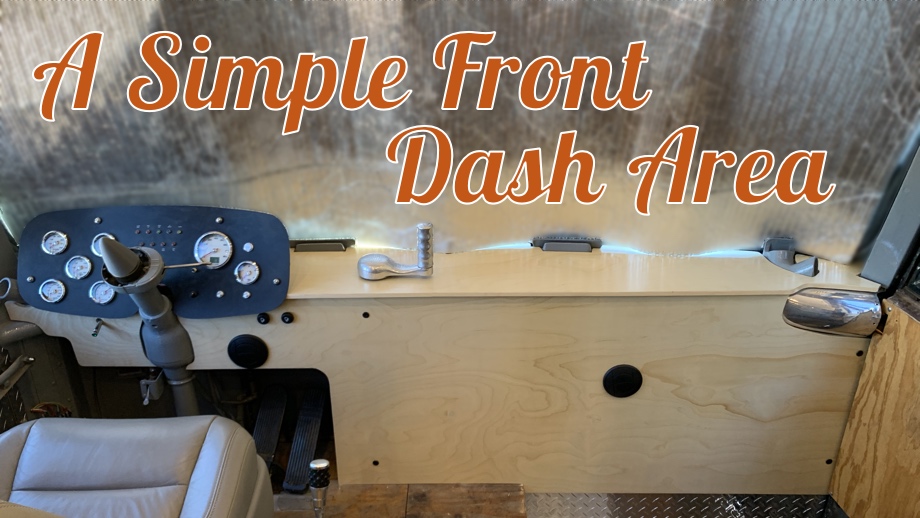
Moving back to the front piece, we could now line it up with the top and make the cut line so it just slides under the top. We cut that to fit and were onto the finishing touches. We added two vents for the defrost heater so that the driver and passenger can have over-the-road heat, so we had to cut out holes and install the vents. Last, we had to attach this front panel in a way to make it removable.
The first thing we did was install four rivnuts into the metal. These will allow us to securely fasten the panel and unscrew it whenever necessary without worrying about stripping out simple sheet metal screws. We bought black furniture bolts with nice flat Allen heads. They look nice and will make the panel easy to remove to service the area behind it.
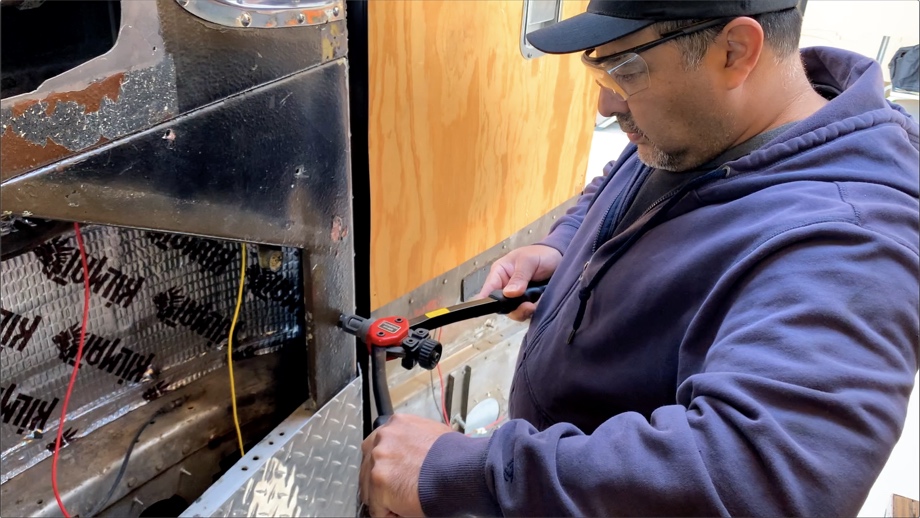
After attaching the last two defrost hoses to the vents, we were able to slide the front panel into place and secure it with the four bolts. Finally, after all this time, the ugly front dash was covered up. It is so much nicer to open the bus door and look into something other than the dark abyss that we covered up. The bright birch panels are simple and just what we were hoping for.

Coming up next: at long last, we build and install the cabinet doors and drawer fronts.
Watch the video:
Click here If you cannot see the video.


0 Comments
Comments powered by Disqus