


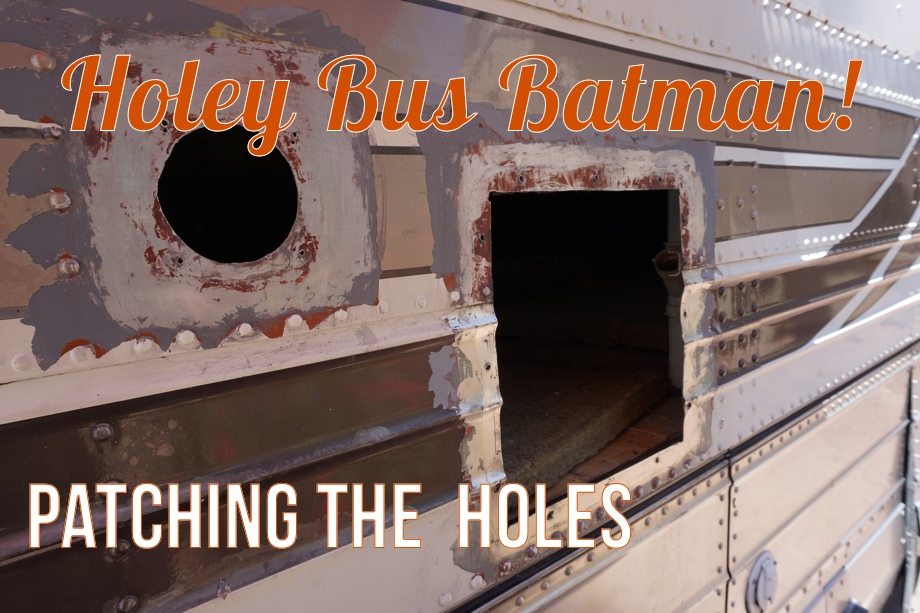
Holey bus, Batman! That’s holey, not holy. During the demo process, we created a lot of new holes in the exterior of the bus. We removed the city water inlet - small hole. We removed the tv cable inlet - small hole. We removed the furnace vent - medium hole. We removed the Cat space heater vent - small hole. We removed the refrigerator roof vent - big hole. We removed the hot water heater - huge hole. We removed the rooftop tv antenna - medium hole. We removed the rooftop a/c - huge hole. And, the bus had two other vented spaces for the original over-the-road a/c when it was a passenger bus. (Don't worry - we have plans for dealing with all the components we removed.)
Yikes!
All of these holes had to be patched. So, we learned how to buck rivet. This was actually a fun skill to add to the toolbox.
Here’s the process we used on all of these patches.
- Remove paint and clean surface. We used Jasco paint remover. Be sure to wear gloves, because this stuff stings badly if you have any teeny-tiny cut on your hands. Also, use a cheap paint brush to put it on. Wait 15 minutes, and watch it curl up the layers of paint. This is my favorite part.
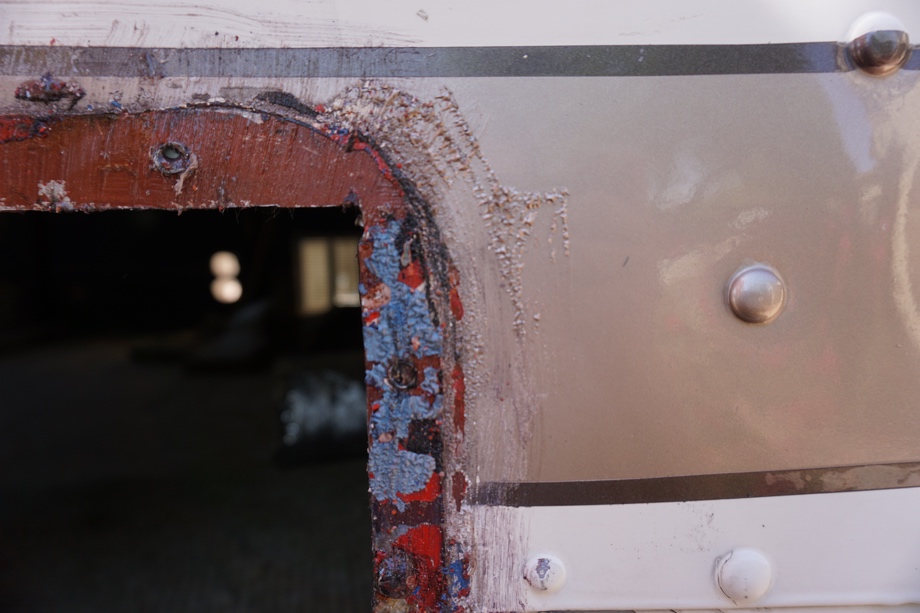 Then we found a razor scraper to be the best tool to scrape away the paint. There are so many layers of paint on our bus that we had to do 2-3 rounds of the paint remover before we got down to the bare metal. Then, we simply cleaned it well with some denatured alcohol.
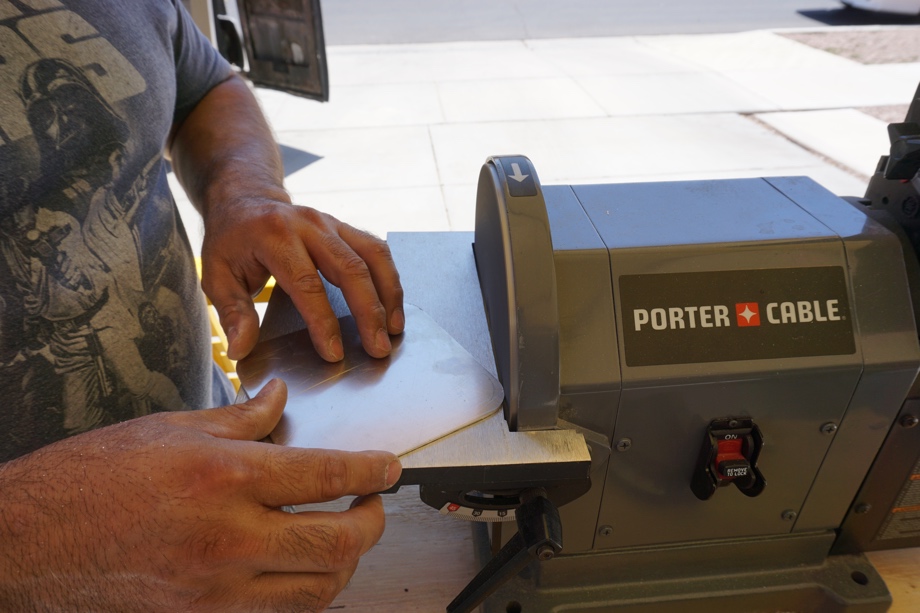
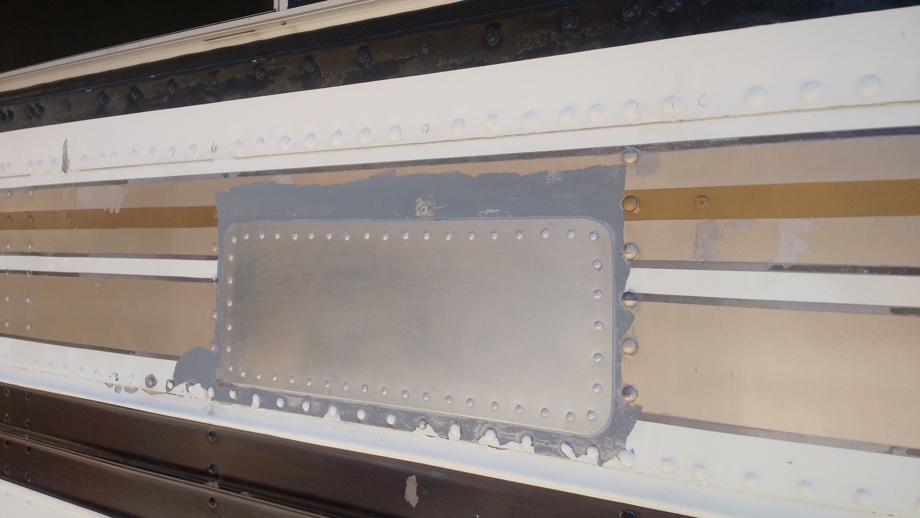
 - Cut the patches out of 14 gauge aluminum sheet. Our bus is all aluminum, mostly 1/16” thick. So this is what we used. If you are going to patch something yourself, just be sure to match the metals to prevent corrosion. We decided to round the edges of our patches just to clean them up and make them look a little nicer.
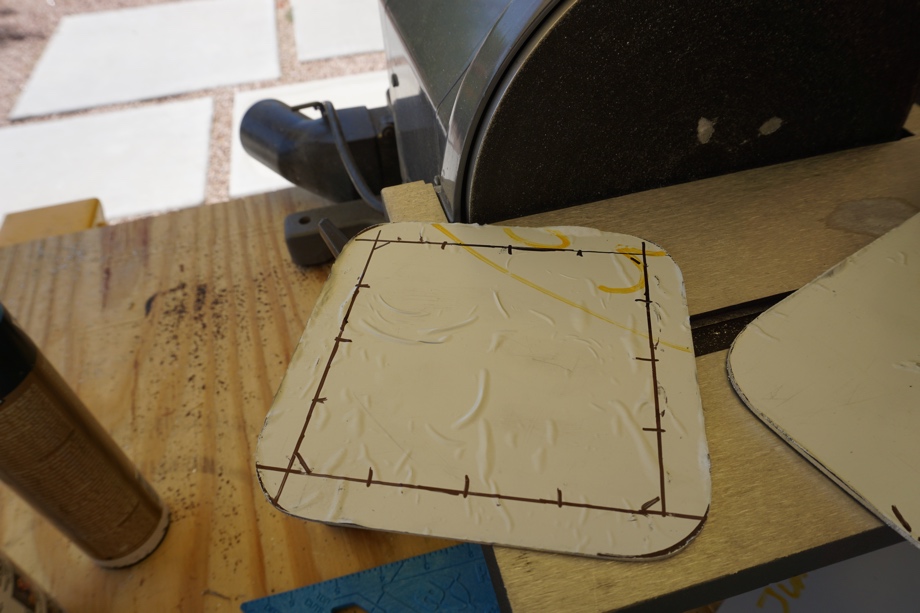
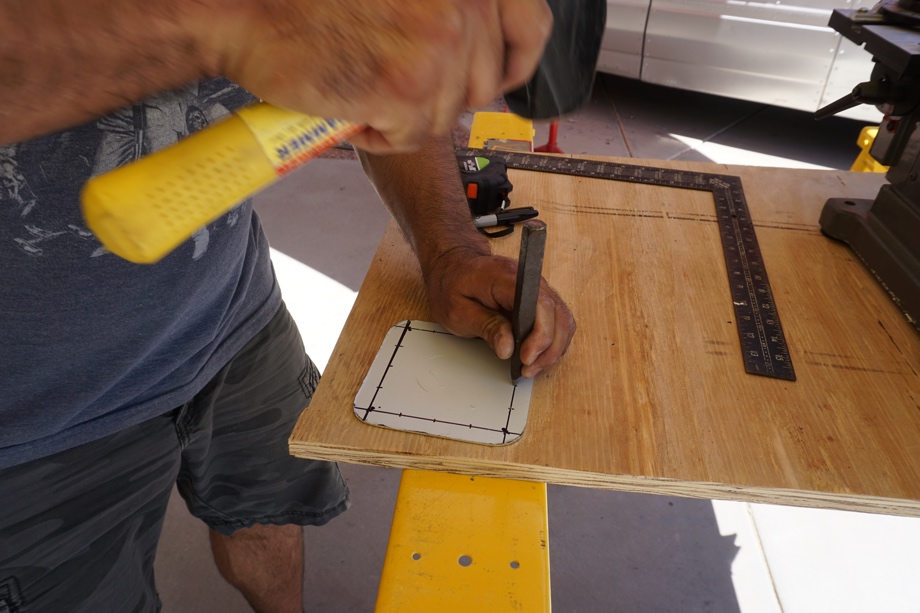
- Measure out and mark the rivet spacing on the aluminum. We used this article as a guide. The spacing (pitch) of the rivets is determined by the diameter of the rivet you are using. For most of our patches, we used 3/16” diameter buck rivets, so we spaced ours 1” apart from each other and ½” from the edge. The diameter of the rivet you choose is determined by the thickness of the material being joined. The length of the rivet is determined both by the diameter of the rivet and the thickness of the material being joined so you have the proper amount sticking out the back. Lots of math. Follow the guide above. If you want, you can even get a rivet fan like this one to make sure everything is straight and spaced evenly. That would have saved us a little time. But, we got pretty quick at the measuring and marking even without it.
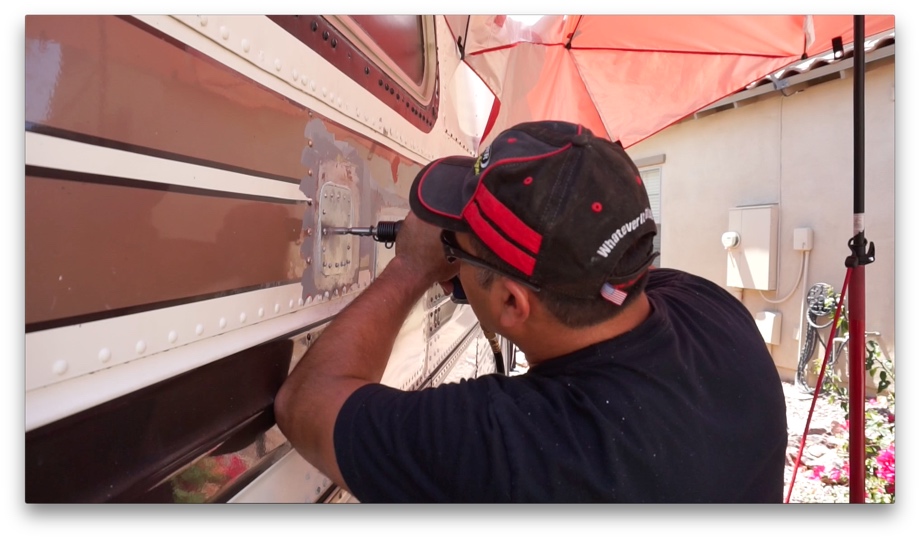
- Juan decided to use the center punch to mark each drill point, making it easier for the drill bit on the drill press to drop into the exact right spot.
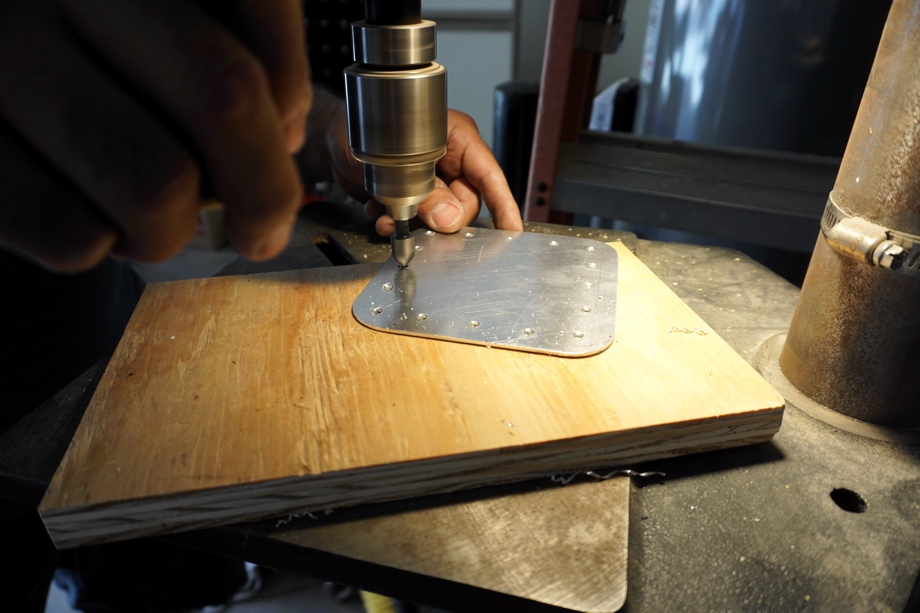
- Carefully drill out each rivet hole. Oh man, we were so thankful we invested in a Craigslist drill press. So much drilling!! We got our money’s worth, for sure. A quick de-burr on the backside of all the holes with the countersink bit, and we were ready for the next step.
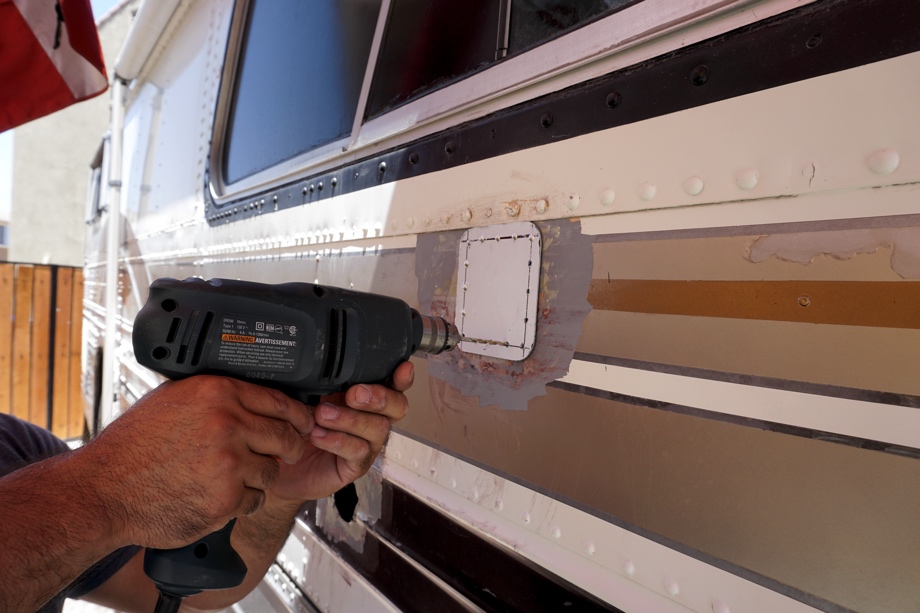
- Hold the aluminum patch over the hole and drill through the rivet holes into the side of the bus. Use cleco rivet clamps to hold the patch in place as you go. If you don’t have the clecos, just stick a rivet in the hole to hold it.
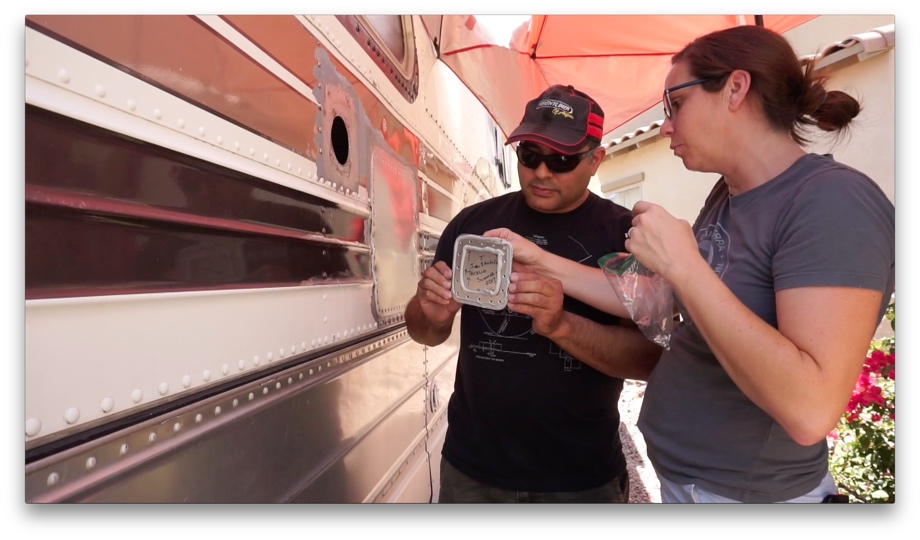
- To use sealant or not to use sealant. That is the question. We read a lot of different opinions on this subject. Some say definitely use it - others say no, you shouldn’t need it. Obviously, if you follow aircraft specifications, you “should” be air/water tight. We, however, decided that our bus is really old. The aluminum on it may not be perfectly smooth in places. In others, the sides of the bus are ridged. So, even though we were following aircraft specifications in our rivet spacing, etc., we wanted to give it an extra layer of insurance. So, we used Trem Pro 635. After removing our clecos or rivets holding the patch while we drilled, we put a small bead of it on the patch and then put the patch back in place. **Side note: Juan wrote little messages on the back of all the patches. Someday, if anyone ever tears down the walls that we will eventually build, they will find our little notes. Trujillos Summer 2017, Juan loves Michelle, The Trujillo Family 2017, etc.
- Rivet time! We used this rivet kit from Eastwood. Some say you can use an air hammer, but we had read that it is difficult to control the pressure on those. The Eastwood rivet gun says to set the air pressure between 40-45 psi, and they mean it. We originally had it set just a little bit too high, and it was deforming the heads just slightly. When we lowered the pressure down just a bit, it worked great! Make sure you have the correct “set” for the shape and size of rivet you have. Get a buddy, or in our case a 12-year old son, to hold the bucking bar on the other side of the patch. Then, just go!
- Work your way around your patch, riveting one by one.
- Water test. We waited until the following weekend to water test all of our patches, allowing the sealant time to cure. Hooray!! They were all good! No leaks!
While this was quite a tedious project, it was actually pretty simple. I don’t know why riveting seemed kind of intimidating at first (well, for me, probably not intimidating for Juan). It was really not that difficult at all. Now, we just have to repaint the bus, and hopefully, all of our riveted patches will just blend in.
Check out the video:
Click here If you cannot see the video.

0 Comments
Comments powered by Disqus