


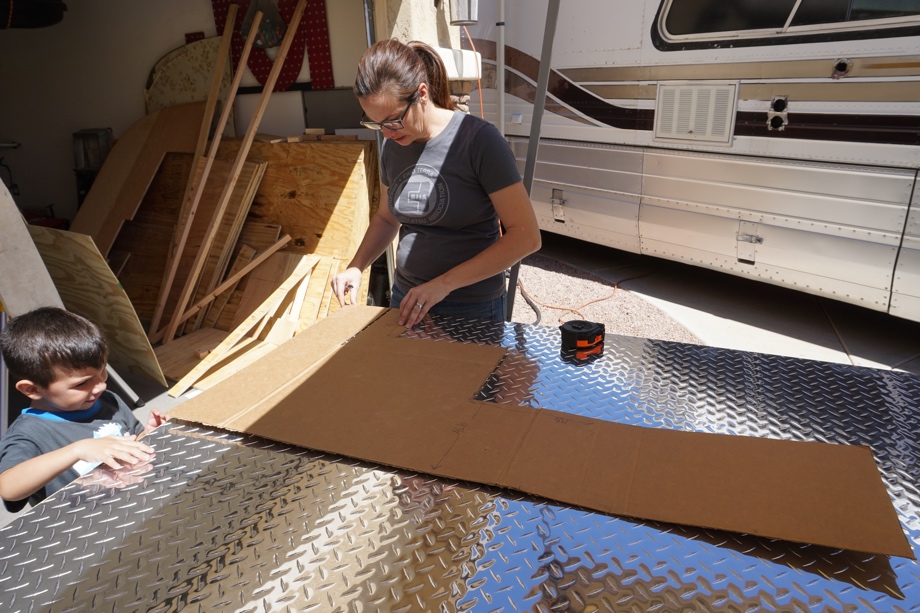
Last time, we built the new side wall for the entryway and the new top stair/drawer. The next “step” was to start covering the side walls in diamond plate. We made very careful measurements (1 sheet of the diamond plate cost about $180.00) and then made a template out of cardboard. We were extremely glad that we made the cardboard template first. Even with detailed measurements, the angles of the steps weren’t perfect 90s. After using our digital t-bevel to measure the angles, we made a couple adjustments on our template and set to work cutting the sheet of diamond plate.
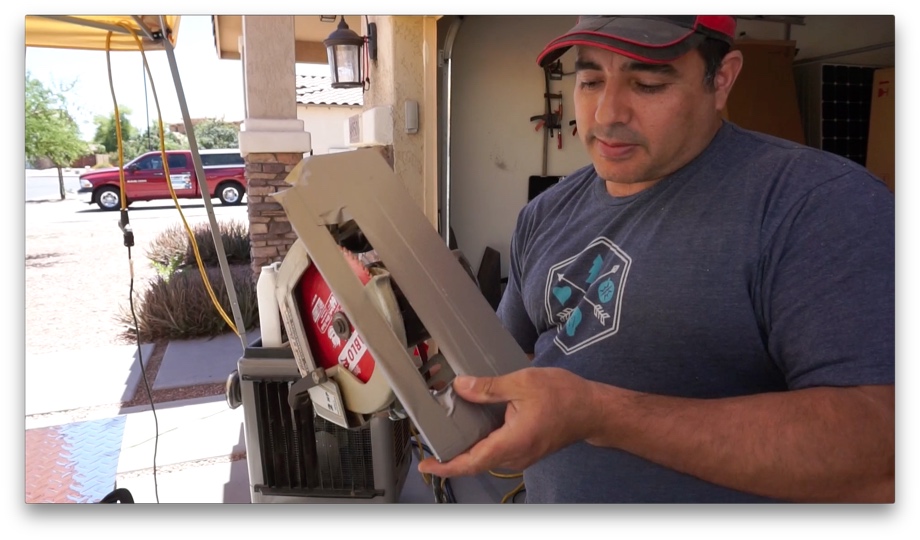
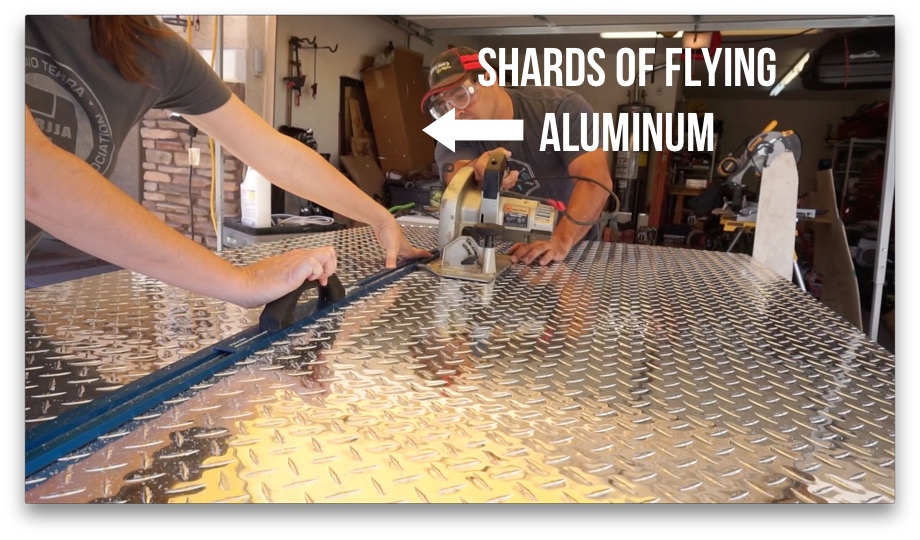
We cut the metal with a 60-tooth carbide blade on the circular saw. Juan set it to a shallow depth and covered the base plate of the saw with duct tape. We didn’t want to take any chance of scratching the diamond plate.
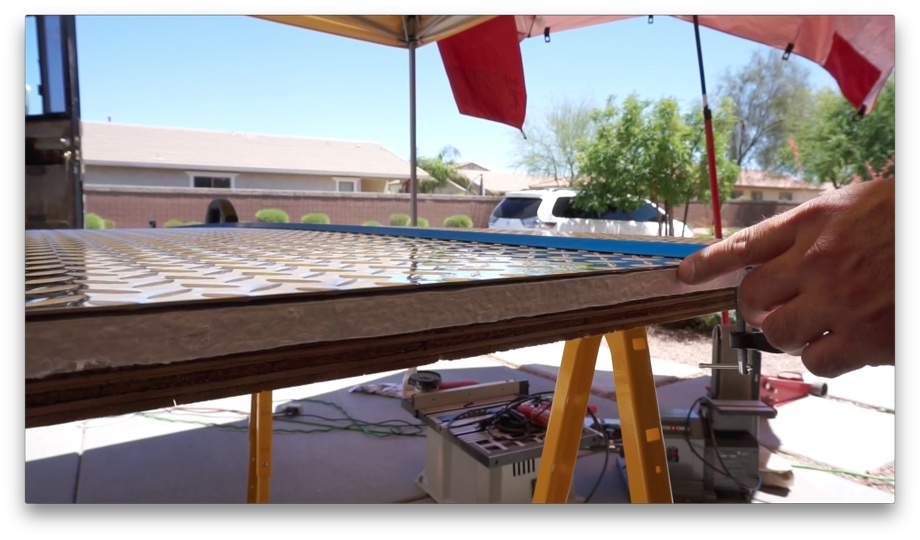
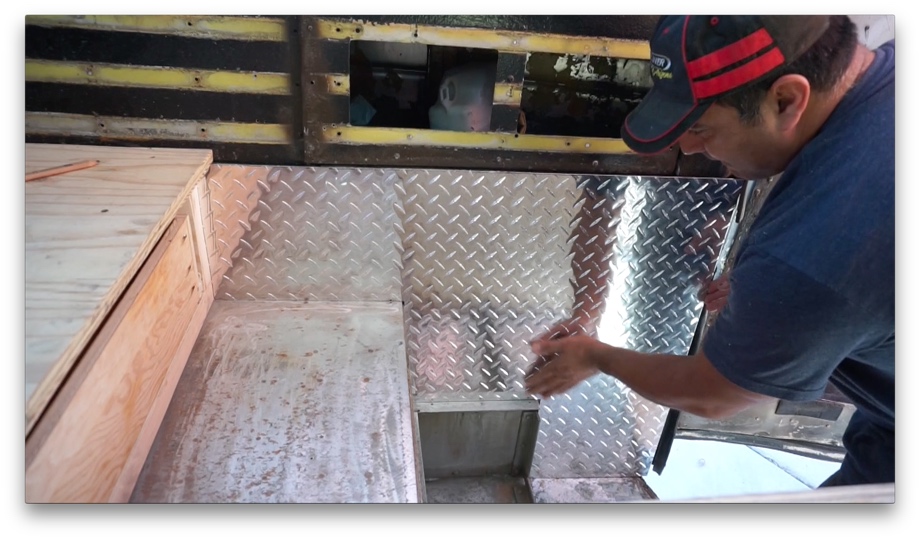
 Next, we placed the metal on top of a sheet of foam, traced our template, and carefully cut out the first wall piece.
It fit perfectly. Phew - so glad we didn’t mess that up.
 By the way, cutting metal is loud and painful. Shards of aluminum fly everywhere. We really should have been wearing long sleeves, but it was about 105 degrees out when we did this.
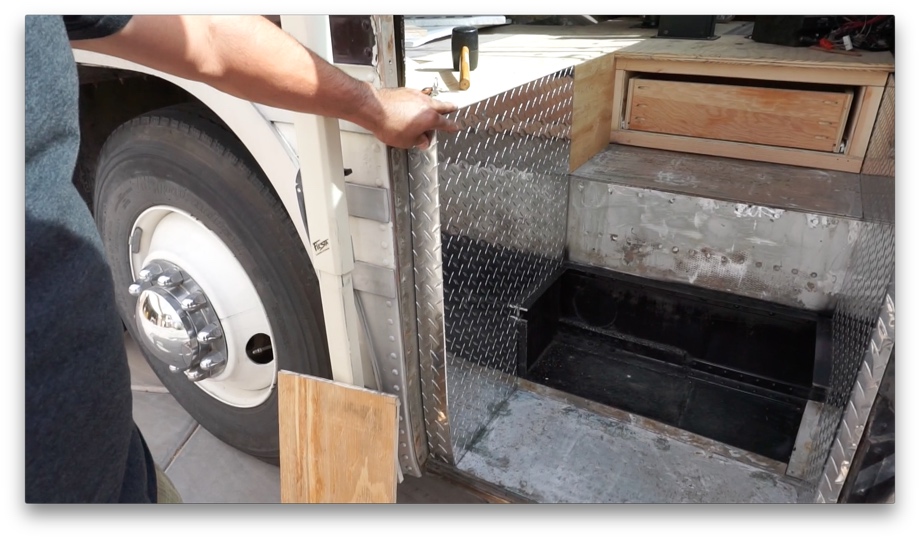
We followed the same process for the other side piece, except this time we had to deal with the curve of the door. After making a 90-degree angle in the metal using an inexpensive metal brake, Juan cut along the seam part-way up from the bottom, allowing the metal to curve into the right shape to trim out the door.
 Then we had to decide how we wanted to attach the diamond plate panels to the walls. We considered riveting, but we really just wanted to leave the diamond plate as is. So, we decided to glue it down with liquid nails. We clamped where we could and braced it where it couldn’t be clamped. After a couple of hours, it was set.
The next “step” was to build a new stair replacing the one we cut out previously that had been in such bad shape. Our plan for this one was to create even more storage. Cramming six people in a couple hundred square feet requires creative storage solutions. This step was the perfect place to create a “shoe box”.
First, we needed to add more angle iron to the sides to create a lip for the top of the step (lid of the box) to rest on. Then we had to cut and screw down the front riser for the step. Again, nothing in this bus is actually square. So, we had to find the exact angles of the corners. One was something like 90.6 degrees and another angle was like 89.4 degrees. Even such small amounts of being off from square made a big difference in how it fits. Details, details.
Finally, it was time to finish this step by building the lid and attaching hinges. We used our Kreg Concealed Hinge Jig which made it very easy.
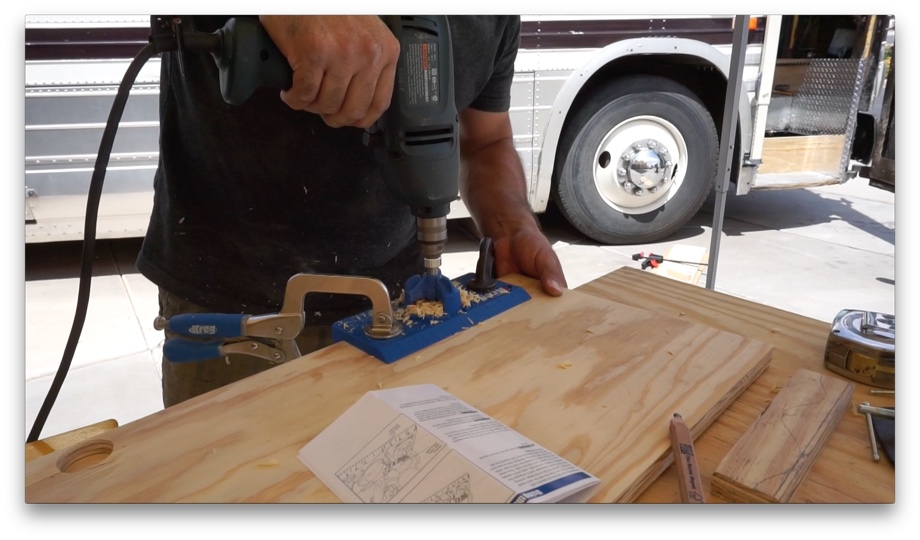 We used full overlay hinges. These allow the lid to pull slightly forward and then open all the way up. This step/shoe box should be able to fit a pair of shoes for each of us.
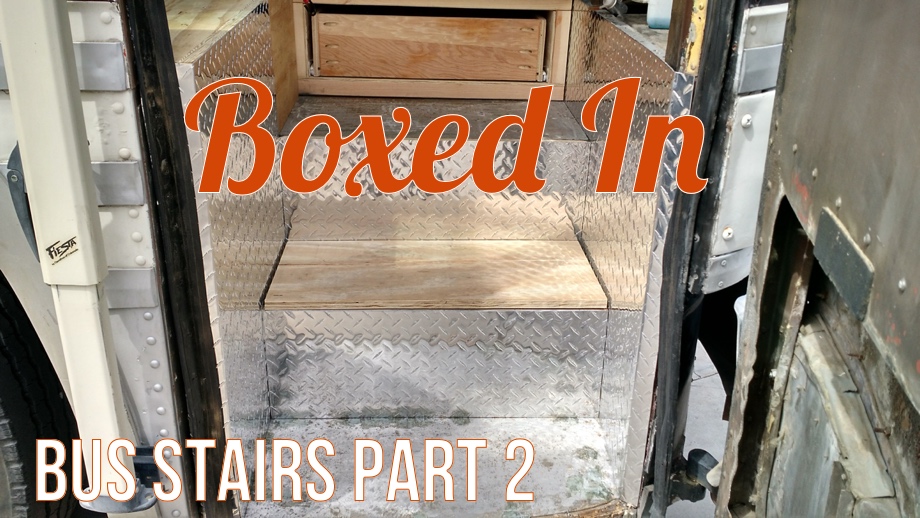
 The last “step” for Part 2 was to cover the risers of two of the three steps with the diamond plate. We finished that up and called it good for now.
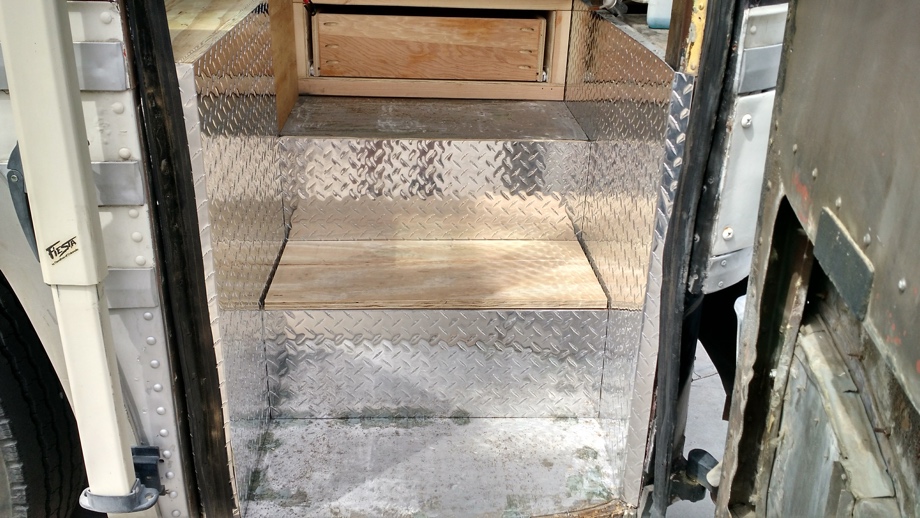 The face of our top step/drawer will have to wait until after we install the treads. The treads will be the same as our flooring throughout the rest of the bus, most likely laminate, and that will be one of the final projects we do. But, for now, we at least have functional, safe stairs. We know that the storage of the box and the drawer will be a life-saver for keeping shoes corralled. And, one day all the “pretty” will be finished. So, we’ll call this project ⅔ done.
Check out the video:
Click here If you cannot see the video.

0 Comments
Comments powered by Disqus