


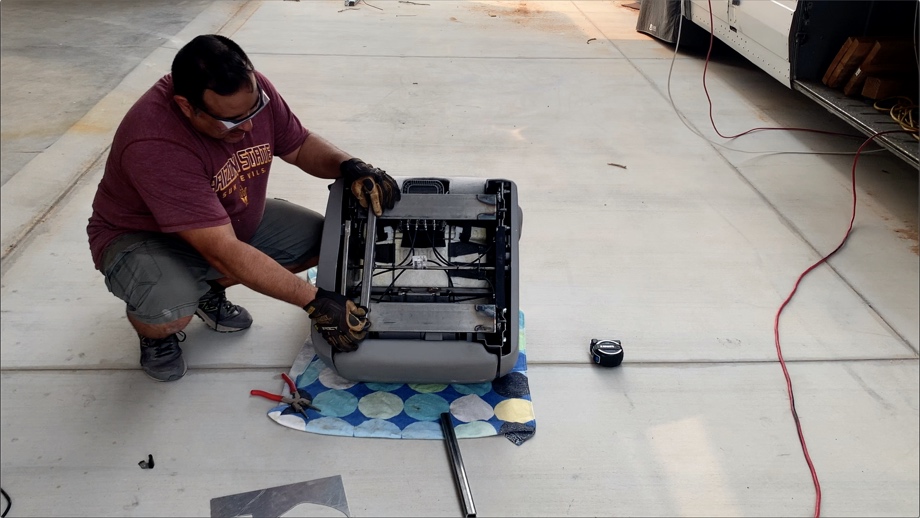
Two years ago, we installed a Toyota Sienna seat in our bus for our passenger seat. At that time, we made a custom mounting bracket to fit the base from the previous seat. Well, the time finally came to replace the driver’s seat as well, but we desperately needed new bases for both seats. We took our previous design of the mounting bracket we had made and modified it to work with the new swivel bases. We also added sliders to make these seats truly multifunctional. They can now swivel, slide, recline with a footrest, and be fully removed.
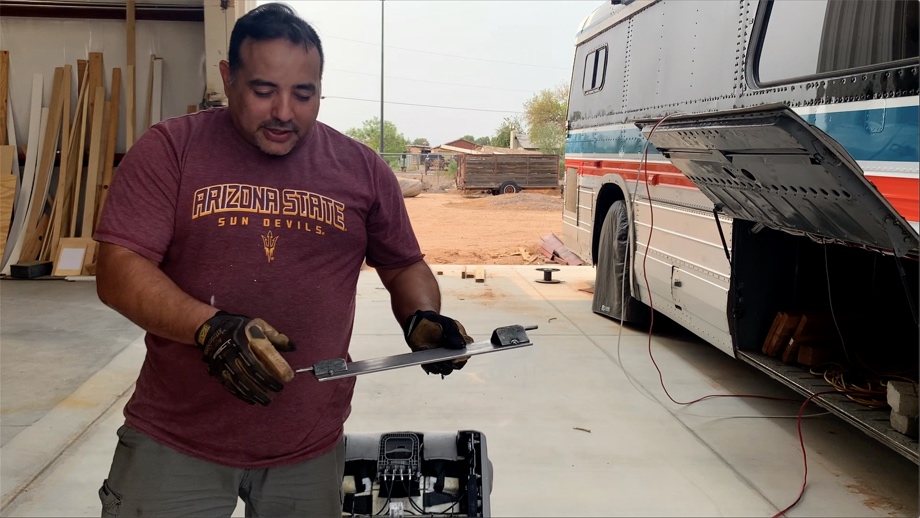
To begin this project, we started with the mounting bracket we made previously. While the cross supports no longer fit with the new base, the main locking brackets still worked great. Therefore, we were able to recreate the locking brackets for the new driver’s seat in the same way we made them originally for the passenger seat.
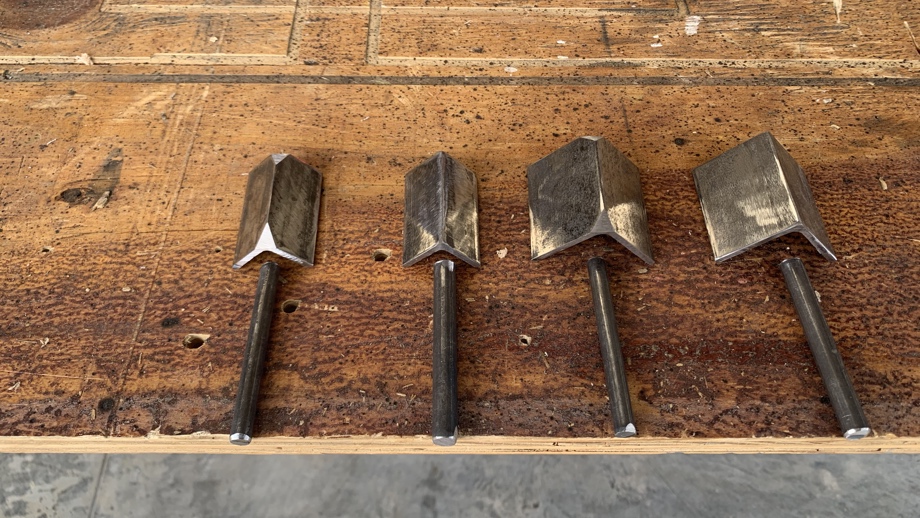
To review, we used angle iron and solid steel rods to recreate the bars that the chair clamps onto in the van. There are four clamps per chair, and of course they are not all the same. Two of them need to sit higher and be a larger diameter than the other two in order to have the seat level and clamped tightly.
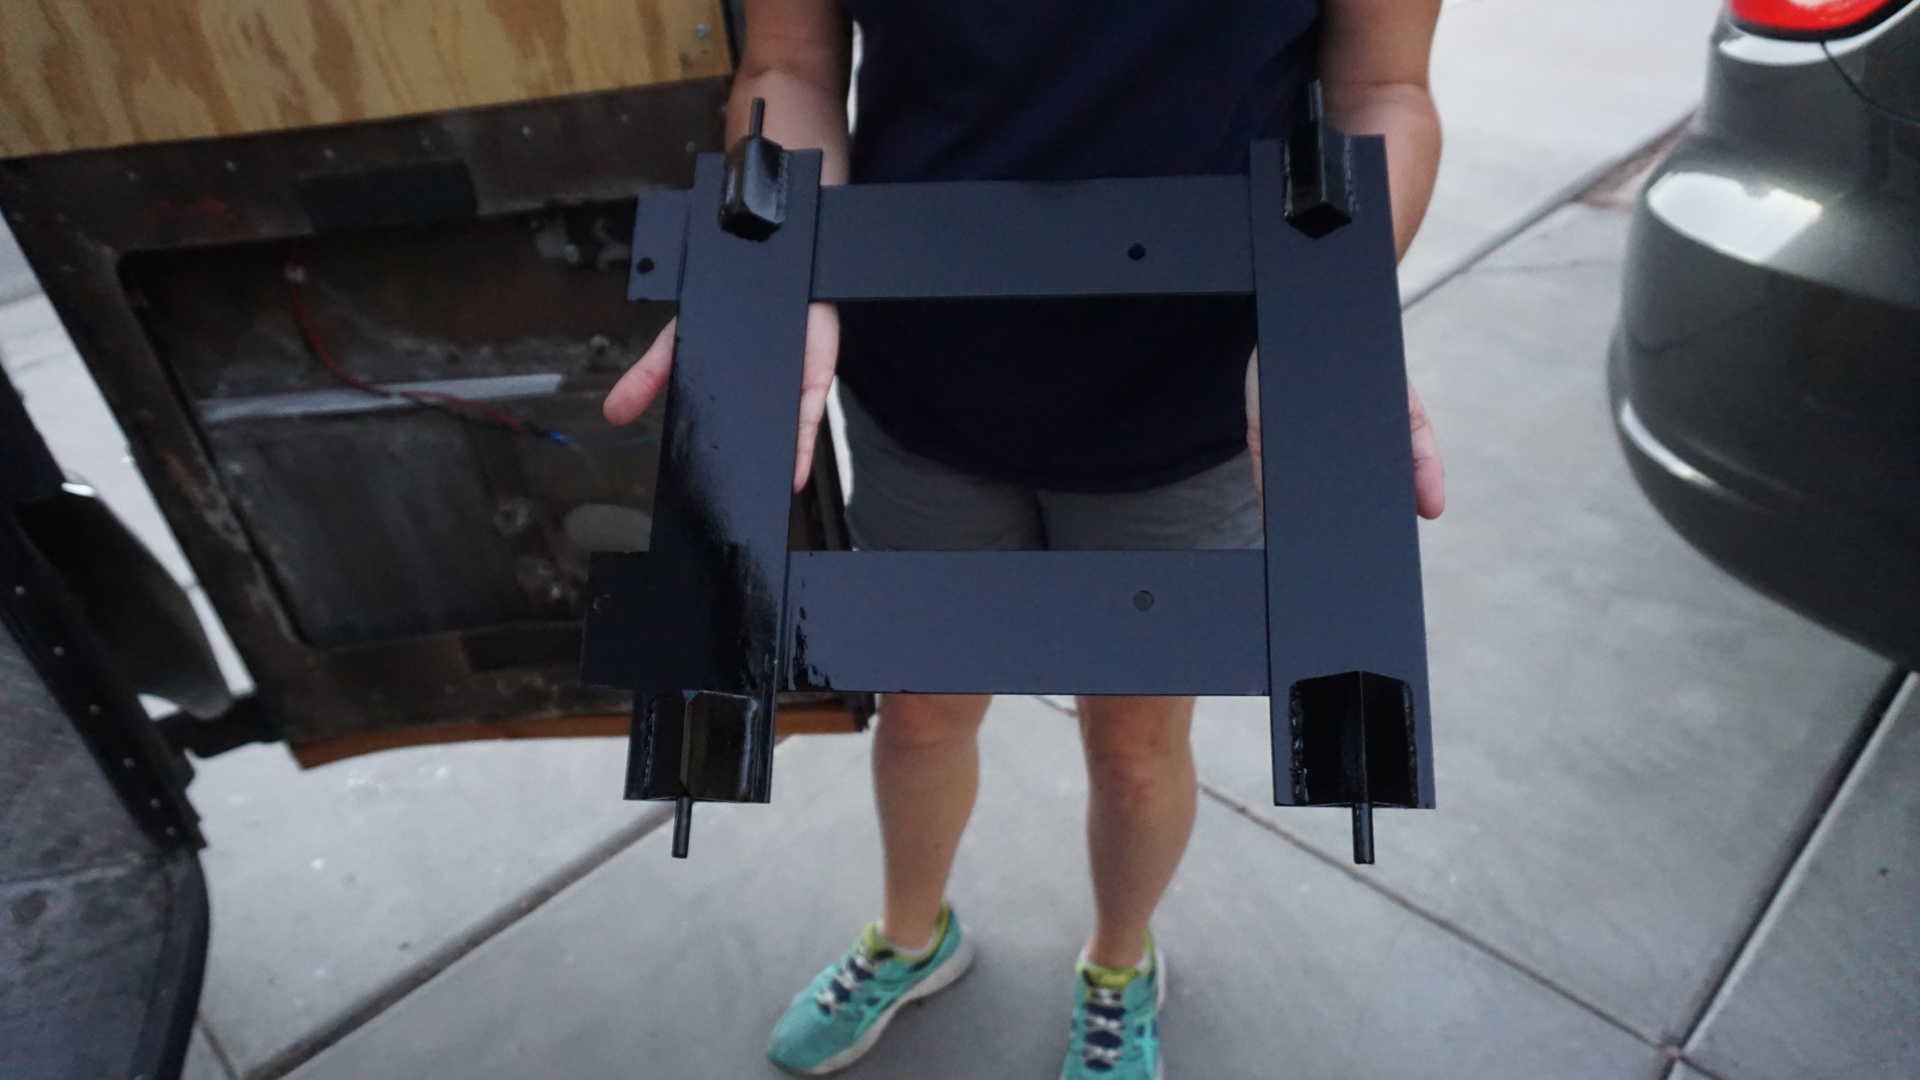
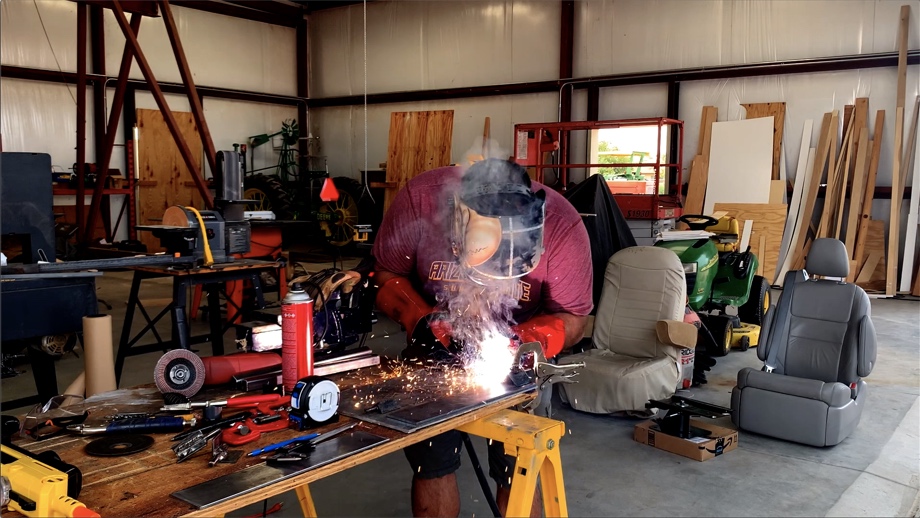
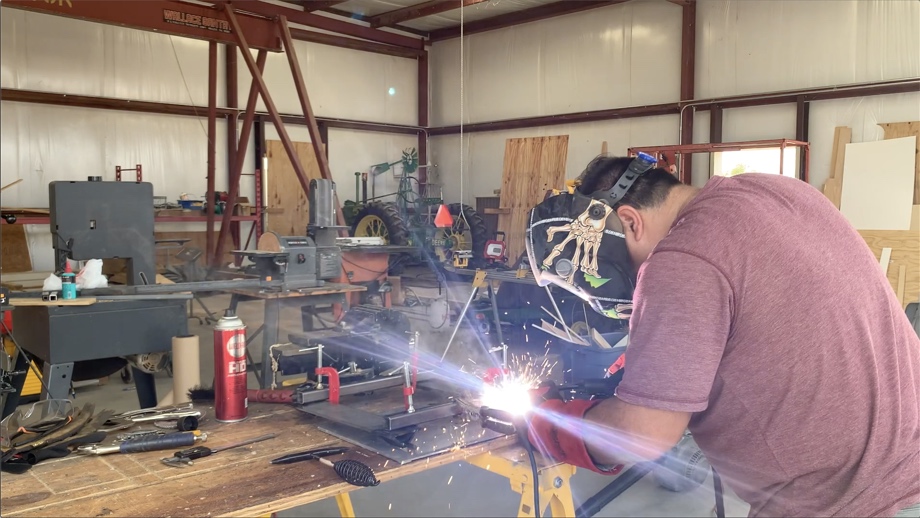
Next, we flipped the chair upside down, clamped the brackets into the chair and then used 3/16” x 3” flat steel to start making the entire plate. Once we had the flat steel lined up with the brackets, we were able to mark the positioning, clamp them, and weld them in place.
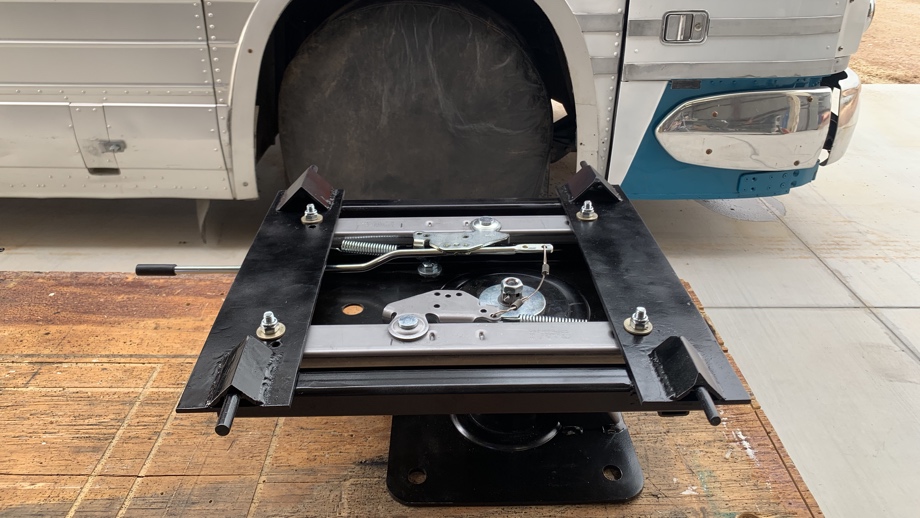
Then, we made the cross supports. This time instead of more flat steel like we did in version 1 of these plates, we used steel 1” square tube.
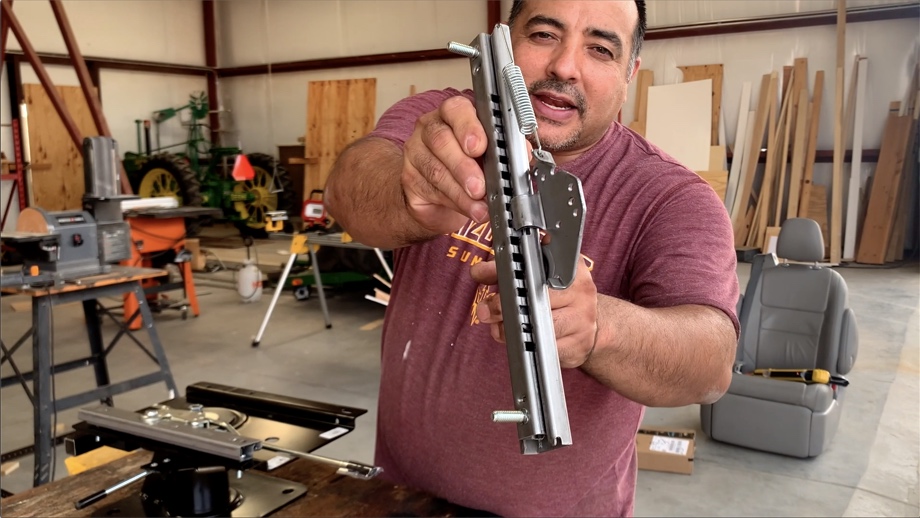
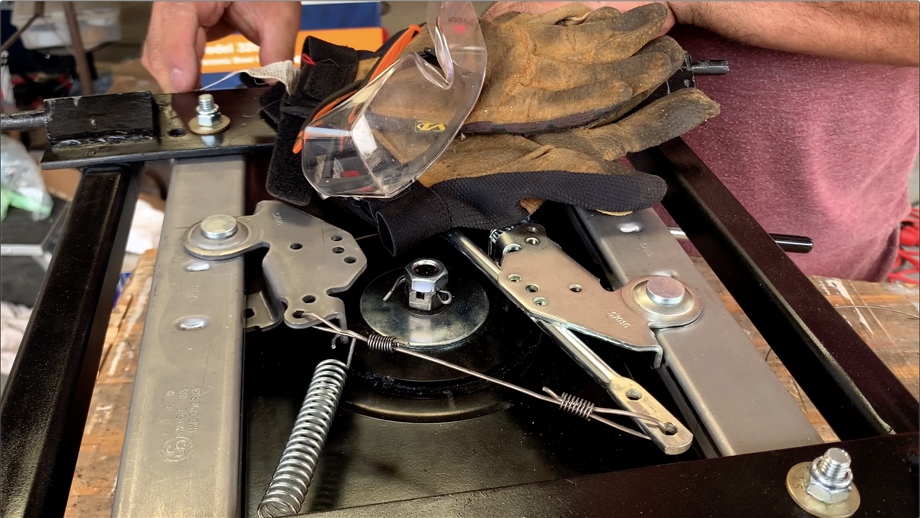
We then started adding the sliders to the base. These sliders are designed to mount onto standard bases, so the studs on the sliders line up with the holes on the base. Because we were then attaching a base plate to the top of the sliders, we had to add additional bolts from the sliders through our plates. We also had to tie the two sliders together. The sliders came with their own wire to do this, however it was not forgiving to make it smaller and broke easily. We made our own new connection cable with some baling wire. It works very well and seems much sturdier.
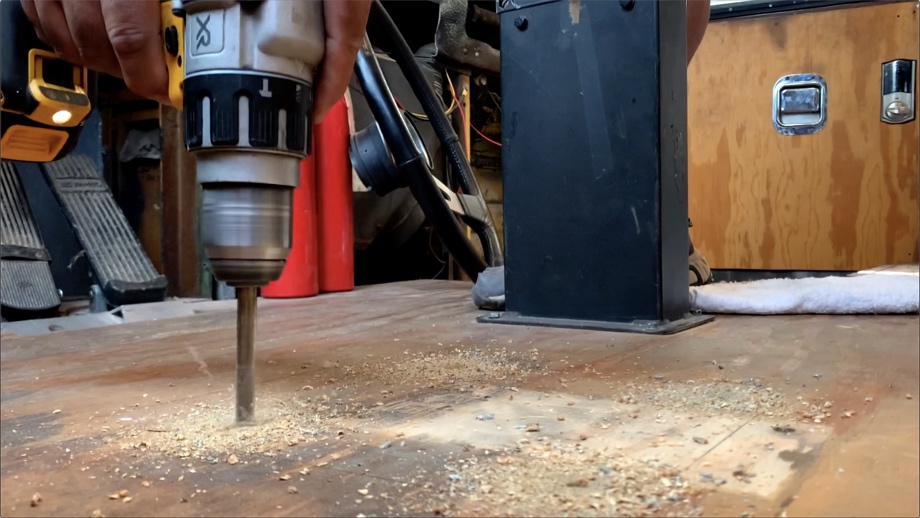
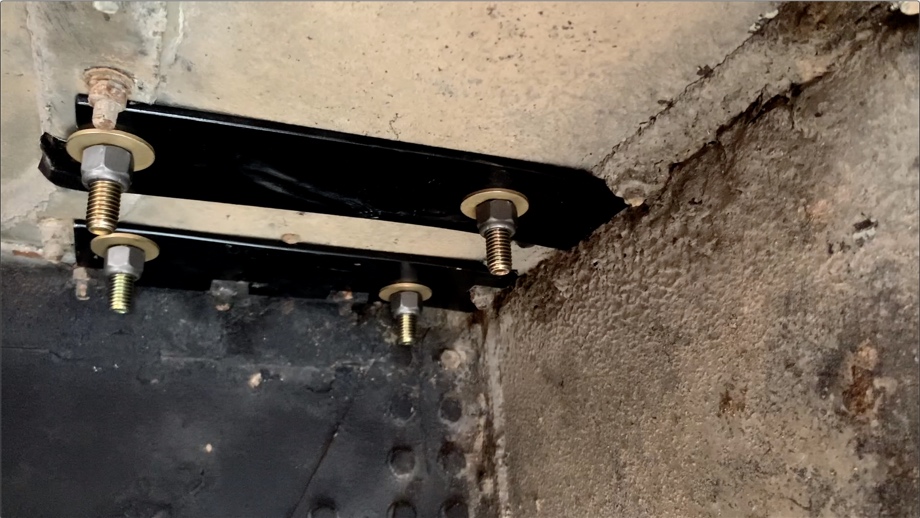
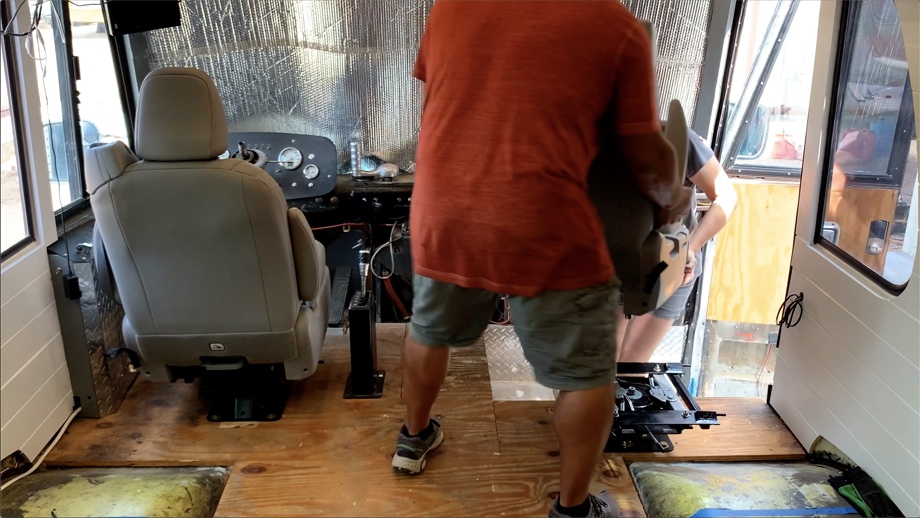
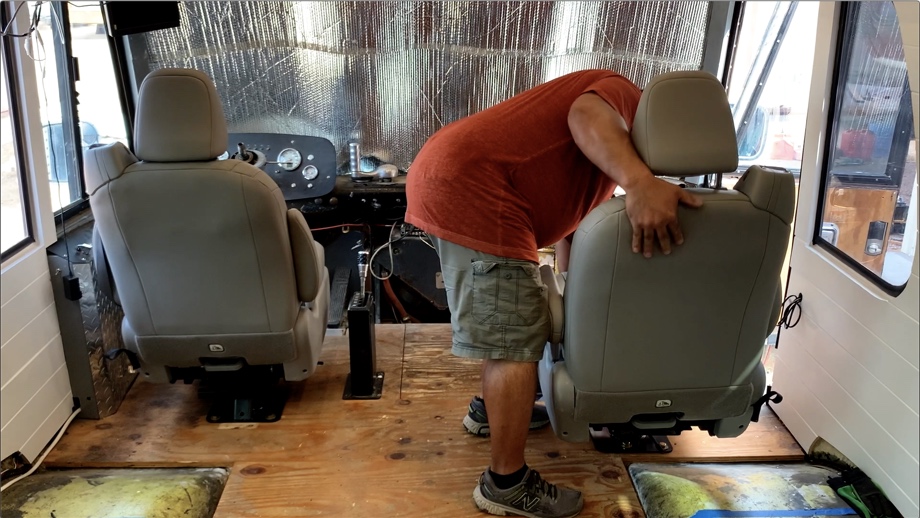
After the plates were made and the base, sliders, and plates were all put together, it was time to install them both in the bus. We used ½” Grade 8 bolts to mount the bases through the floors. Then on the bottom, we ran the bolts through large braces made out of 3/16” x 3” flat steel again and tied those into the metal framing of the bus. We tightened the bolts down and were ready to bring in the chairs.
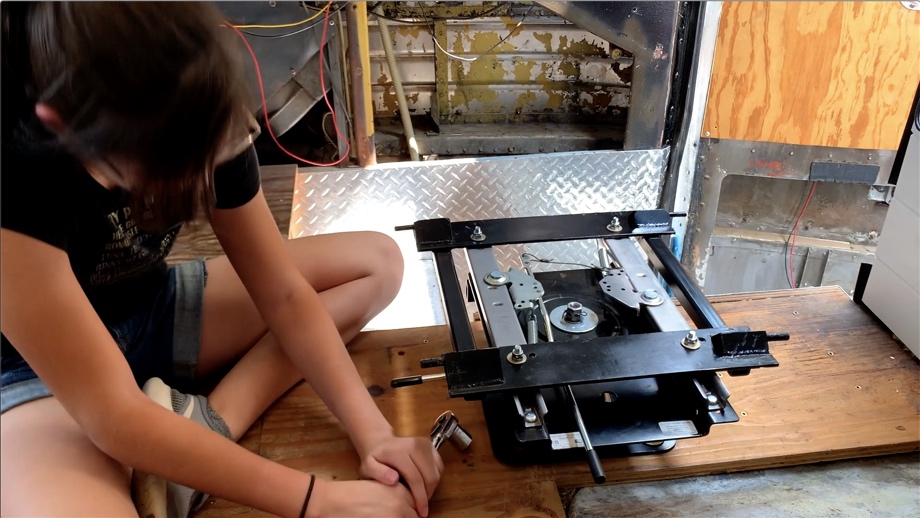
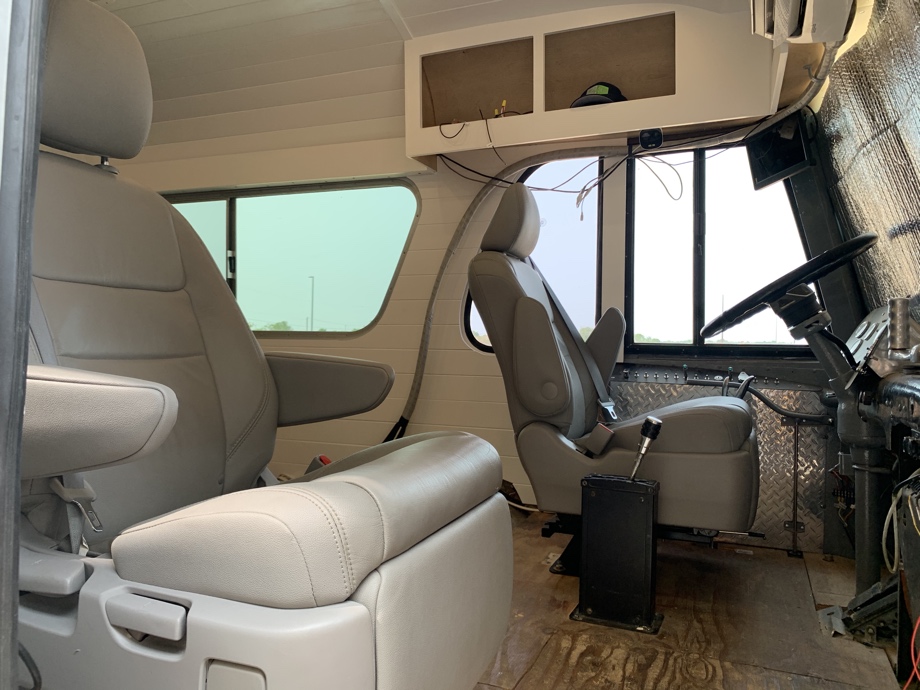
The chairs now easily just snap into the mounting plates, locking into place. We can swivel the chairs in a complete 360. This allows us to make the chairs part of the living room when we are parked, giving us much more usable functional space. We can also slide the chairs forward or backward, which is especially necessary for the driver’s seat being able to accommodate different heights of drivers. Because we used the clamping feet like the seats are installed in the vans, we have retained the ability to easily remove the chairs if necessary. Bonus that these seats recline with a footrest as well.
The most important part of having these new seats and bases is they are much, much safer than what was previously in the bus. The bases are stout and are solidly installed, and we have fully integrated seat belts with shoulder straps. We are breathing a sigh of relief to finally have both of these Toyota Sienna seats installed now with brand new bases.

Watch the video:
Click here If you cannot see the video.


0 Comments
Comments powered by Disqus