


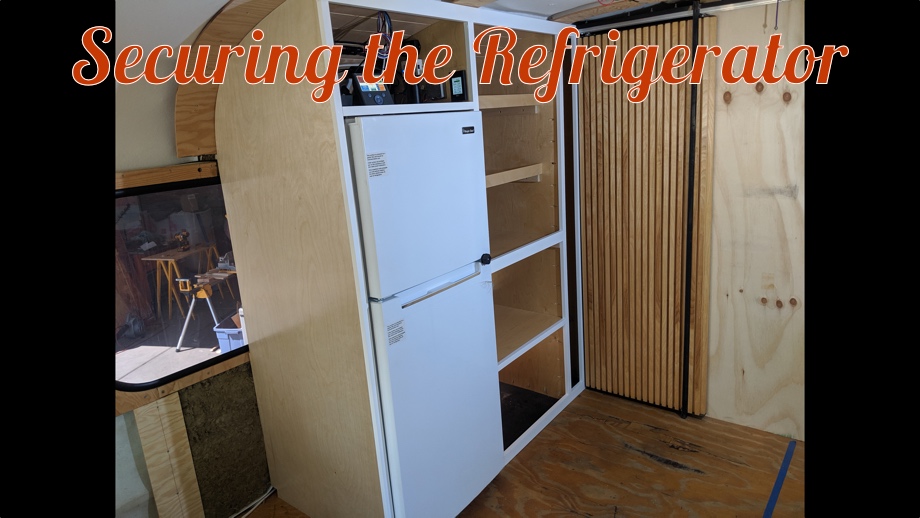
Long ago, we decided that we wanted a residential refrigerator in the bus. We have enough battery storage to maintain the 120V needs of a refrigerator when boondocking, especially because newer residential refrigerators are very energy efficient. Our biggest limitation when deciding on a refrigerator was the height of the bus - specifically, the height where the ceiling starts curving. We determined that if we want to put the refrigerator against a side wall, it can only be about 59" tall.
 Luckily, we found a great little frig from Home Depot. It’s the Magic Chef 10.1cf refrigerator. Surprisingly, we can fit quite a lot of food in there (we had it in our laundry room at our house for months and I practiced putting food in there to see what I could fit). It is the exact height we need, but the best part is that it uses less than 1kwh per day. In fact, when we tested it with our Kilowatt meter, it was consistently using about 0.7kwh per day. The bonus is that it costs about $300 (we were able to wait for a sale). Disclaimer: It specifically says in the manual that it is not to be installed in an RV, and it’s not to be built in. Well, we are doing both. But, if it breaks, for $300 we can buy this refrigerator many times over for the price of one RV refrigerator. Luckily, we know many people have this same refrigerator in their bus conversions with great success.
We had two concerns about installing a refrigerator. First, how can we secure the refrigerator so it won’t come flying out in the event of an accident (or even just a sharp turn)? Second, how can we secure the doors while driving so they don’t pop open on a bumpy road sending food flying?
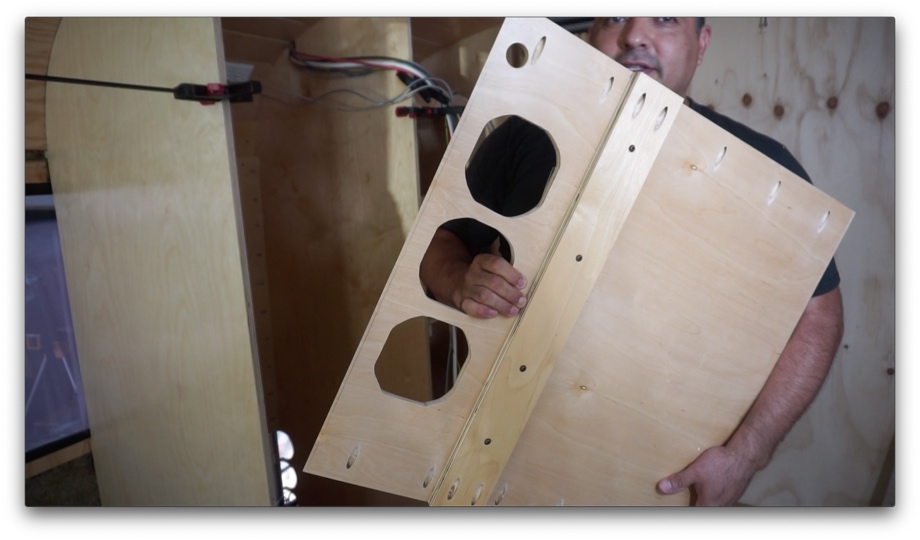
The first part of our plan for securing the refrigerator was accomplished when we built the technology cabinet. On the underside of the shelf that sits above the refrigerator, we screwed in a ¾” plywood brace. The brace sits just about ½” above the rear of the frig. This should prevent the refrigerator from being able to tip forward. However, we still had to figure out how to stop it from sliding forward.
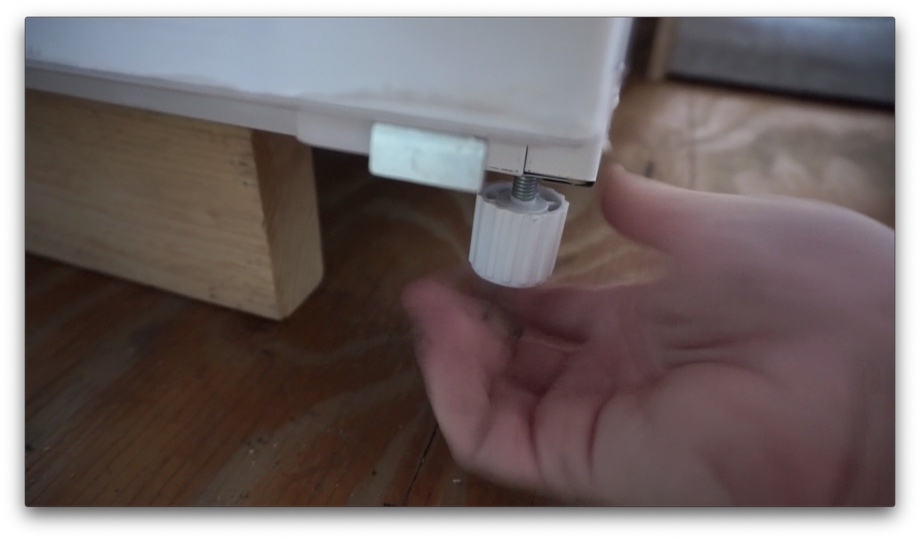

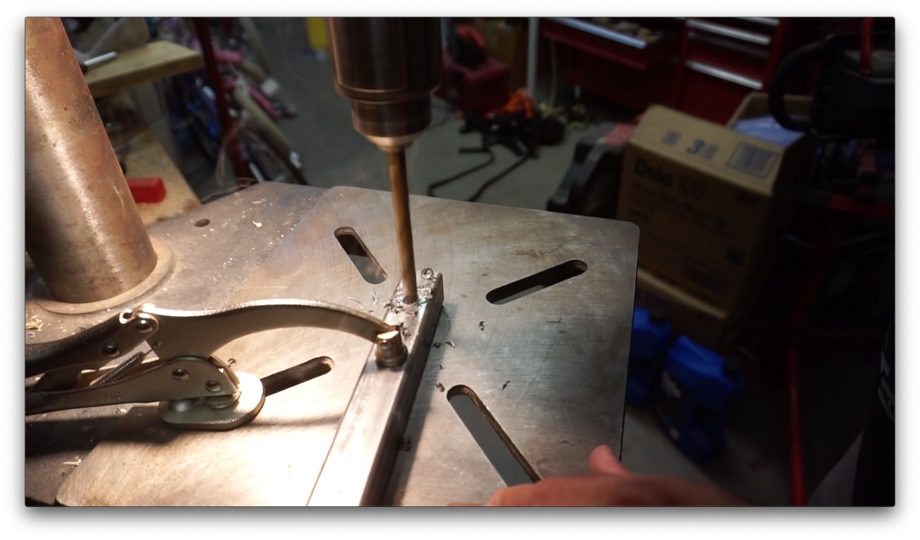
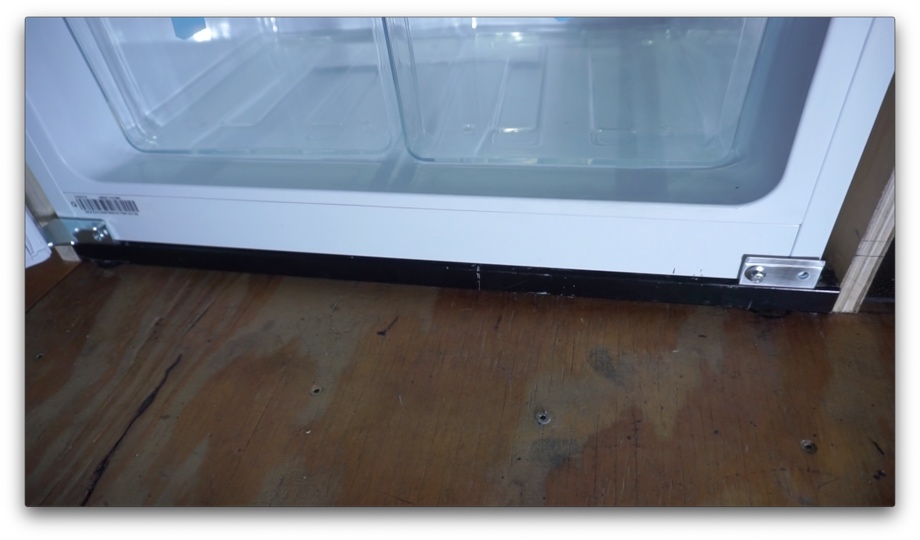
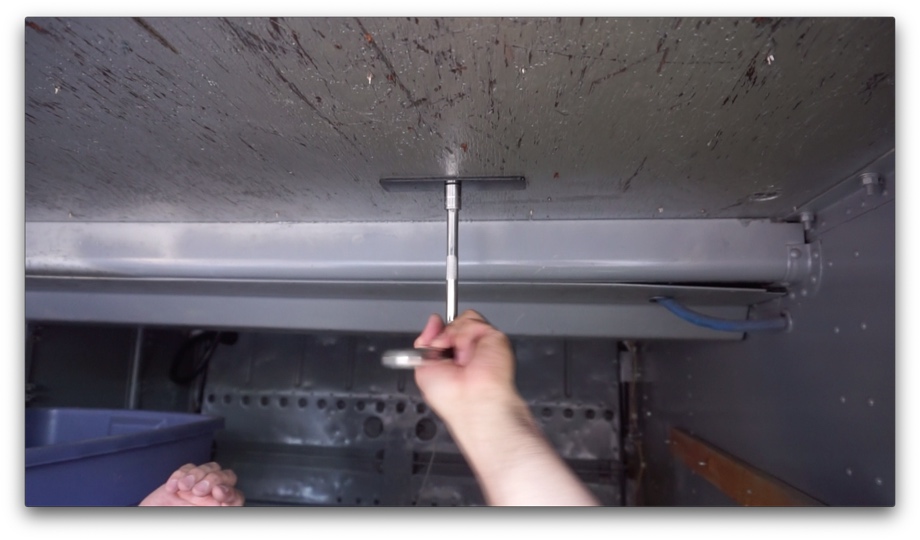 It turns out that the adjustable feet on the front of the frig provided the perfect mounting spot. They bolted directly to the frame of the refrigerator. The feet are approximately 1” tall, so we used a length of steel 1” square tube to take up that space. We then drilled holes through the tube to line up with the screw holes. Next, we drilled up through our double layer of subfloor. Finally, we made some huge steel washers and bolted up through the subfloor and steel tube directly into the base of the refrigerator with M8 Grade 8 bolts. This should be enough to keep that refrigerator in place.
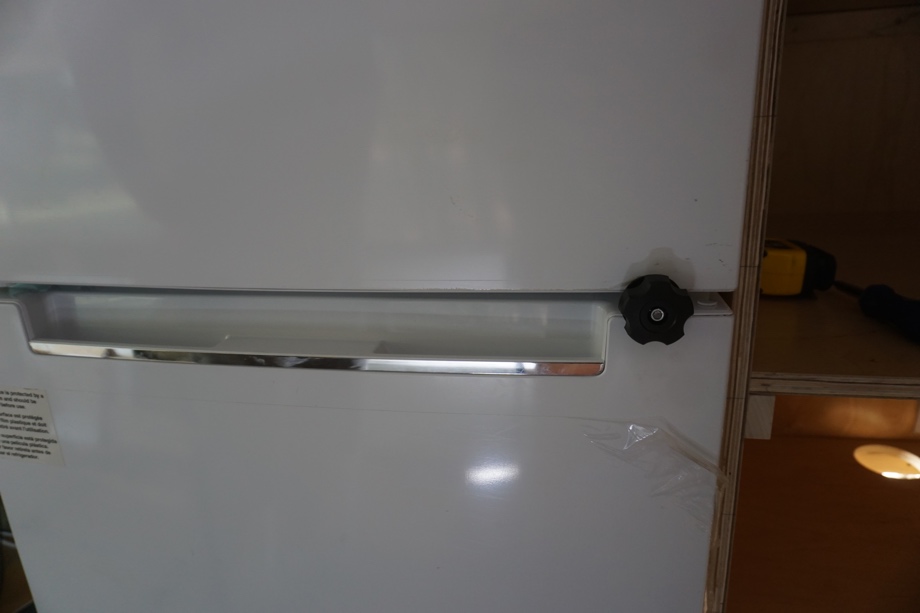 Originally, we planned on using child safety latches to secure the refrigerator doors while driving. In the midst of installing the refrigerator, however, we came up with another plan. Another great thing about the refrigerator is that you can switch which way the doors open. That means that there are screw holes on both sides of the frig for mounting hinges. We were able to use one of those screw holes that is in between the top and bottom doors to make a “lock” of our own. Juan went to the hardware store and bought threaded rod, some nuts, and a knob. We screwed them all together and cut the rod to length. Now, when we are getting ready to drive, all we have to do is screw this knob into place and it pins both the freezer and refrigerator door closed. Then, when we are parked, we don’t have to have a safety strap hanging there. We can simply put our knob away until the next drive day.
The refrigerator has been working perfectly since installing it. For now, we just keep cold water in there for work days, but it’s a nice perk. We think we will be very happy with this little frig and are pleased with how we were able to secure it.
Next up: The project we feared - building the upper cabinets around the front driver’s area. So many curves!!
Watch the video:
Click here If you cannot see the video.

0 Comments
Comments powered by Disqus