


After four years of building the bus almost every single weekend, we could finally see the finish line. It was time for flooring! We chose a waterproof vinyl plank flooring but decided to add a little something first. After spending one night in the unfinished bus the previous Christmas Eve and waking up to cold floors, we decided to add some heat. “Cozy toes” as we affectionately call it.
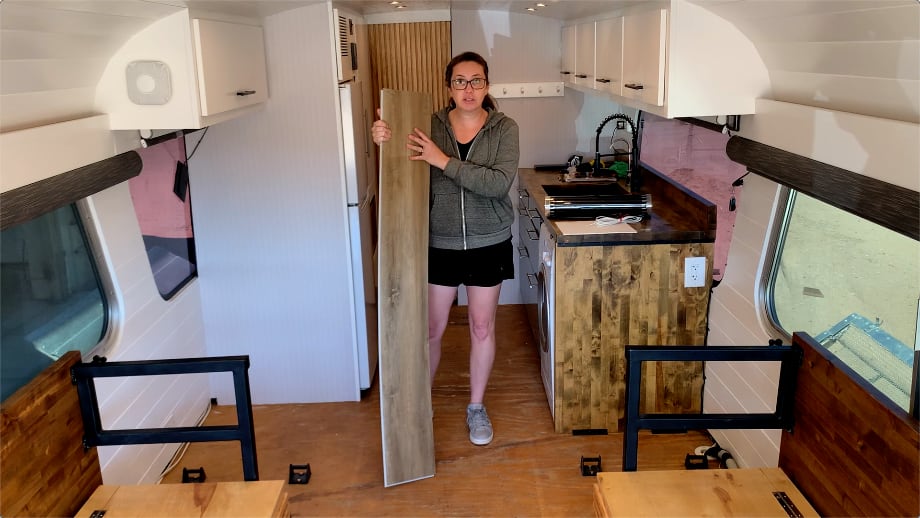
After a lot of research, we decided to use vinyl plank flooring. We looked at all of our options and ended up choosing a waterproof option called Prime Premium Maple Beautiful Beige. We bought it from a local company (the same place we bought our shower waterproofing supplies), The Flooring Outfit. *(It appears as though you have to go through a retailer to purchase this flooring. I cannot find a direct link to the product company.)
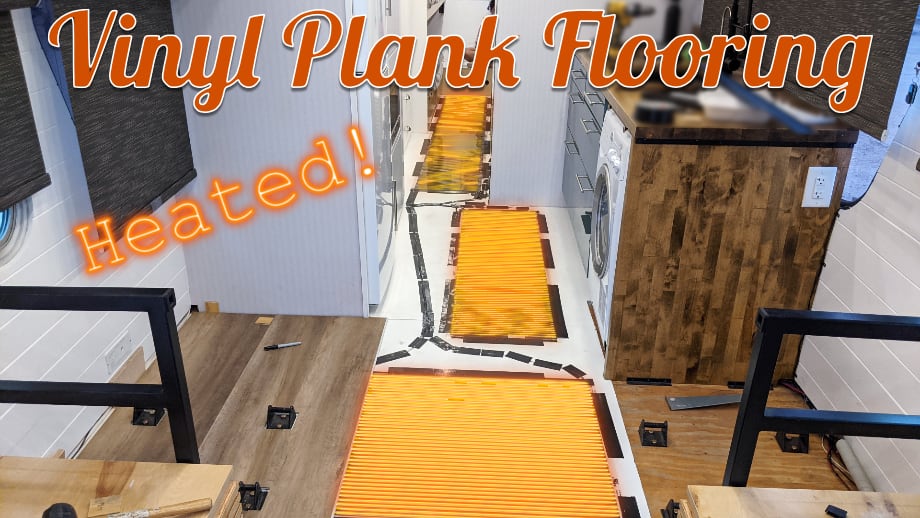
The floor heating option we chose is called Quiet Warmth. There are several similar products, but we chose this one for its good reviews, price point, and availability on Amazon. It is the thinnest plastic film in layed with wires. You can order it in different widths and lengths, and it is pretty simple to work with. The hottest it gets is 85F, so it is safe to put under pretty much any type of flooring. The issue we had was that we needed to be able to channel out underlayment to fit the main wire leads under the floor. Since our vinyl planks have attached underlayment, we didn’t actually need to add a regular flooring underlayment. However, we had to do something, because we weren’t going to channel out our plywood subfloor.
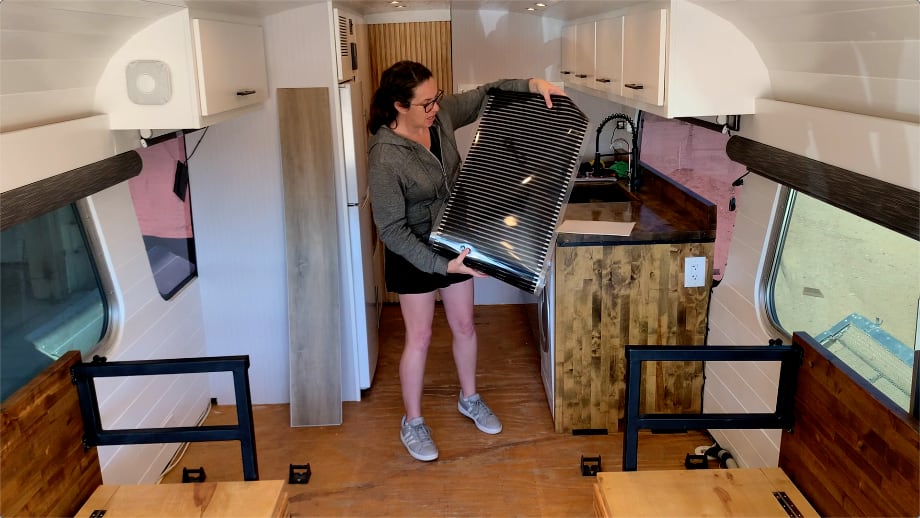
We decided to go back to our trusty Ceratex ceramic fiberpaper insulation. We had previously used this as the first layer of insulation under our ceiling and walls prior to adding the rockwool. Ceratex was the perfect solution for this application. It is ⅛” thick, the exact diameter of the wires we needed to inlay. It would add an additional level of insulation to the floors. It is super easy to cut. Best of all, we still had a bunch leftover so we didn’t need to buy anything new. Time to build a flooring sandwich - ceratex, quiet warmth heating, vinyl plank.

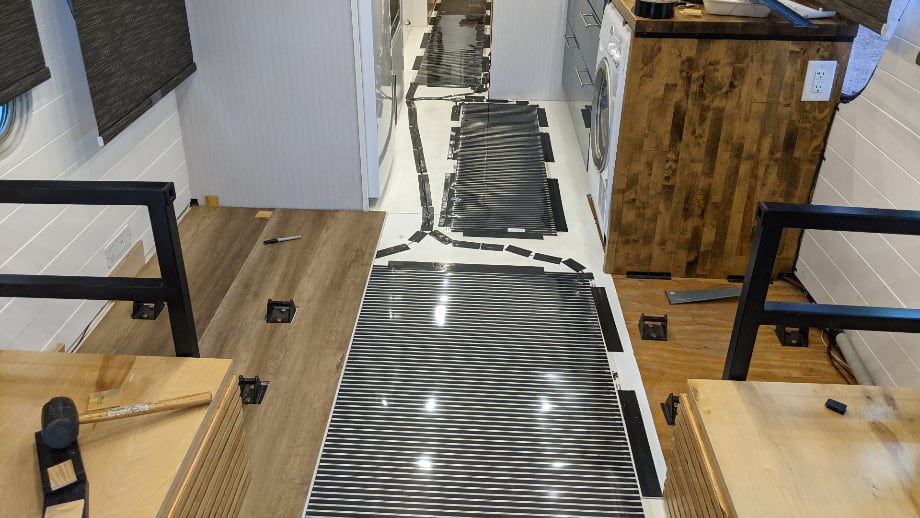
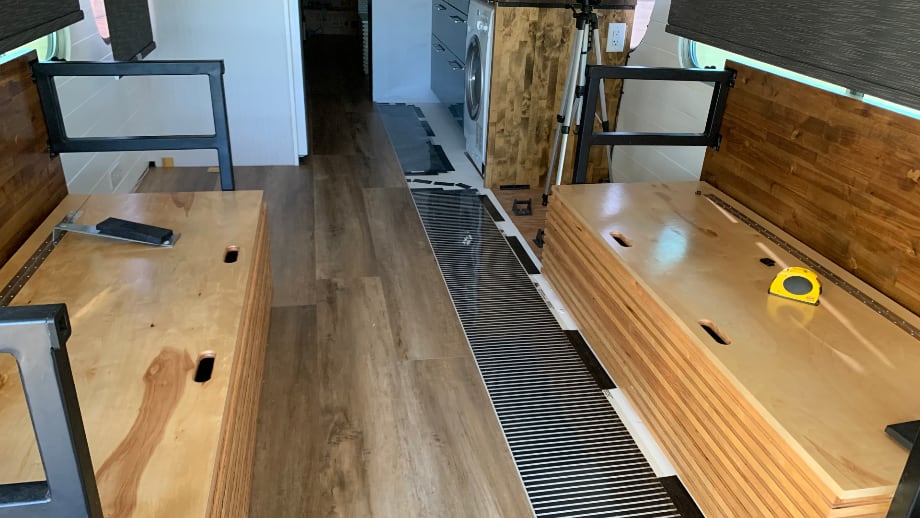
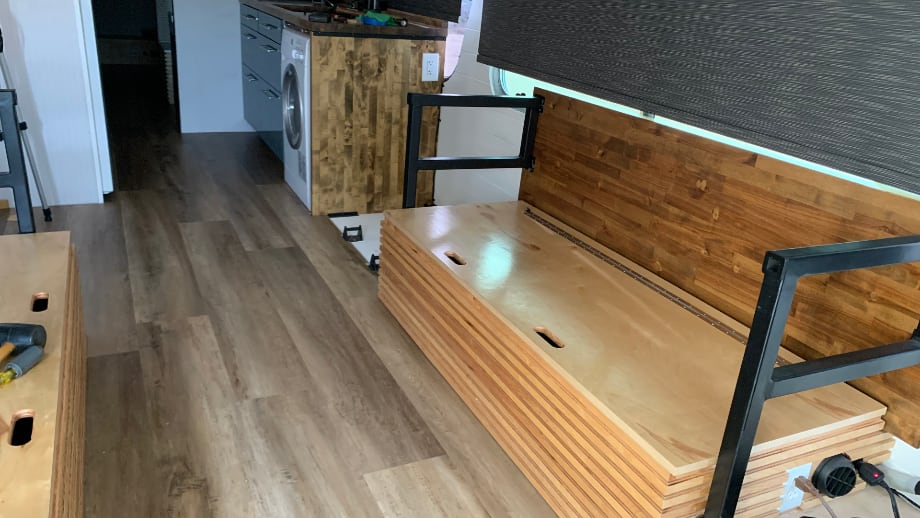
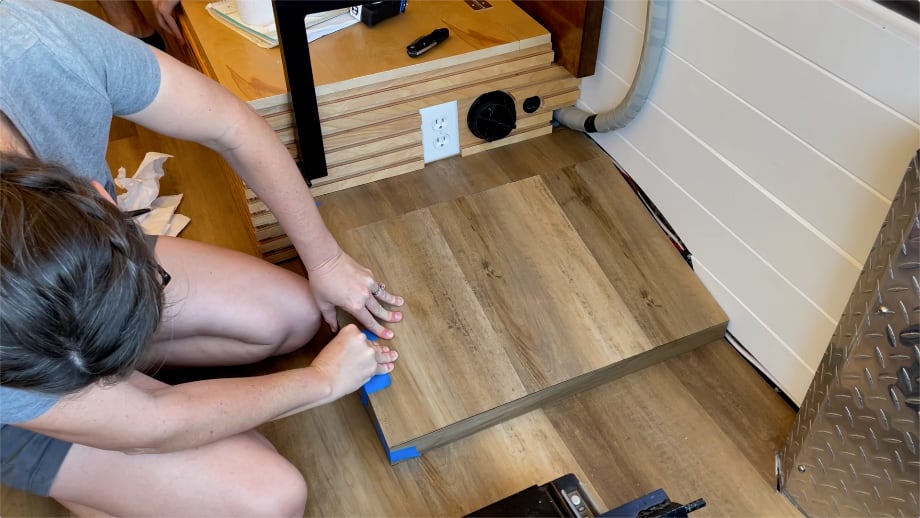
Rather than lay all of the ceratex down, then all the heat mats, then all the planks, we decided to do all the layers section by section in the bus. This would allow us to still walk around and use the bus as normally as possible during the process without messing up the Ceratex and heat pads by walking all over them prior to finishing the planks.
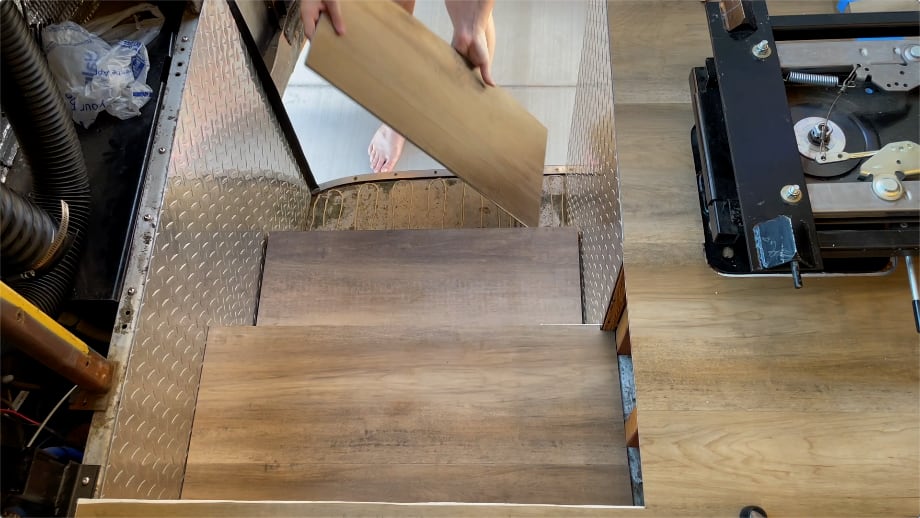
We had a ton of cuts to make in the Ceratex and flooring. Luckily, it is really easy to cut Ceratex with scissors or a utility knife. The vinyl plank can also be cut with a very sharp utility knife, but we chose to use our table saw, miter saw, and jigsaw for ease and speed. We already had rubber blocks and pullers that we had used in the past when laying laminate floors in our houses, so we used those again.
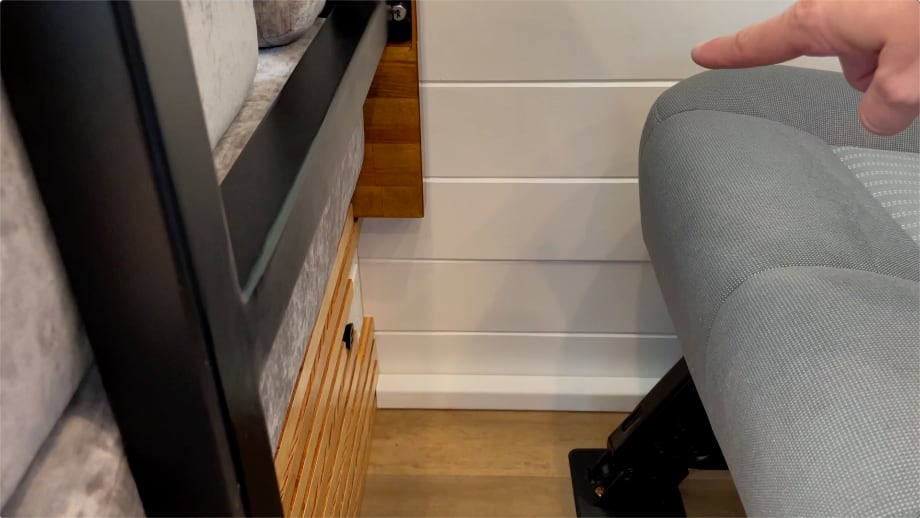
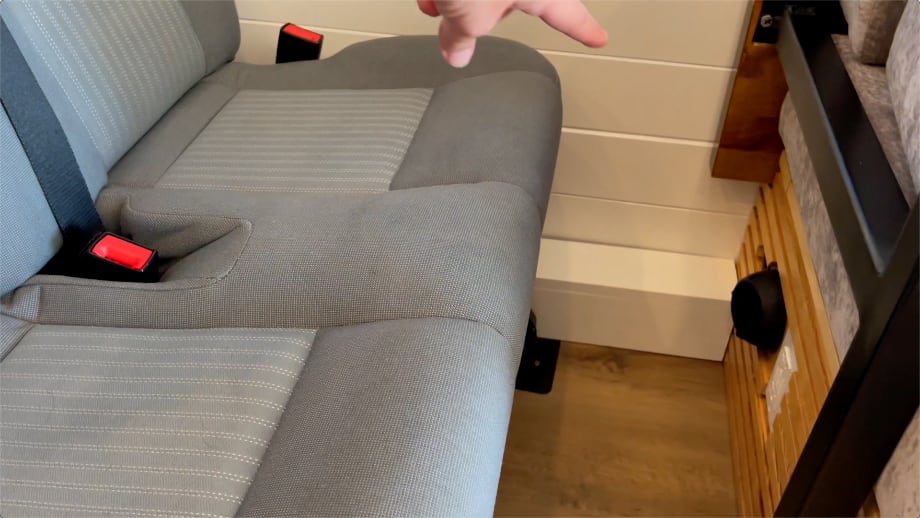
Once we had all of our tools ready to go, we started on one side of the bus and just worked our way across. One section at a time, we put down Ceratex and then planks. In the center walkable areas, we put down the Ceratex, then the heat mat, then the planks. It was tedious work, especially around crazy areas like the drivers’ seat and floor pedals, but fairly simple overall.
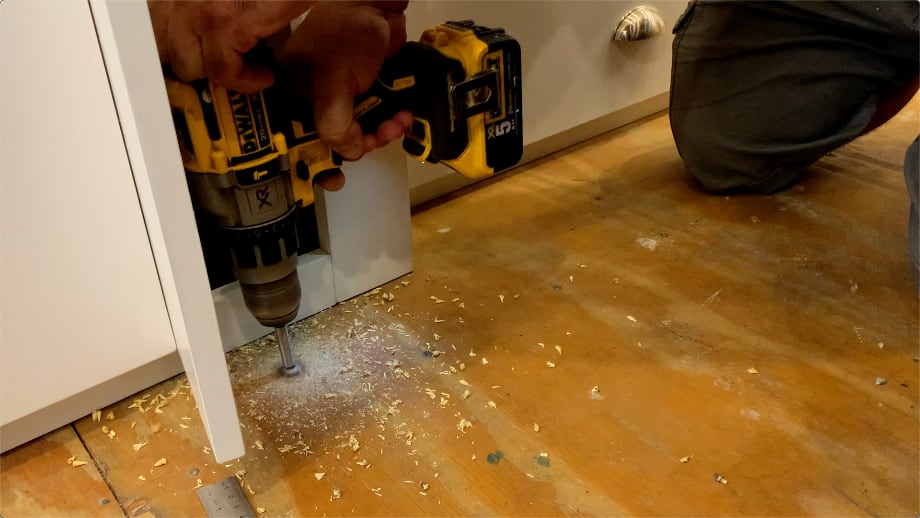
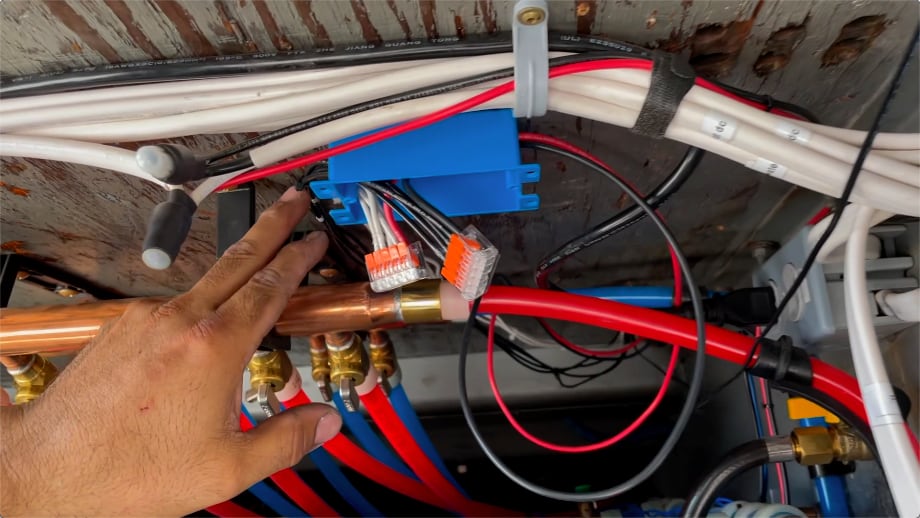
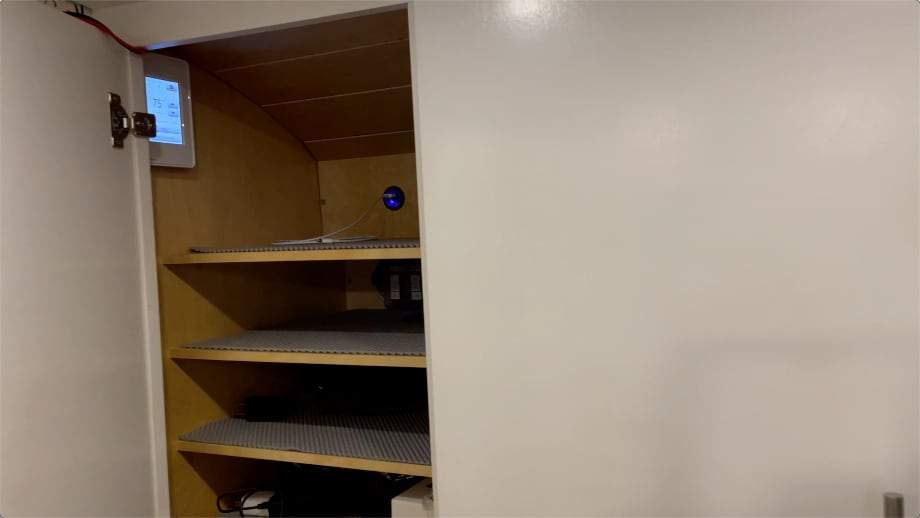
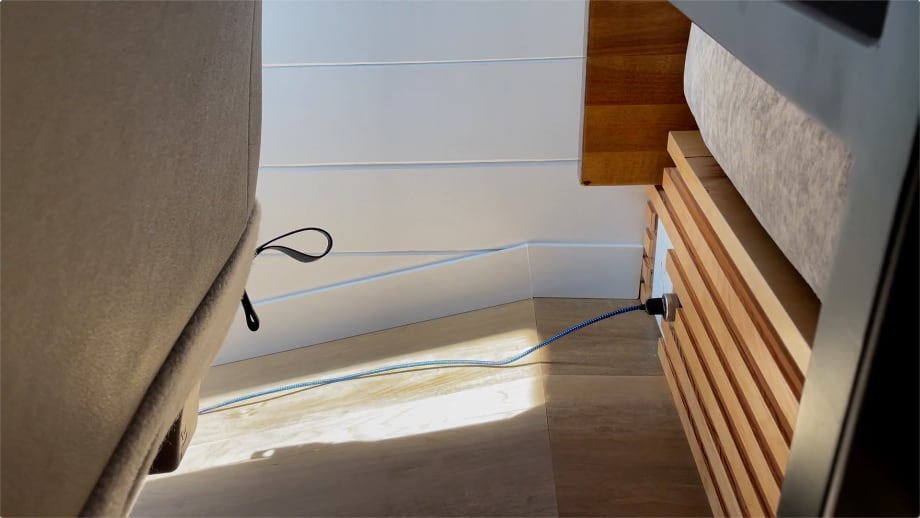
For the heat mats, we taped all the edges down with duct tape. We cut out the Ceratex where the wires went and then taped the wires in place. We used four different mats and ran all of the wires to the middle of the bus. Then, we drilled a hole through the subfloor and ran them into the bay below. From there, we joined all the negatives and positives together and then just had to run one larger negative wire and one larger positive wire back up into broom closet in order to wire up the thermostat. The thermostat is mounted in our charging closet and makes it really easy to access and control.
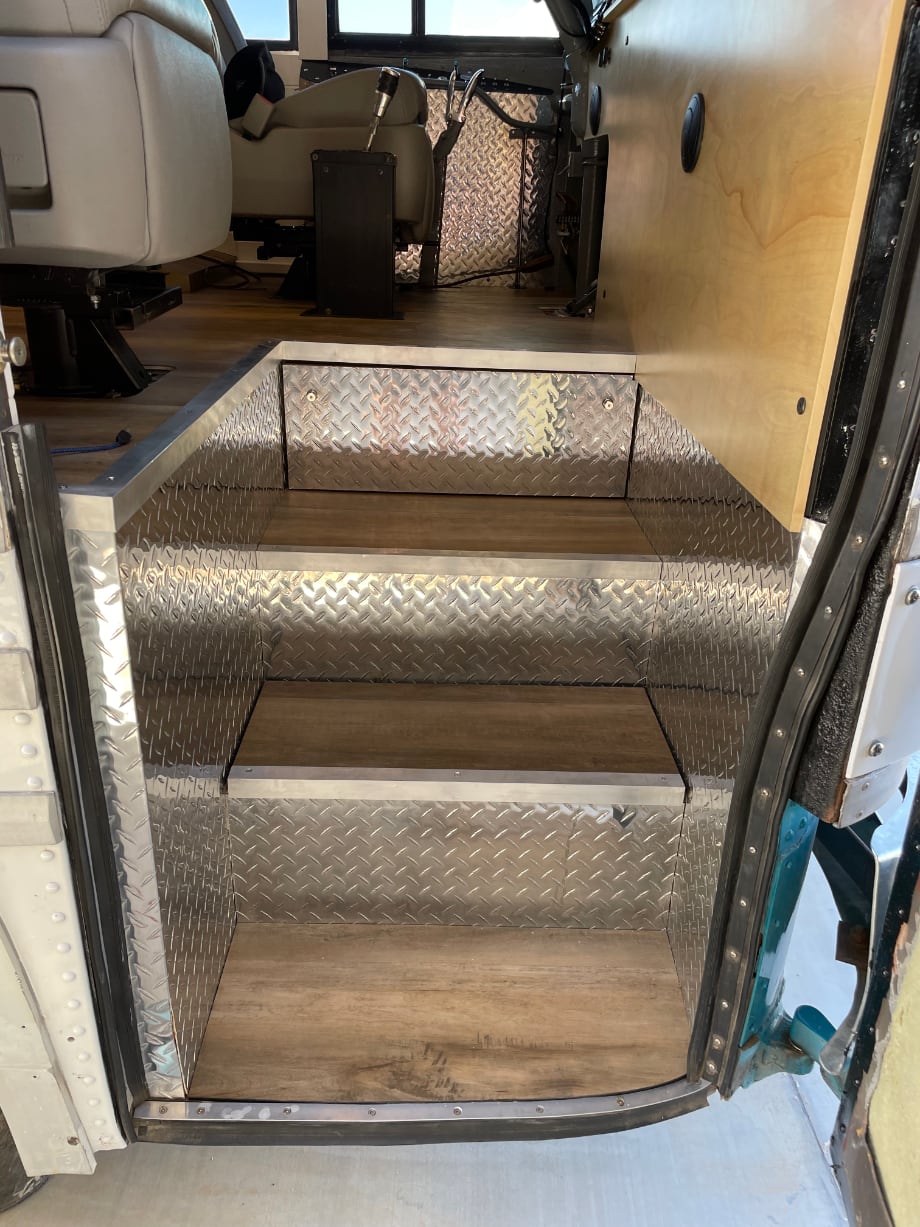
The last steps in flooring were covering the wheel wells and stairs. A handful of cuts and some construction adhesive and we were almost done.
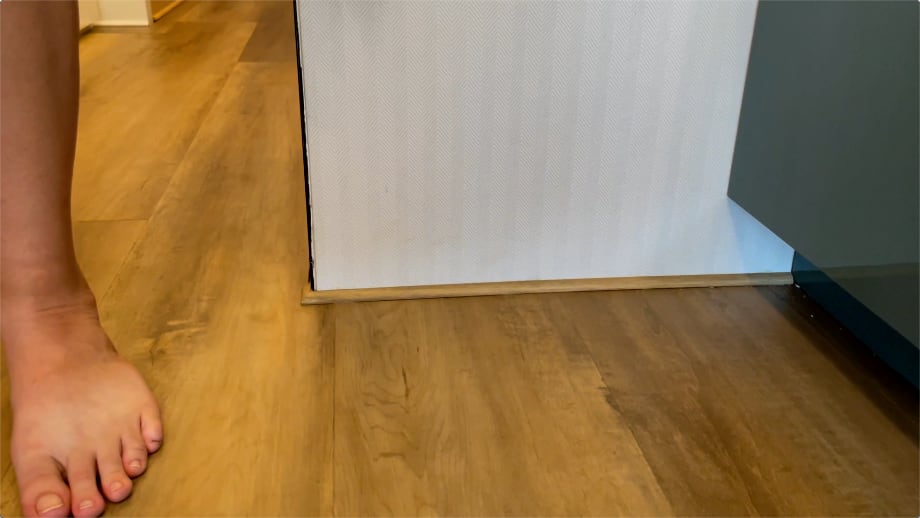
Finally, we added some trim work around the bottom. In some areas, we could just add some very small quarter round. In other areas, we had to leave access to our wire chase, so we used L-shaped boxes/molding to box in the chase while still leaving it accessible in the future. We trimmed out the stairs with aluminum angle.
The flooring was done! And, wow what a difference! Covering up the subfloors that we spent four years walking on, dropping things on, and spilling things on was a big sigh of relief. It looked so good.
At that point, we were so so close to finishing the bus and were just a couple weeks away from moving in.
One Year Update:
After over a year of living with them now, we still love our floors. They have held up really well. They really don’t show dirt. And, we absolutely love our heated floors. We don’t typically use them when we are boondocking because our four mats altogether use about 600W, but anytime we are plugged in and it is even slightly chilly (I get cold when it’s below 70F, so chilly may mean something different to you - Ha!), we have the floor heaters on. They’re fantastic! So happy we added those "cozy toes".
Watch the video:
Click here If you cannot see the video.
Supplies and Tools We Used
- Ceratex - https://minseal.com/ceramic-fiber-paper/
Quiet Warmth size: 1.5'x5'
Quiet Warmth size: 1.5'x10'
Quiet Warmth size: 3'x10'
WiFi Programmable Thermostat with GFCI
Flooring install kit
The drill we use (and really like)
- Flooring - we ordered from a local flooring company, but the name of the product is called Prime Premium Waterproof Maple Beautiful Beige Flooring Installation supplies - maybe link to a similar thing on Amazon


0 Comments
Comments powered by Disqus