Continuing work in the kitchen, we were ready to bring in the Pex lines. These would be the first supply lines to run from the manifolds into the bus. However, because our manifolds sit right above our waste tank flush out, we decided we better finish up that plumbing before all the manifold Pex lines got in the way.
We often hear stories in the RV world of people’s tanks (especially black tanks) getting “gummed up”. One solution is to have the ability to flush out your tank. There are a few devices on the market that can attach into the tank or drain to spray it out. Hopefully, since we have a combined grey/black waste tank which will have much more water in it than a standard black tank, we won’t have that problem. We still wanted a way to clean out the tank well when we dump it. When we designed our tank, we had a fitting put at the very rear of the tank on top to allow for this. That is where the project for this week started.
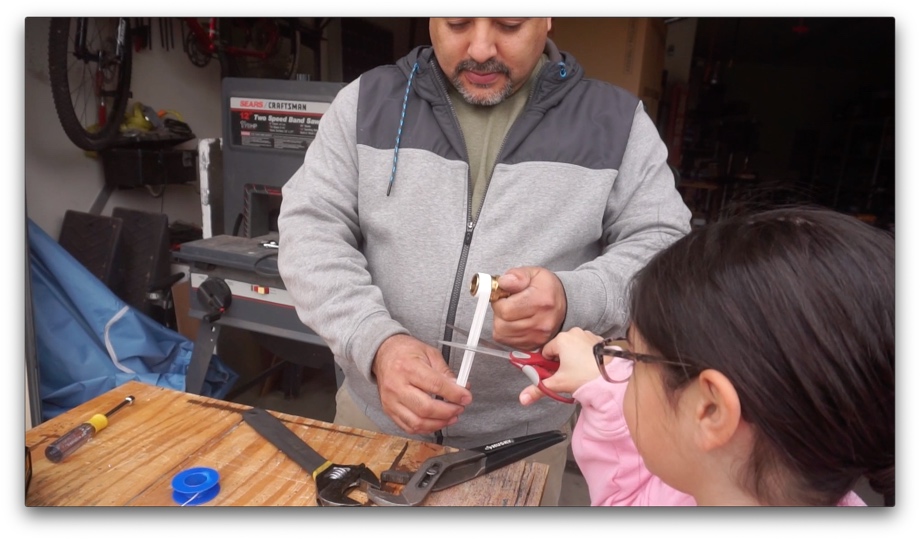
We plumbed in a brass elbow into that fitting. The Pex lines then run from the elbow across the tank to a valve and then a hose fitting. We made a simple bracket to mount the hose fitting to the top of the water filter brackets. This was a quick project with the help of a very sweet 9-year old assistant. :) Now we can simply connect a garden hose, turn the valve on, and send water to the rear of the tank, hopefully flushing things from the back to the front of the tank to clean it out.

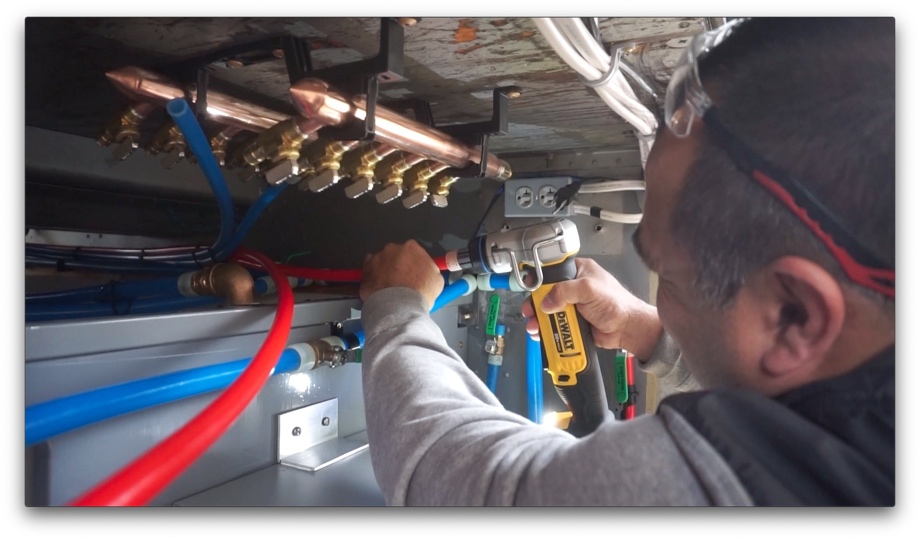
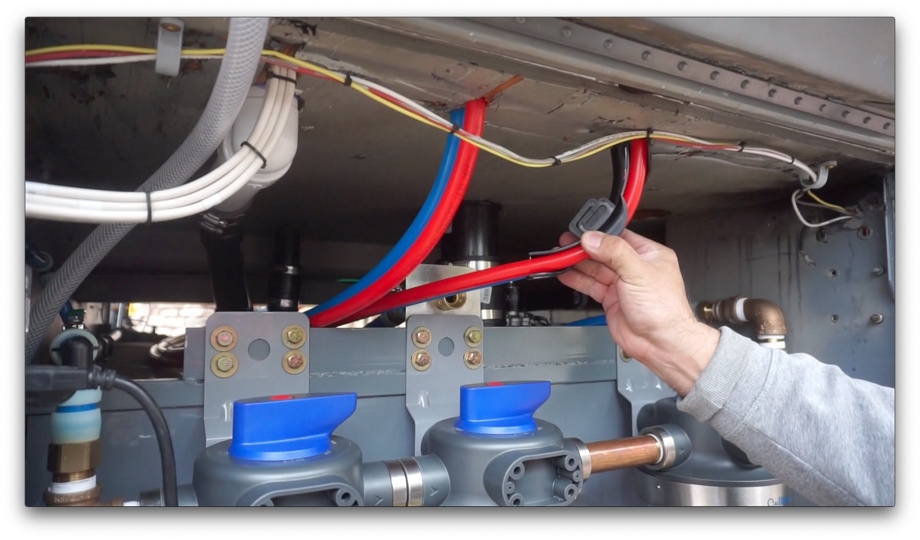
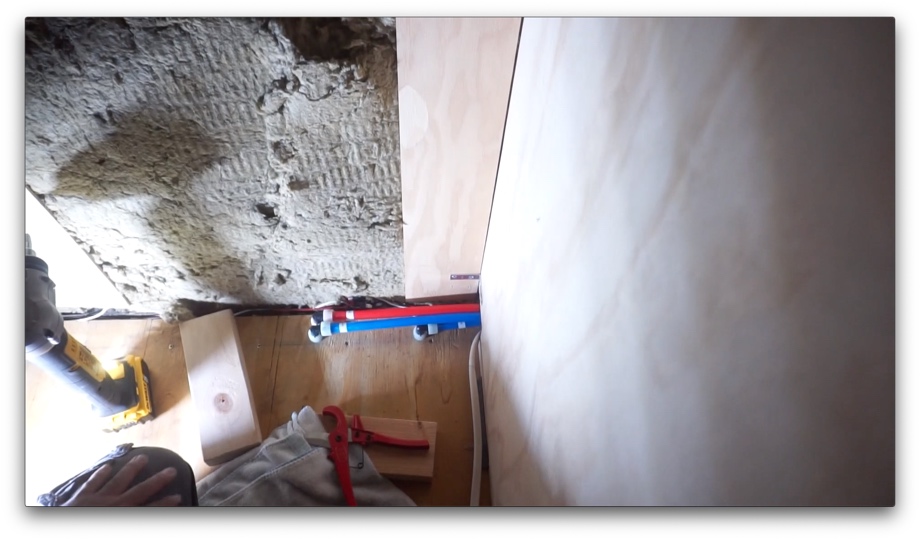
Once that was done, we were able to finally start running Pex lines into the bus. We decided to bring our kitchen lines up into the bus in the bathroom. First, it was simply easier to run them across the water bay and then straight up into the bathroom above. Second, this will allow easier access to those elbows if there were ever a problem. They won’t be hidden under the kitchen cabinets. From the bathroom, it is a straight shot through the pocket door wall, under the kitchen cabinets, and then up into the cabinet under the sink and to the washing machine.
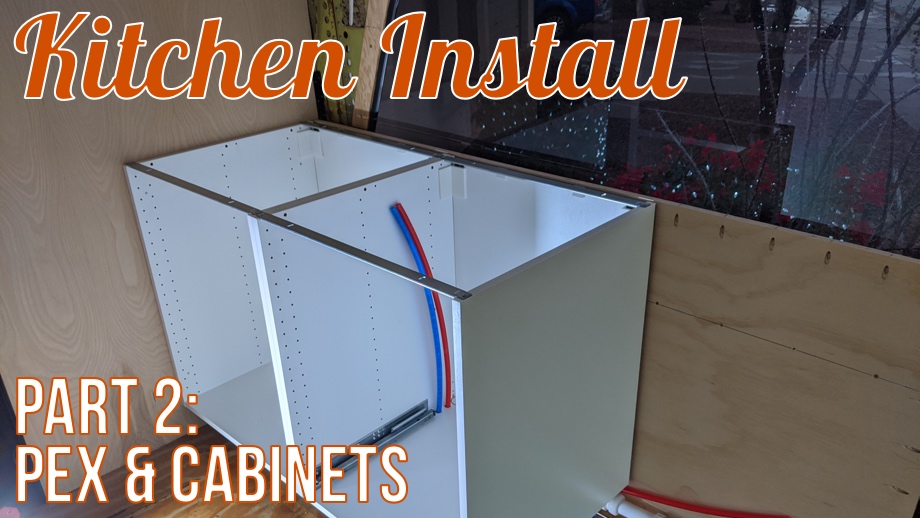
Next, we installed the Ikea kitchen cabinets we put together last week. That was simply a matter of attaching them to the rails and locking them on, adjusting the feet, and screwing them to the side wall and each other.
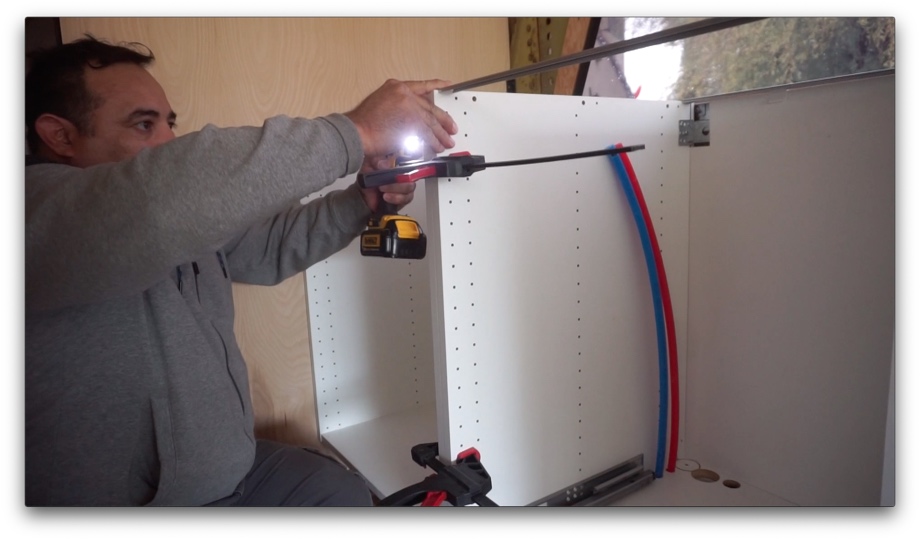
Finally, we installed our GFCI outlet in one of the cabinets. This will be where the washer/dryer plugs in.

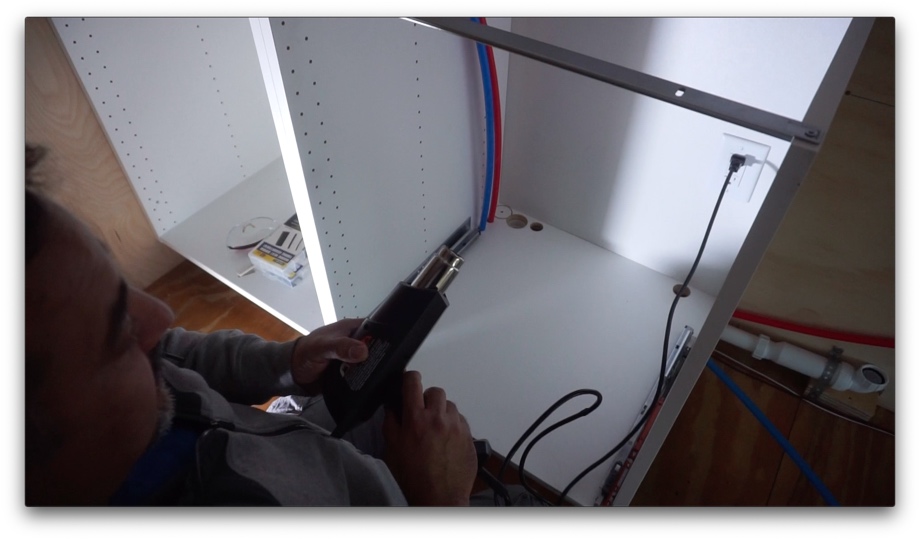
It was really fun to see the beginning of the kitchen coming together. Next up: installing the washer/dryer combo unit.
Watch the video:
Click here If you cannot see the video.




0 Comments
Comments powered by Disqus