


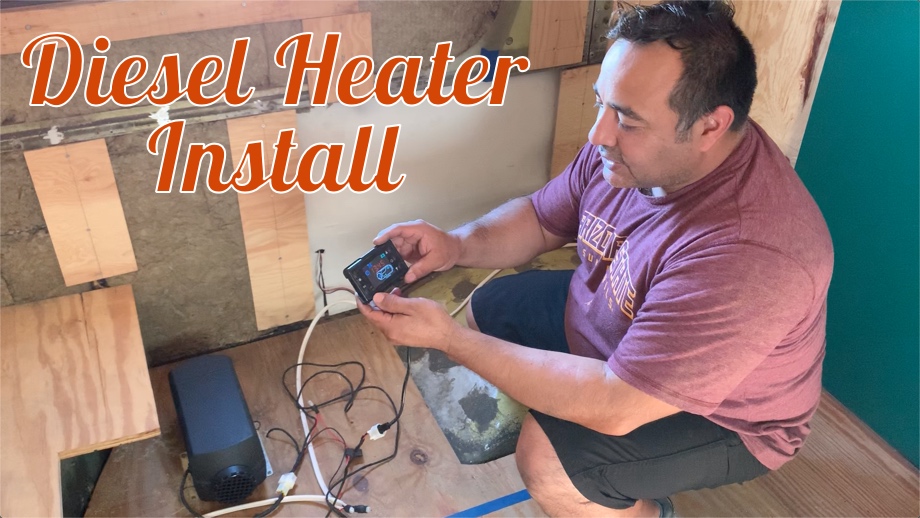
After finishing the kitchen countertops, we planned to start work on building out the kids’ bedroom in the rear of the bus. The first project we worked on was installing the diesel heater.
Diesel heaters are great for an RV for several reasons. First and foremost, they provide dry heat. Most RVs use propane for heat which adds quite a bit of moisture to the air. We want to eliminate moisture and lower the risk of condensation as much as possible. Second, they are small - smaller than a shoebox. That’s perfect for fitting in the tight spaces of the bus. Third, they are extremely efficient. While our 12,000 BTU mini split air conditioner is also a heat pump, it uses about 1000 Watts. By contrast, a 5kW (17,000 BTU) diesel heater uses just 120 Watts for the few minutes the glow plug is heating up, and then it drops to about 12 Watts to keep it going. Then, it simply sips on the diesel fuel.
We plan to use two diesel heaters in the bus: one in the front living space, and one in the rear bedroom that will also be piped into the bathroom. First up is the bedroom heater, which will be hidden away under a bunk bed.
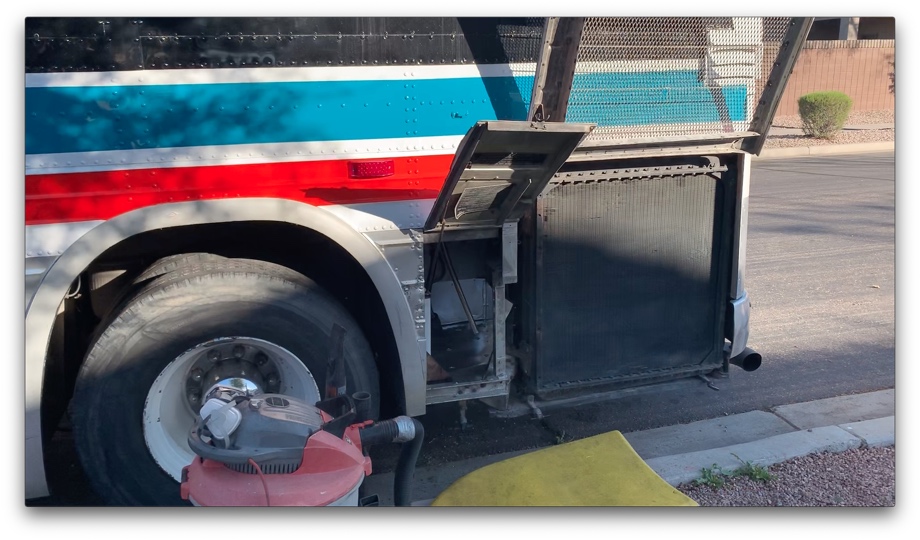
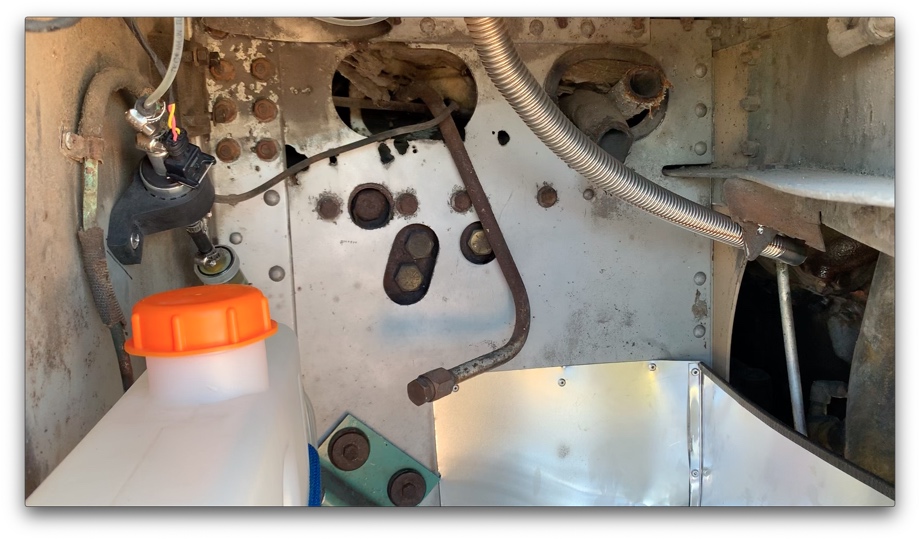
Underneath the rear driver’s side of the bedroom sits a small bay that opens to the engine bay. Originally as a passenger bus, this small bay housed some A/C components. That had been removed long ago by the previous owner. This allowed us the perfect place to mount the small 10 Liter diesel tank, the fuel pump, and the exhaust. (It will also house our sewer hose.)
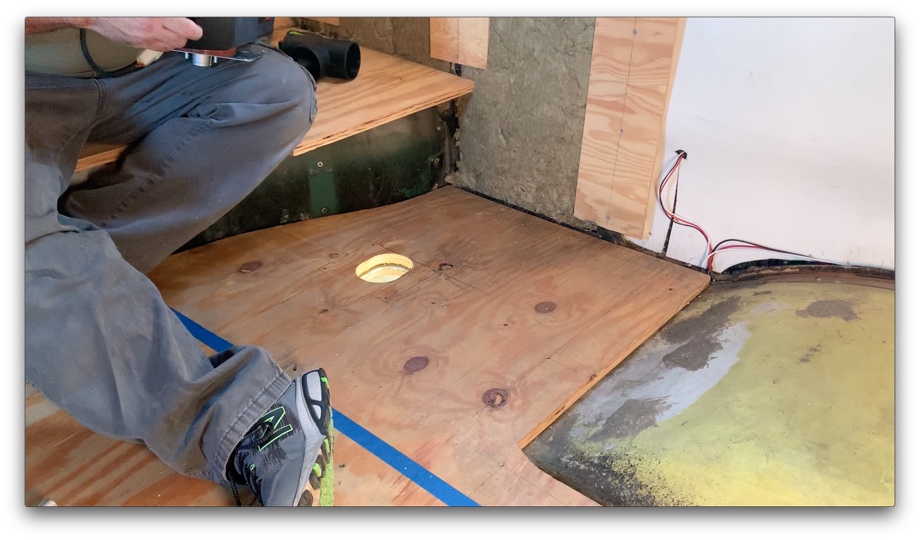
 We started the install by drilling a hole through the subfloor in that rear corner of the bedroom.
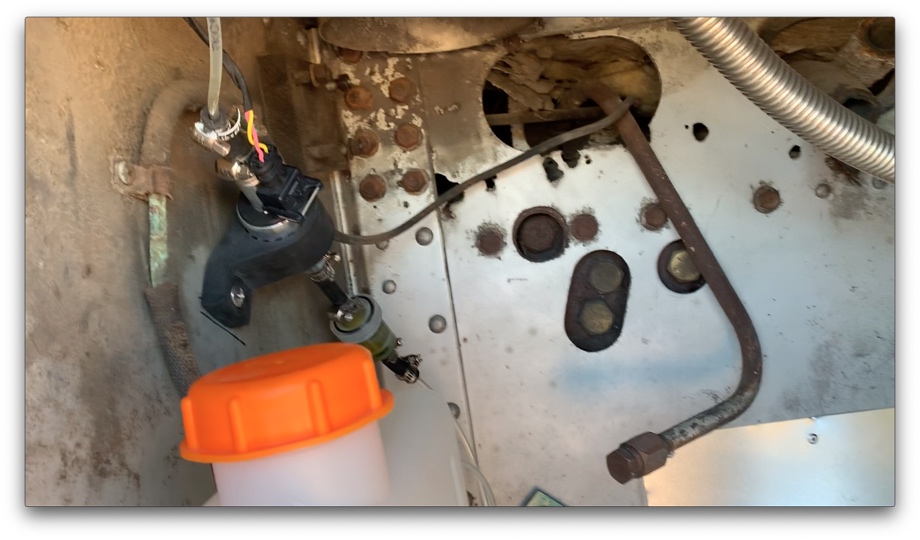
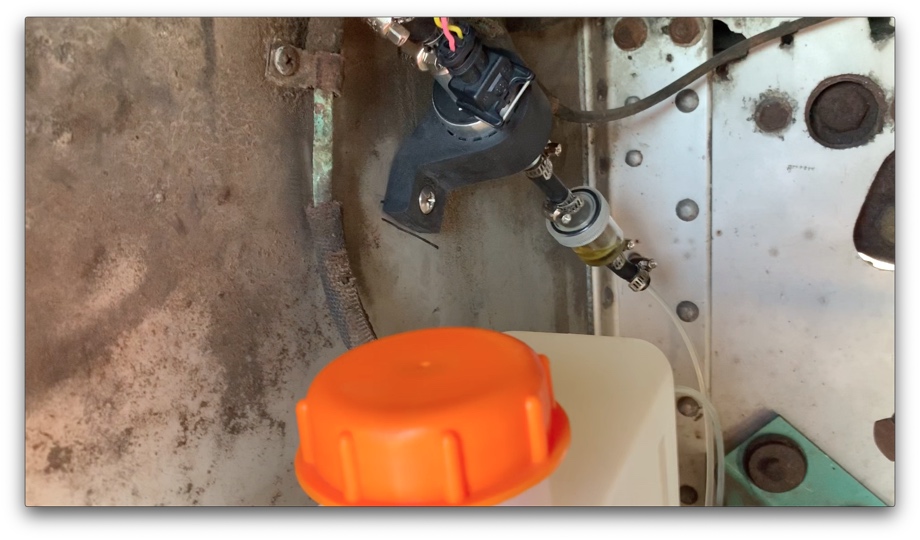
 After screwing it down to the floor, we set up the fuel pump on the wall of that bay. The manufacturer suggests mounting it at a 15-35° angle. We chose 30°.
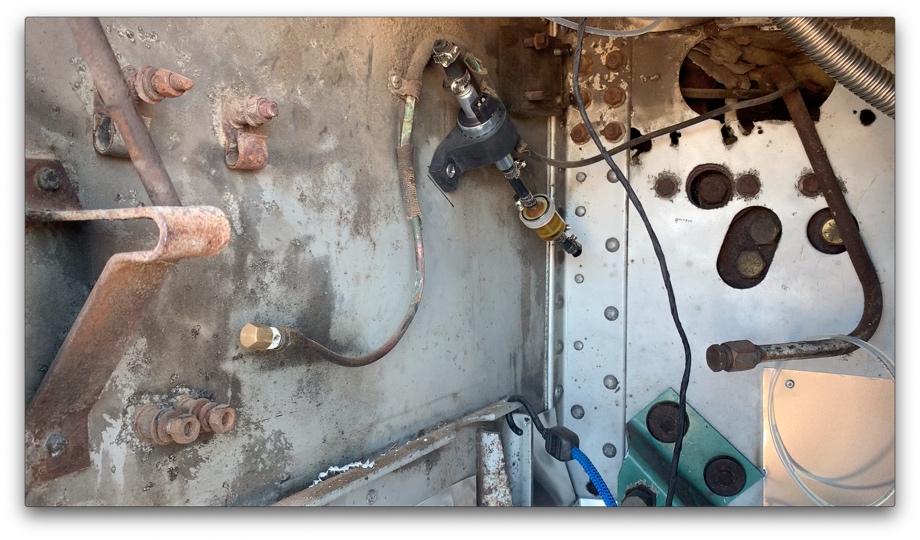 The fuel tank needed to have a 5/16” hole drilled in the bottom and the tank outlet fitting mounted. Then we were able to connect all of the fuel lines.
 Finally, we secured the exhaust pipe to blow out into the engine bay. Maybe as a bonus it will warm the engine slightly on a cold day.
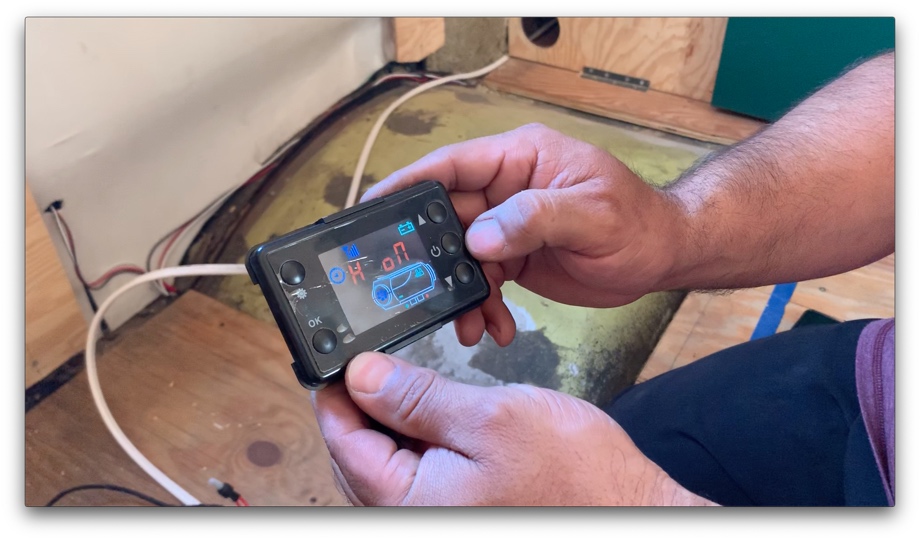
 Last, we wired up the power for the heater and the LCD control panel.
After the install, we were ready to test it. The installation manual is not written very well, to be perfectly honest. The start-up procedure was not very clear, so we followed some instructions on YouTube that were much more helpful. The first step was to prime the unit. After pushing two buttons on the control panel, we heard the pump click on, watched the fuel make its way through the filter and up the lines.
 It was a warm day already, so we didn’t want to run it for too long. We were already sweating as it was. Thankfully, it was clear to us in just a few minutes that it was working great!
We still needed to run the outlet hoses to the bathroom and bedroom. We waited on that until we were done building the walls and ceiling so that we didn’t step on them in the process. We are excited for how well the little diesel heater works. When we make our way up to the build-out of the living room, we will add another one up there.
After wrapping up the heater install, we moved on to actually “building” in the bedroom. That’s what’s coming up next.
Watch the video:
Click here If you cannot see the video.


0 Comments
Comments powered by Disqus