


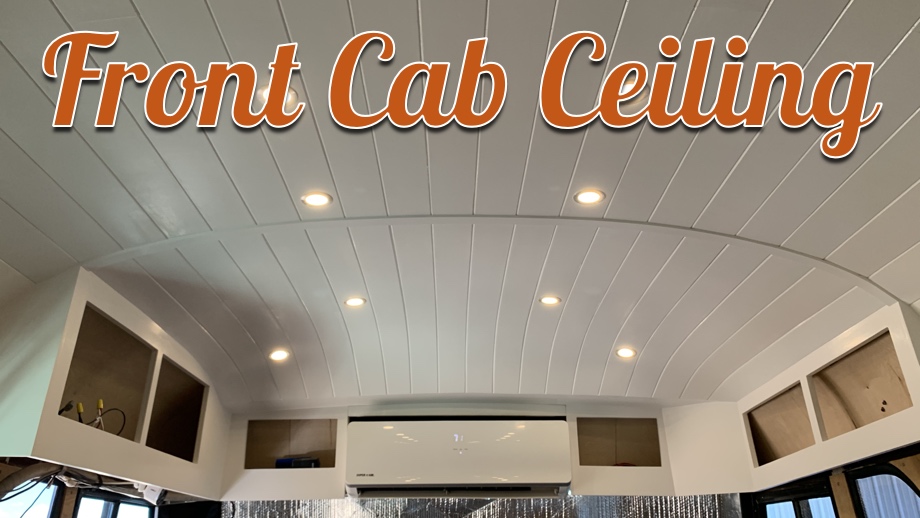
After finishing the ceiling in the kitchen and living room, it was time to finish off the ceiling of the front cab. Last year, we built upper cabinets in this area, which was one of the trickiest projects we have encountered. Thankfully, the cabinets eat up some of the major compound curves in the corners so we did not have to deal with as much of that as we did when we planked the ceiling in the rear of the bus.
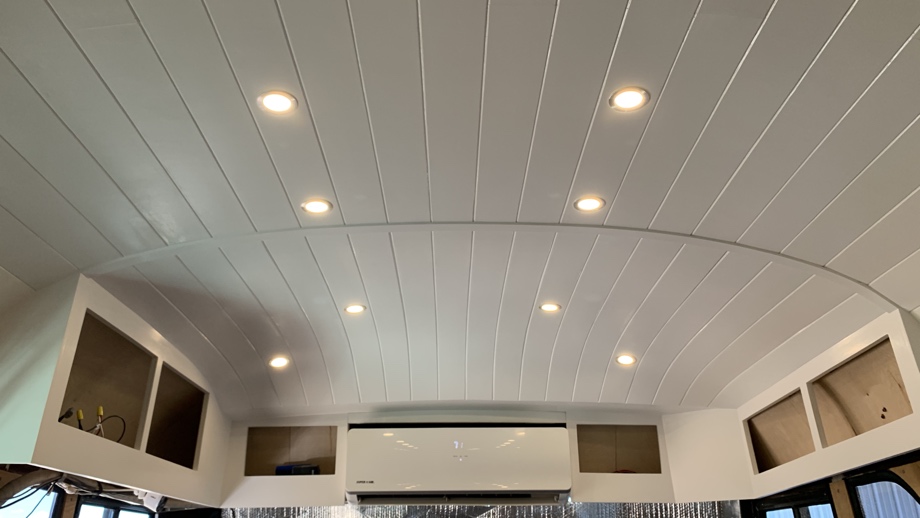
For the majority of the bus ceiling, we used ½” plywood planks that are glued and brad nailed into the furring strips on the bus ribs. However, just like in the very rear of the bus, there is a metal ceiling to the front cab. We think this metal ceiling adds to the structural rigidity of the bus (our bus has a monocoque design in which the body is a major part of the "frame"). Because of this, we had to finish this section of the ceiling in the same way we did the rear kids’ room ceiling. Instead of the ½” planks, we layered two ¼” planks. The first layer of planks are screwed into the metal ceiling, which then allows them to perform the job of the rest of the furring strips. The second layer of planks are then glued and brad nailed into the first layer.
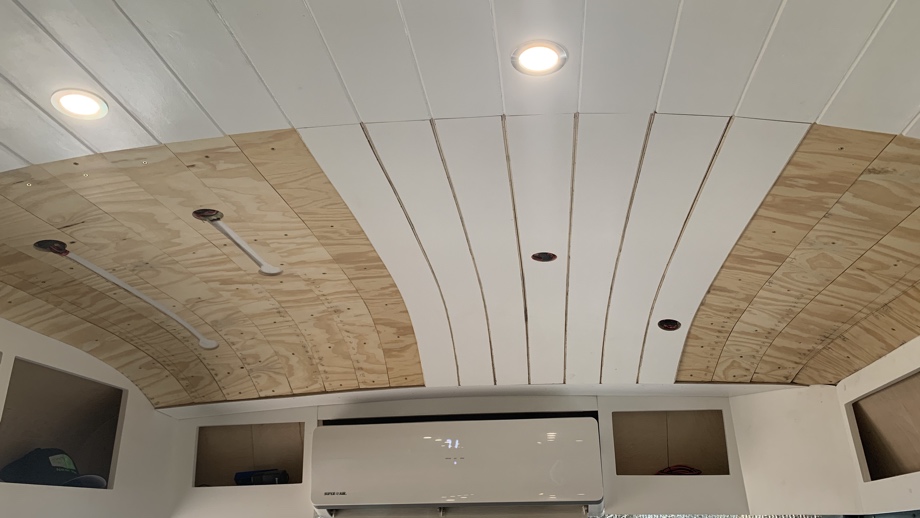
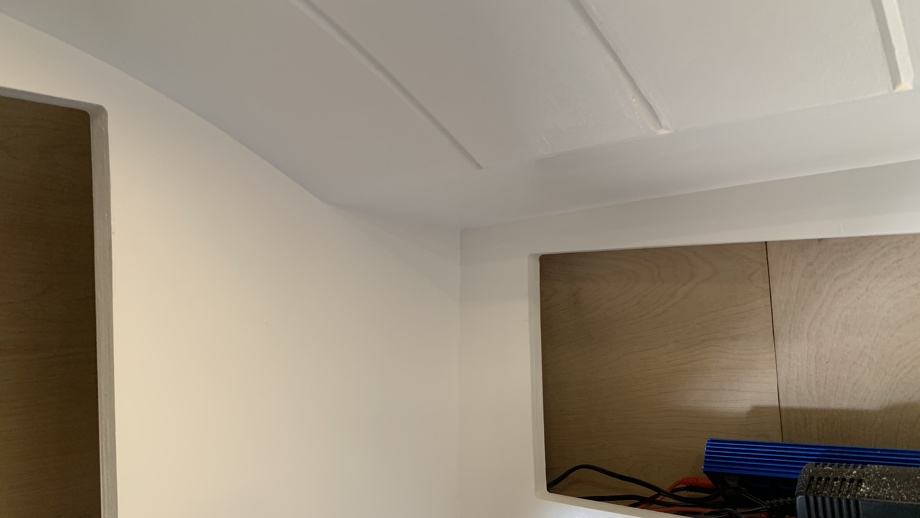
The biggest challenge with the front cab was the additional curve in the very front. Right above the dash, the ceiling makes a very tight S-curve. We knew that we wouldn’t be able to bend the wood that tightly into that shape.
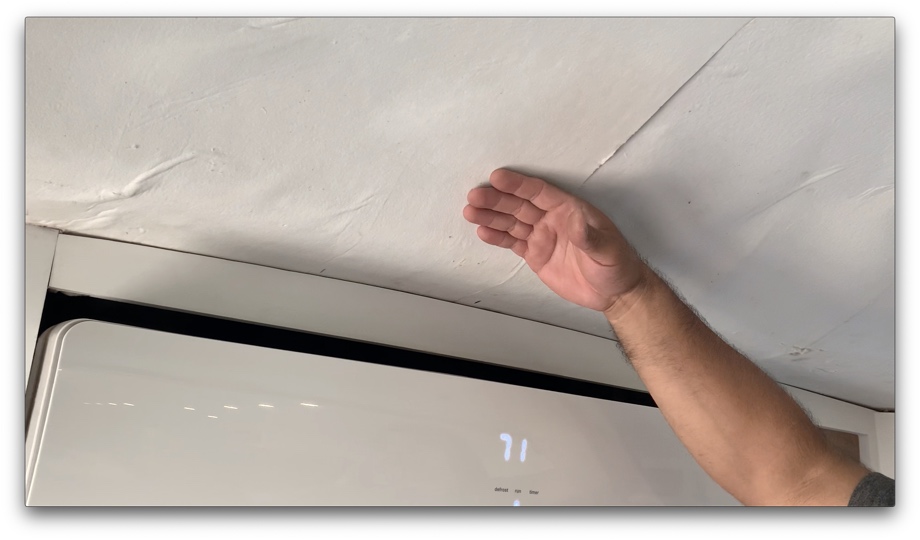
Instead, we made one solid piece that would fill the bottom of the S-curve. This was a very tricky piece to make because, again, the bus curves up and out here. It took a lot of cut, test fit, cut more, test fit, sand, test fit, sand, test fit, sand more, etc. Finally, we were able to make a piece that fit well. That was the basis for the rest of this project.
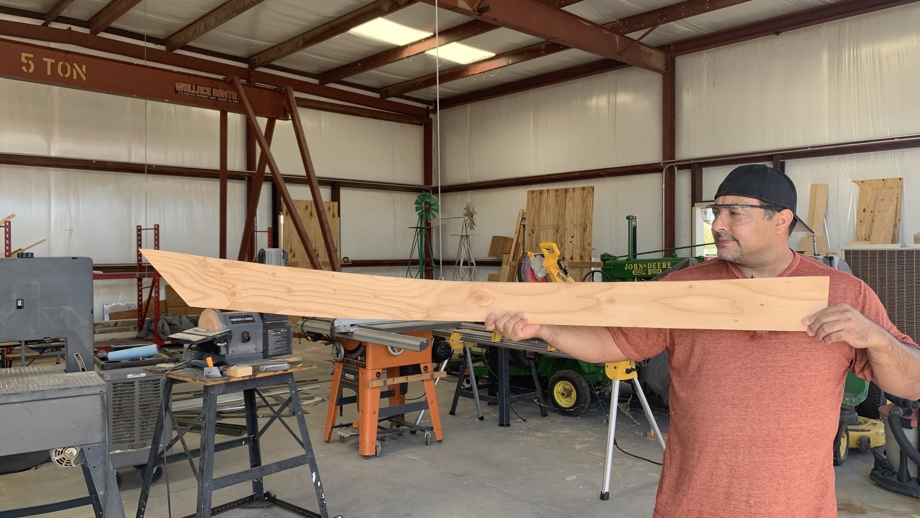
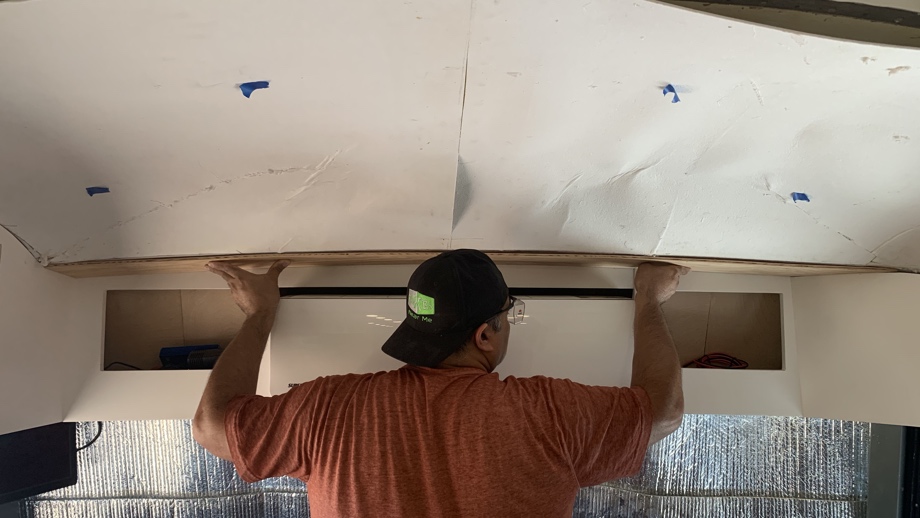
By making and installing this piece first, we were able to then just make one bend in each of the ceiling planks. Each plank could end at this piece, making a nice transition into the cabinetry. Once we figured all of that out, we simply moved forward with the same procedure for tapering the planks to fit the front cab as we did back in the kids’ room. Each piece was individually tapered and installed, first layer piece-by-piece, then second layer piece-by-piece.
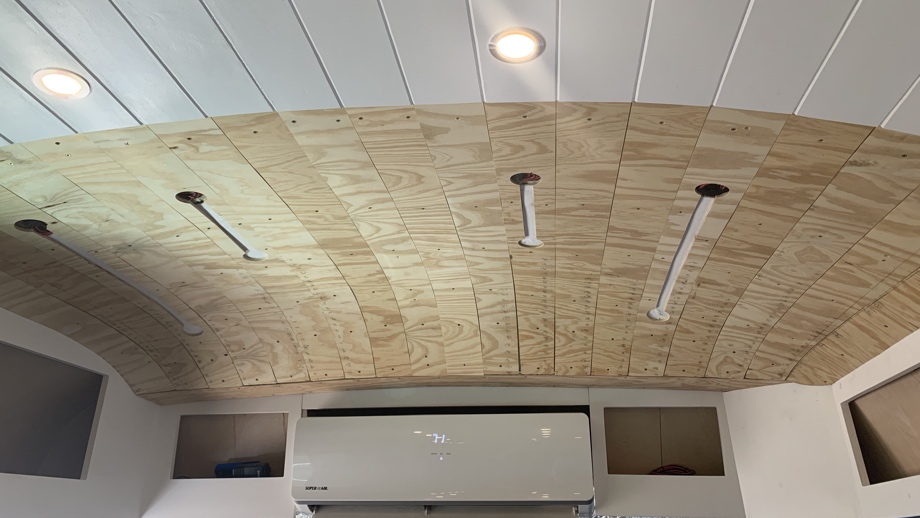

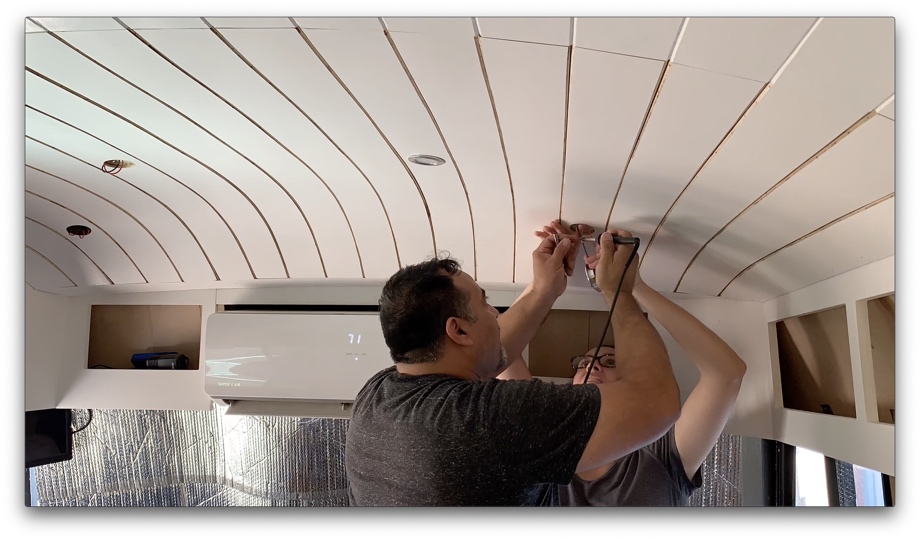
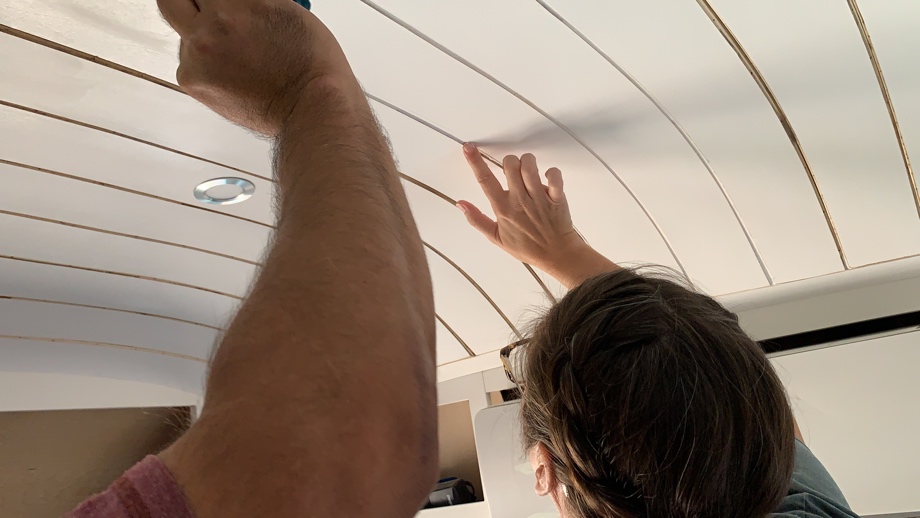
While we were cutting, tapering, and installing planks, we also had to cut the holes for the lights. There are four LED lights in this front section for which we had previously run wires. Once all of the planks were installed, we pulled the wires through and soldered on the lights.
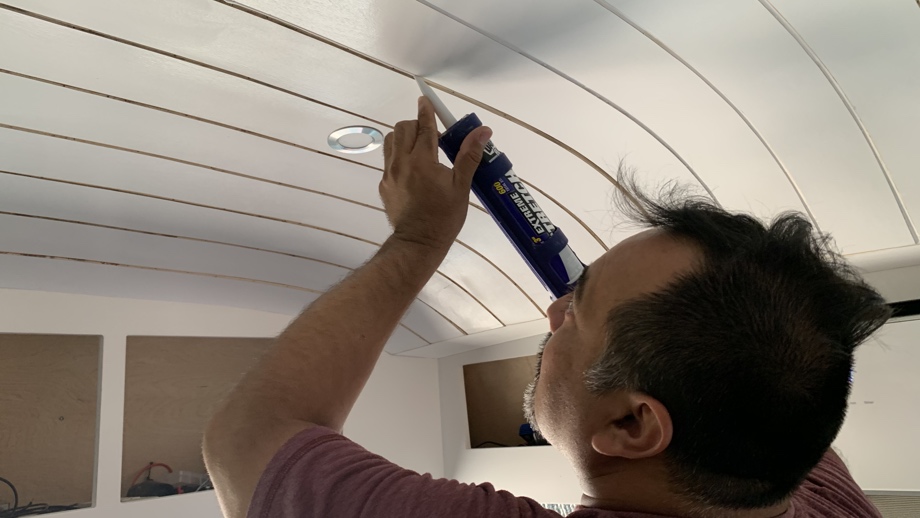
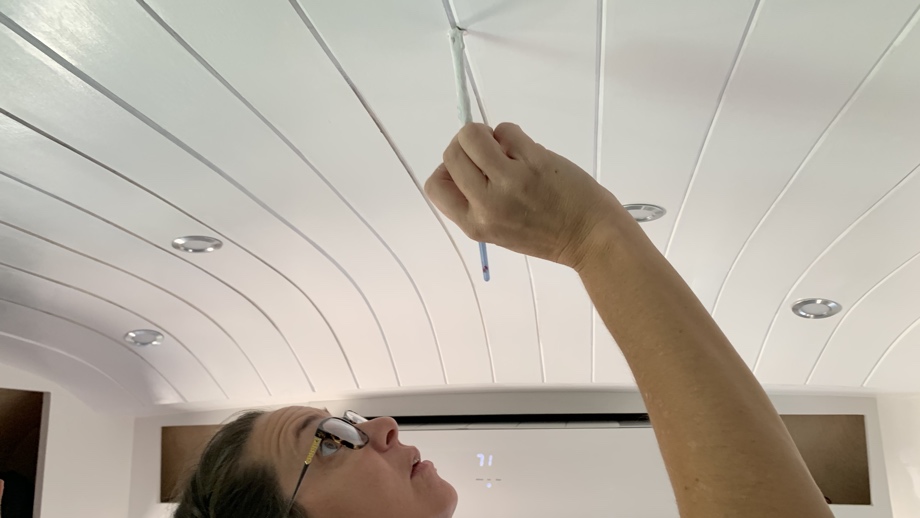
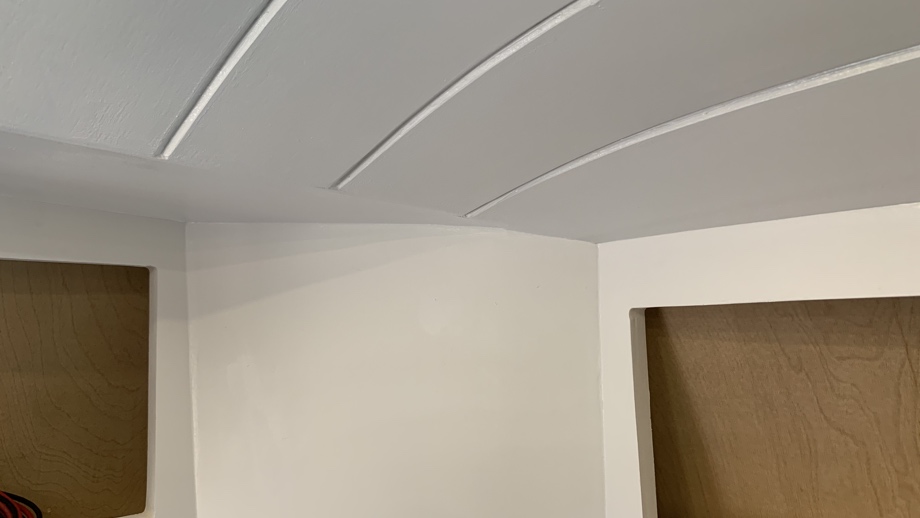
The last step, as always, was the finish work. We caulked each groove. Then, we spackled any remaining visible nail holes. Finally, we finished the grooves with a coat of paint using a small artist brush. We added a small piece of trim over the one large seam that divided the living room ceiling planks from the front cab ceiling planks.
We were really happy that this project turned out well. With each piece of bus roof and insulation, we are able to cover up, it is feeling more and more like us, like our home.
Next up: finishing the living room walls
Watch the video:
Click here If you cannot see the video.


0 Comments
Comments powered by Disqus