


After making the second couch and the hinging arms last time, we moved onto making the tables and putting it all together. We also had to come up with a Plan B mid-project, because real-life does not always work like a SketchUp drawing. In the end, we made it work and ended up with a super-functional couch-table-bed that will be great for our family of six.
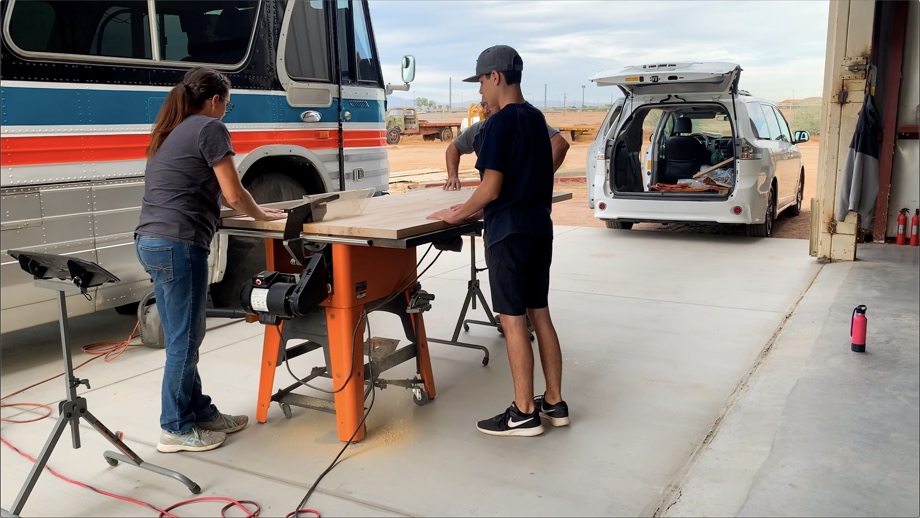
We started Phase 3 of this project by making the two tables. We bought the island countertop butcher block from Home Depot. It was just barely wide enough to cut both tables out of it (literally 1/32” leftover after the cut - glad we didn’t mess up that cut). We routered the edges with a ⅛” round over bit to soften them just a little. However, we did not round over the edges that would meet together to form the table because we didn’t want to create a groove when both tables are down.
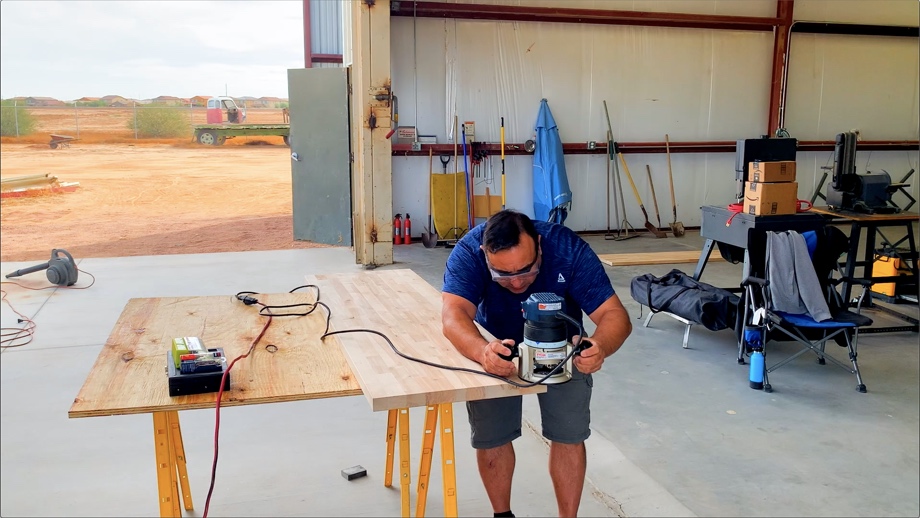
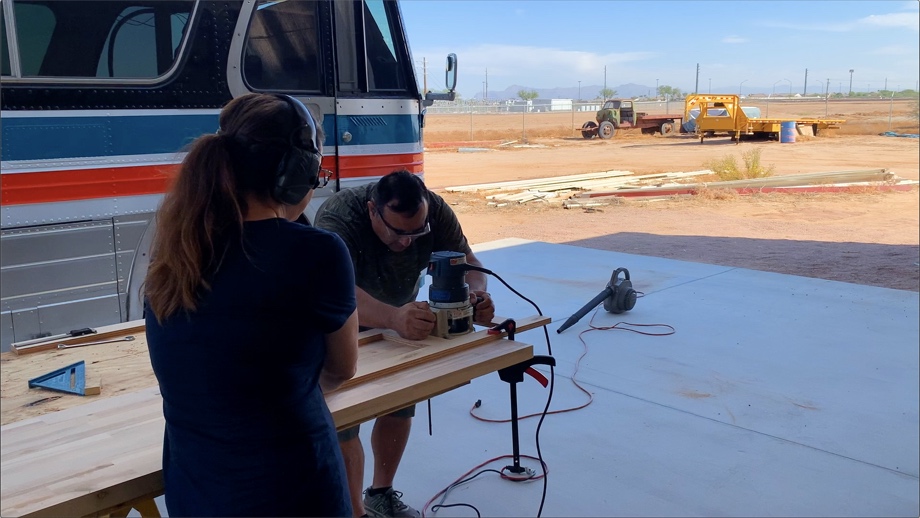
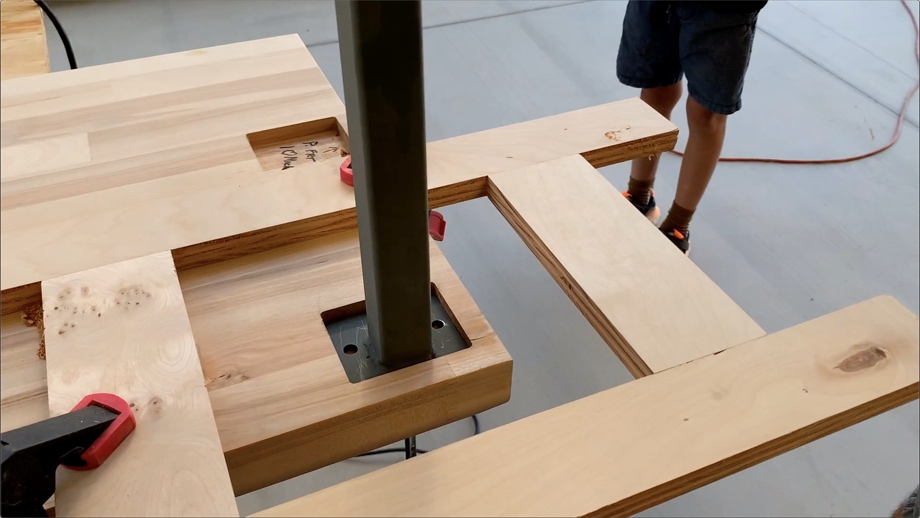
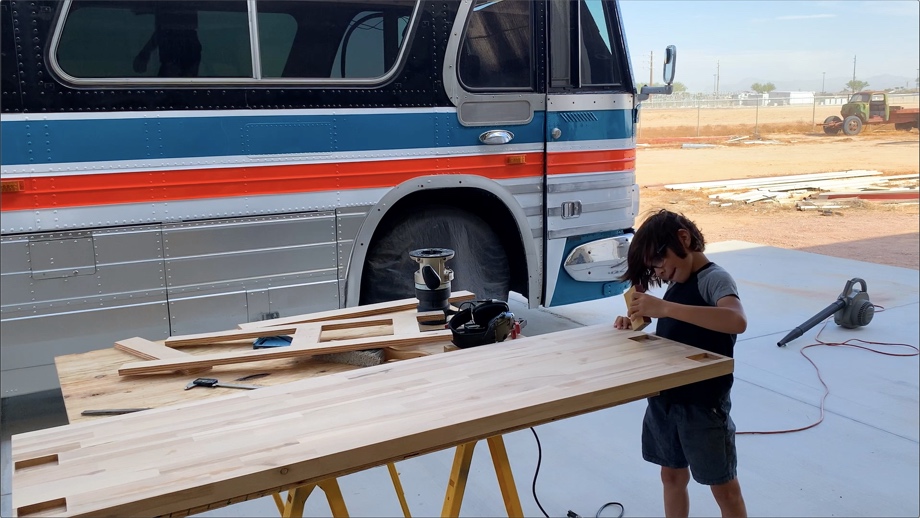
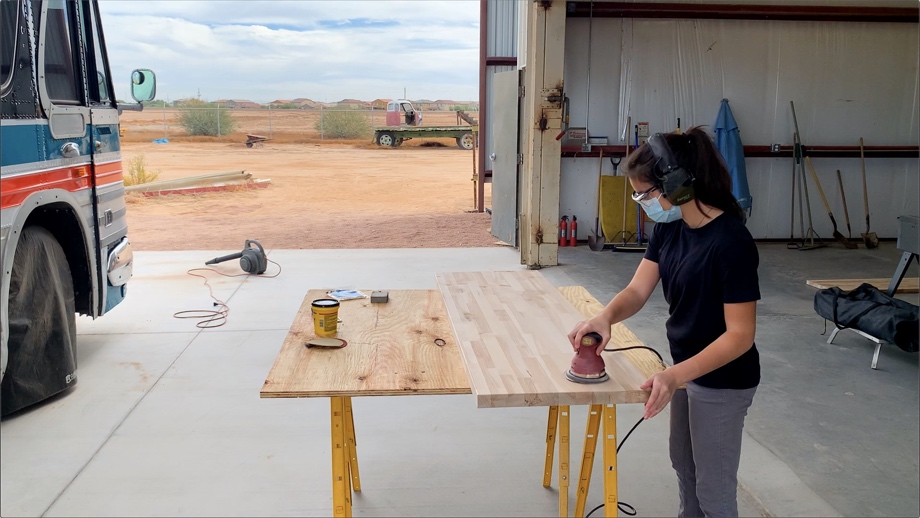
Next, we had to router out the inset spots for the bed legs. For these, we gave ourselves just a little bit of wiggle room so we could adjust the bed legs just a tiny bit to ensure the tables would fit flush together in the middle. Finally, our daughter sanded them down for us with the orbital sander.
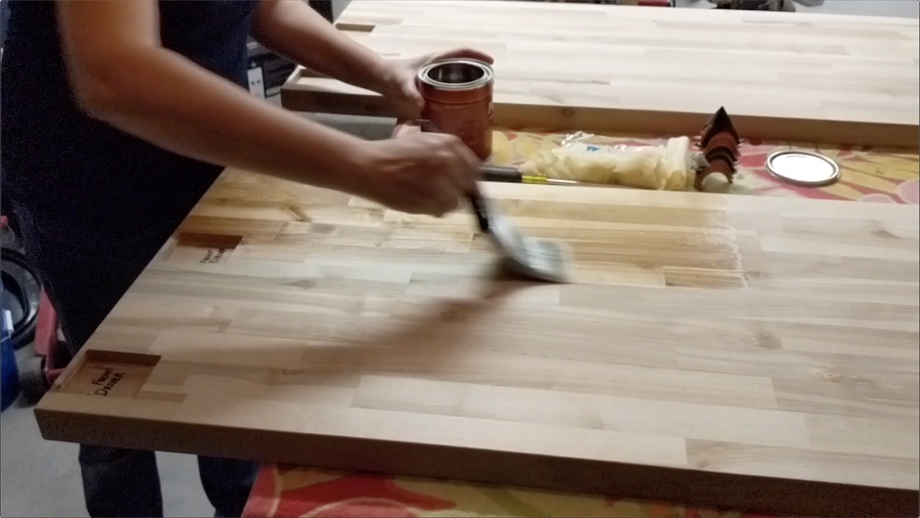
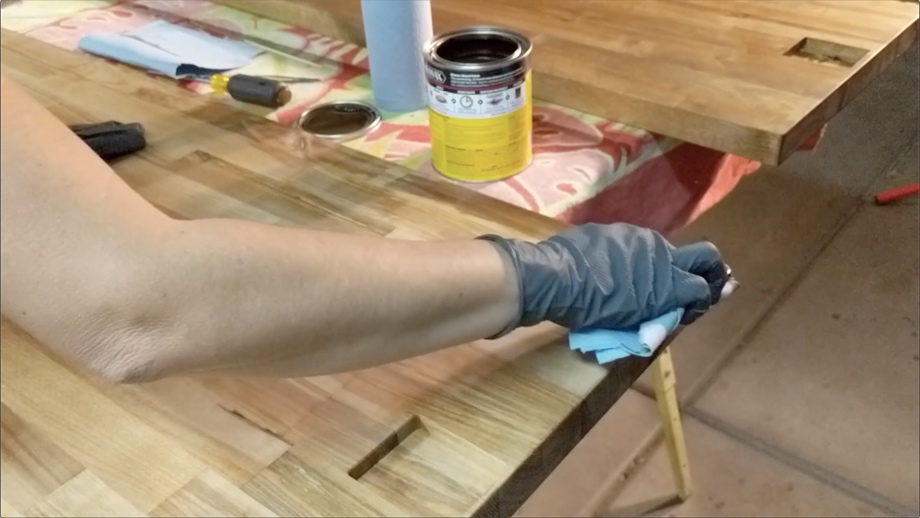
Out at the shop where we work on the bus, it is extremely dusty and not a great place to paint or stain or do any finish work. Therefore, we took the tables home and did all the finish work in the much less dusty garage of our house. We started with a pre-stain conditioner. This really does make a difference in how the stain goes on - no splotches and much smoother. Next, we stained the wood with Minwax Special Walnut. Finally, we used polyurethane to seal and protect it. We had never polyurethaned anything before, so we followed these directions from Family Handyman closely. We did the seal coat to start and wet-sanded between every coat. We let each coat dry 24 hours before applying the next one and did a total of four coats to all sides. We finished the whole thing off with a polish. It turned out great.
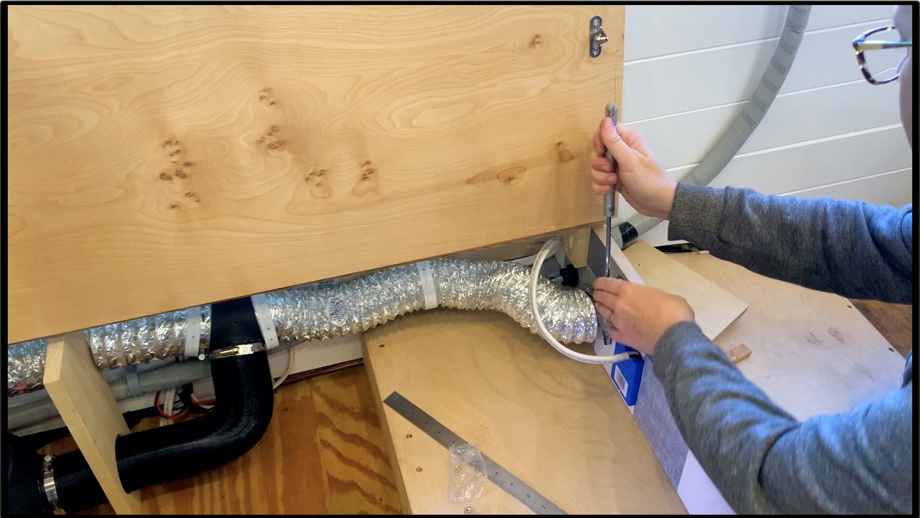
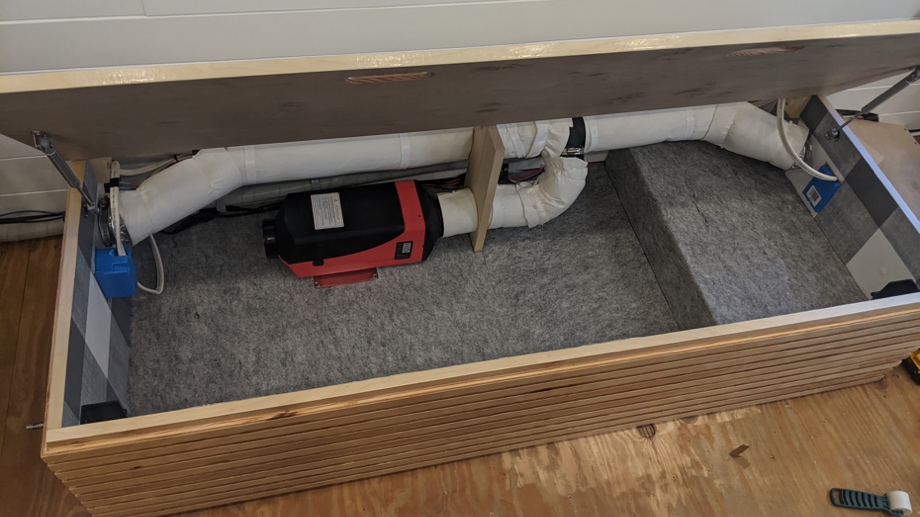
While we were working on the tables at home, we finished up a couple of small projects on the couches. We added gas struts to hold the lids up when we are getting things in and out. They also prevent the lids from slamming down. We also decided to wrap the diesel heater vent hoses in Ceratex to keep them from getting too warm inside the couch.

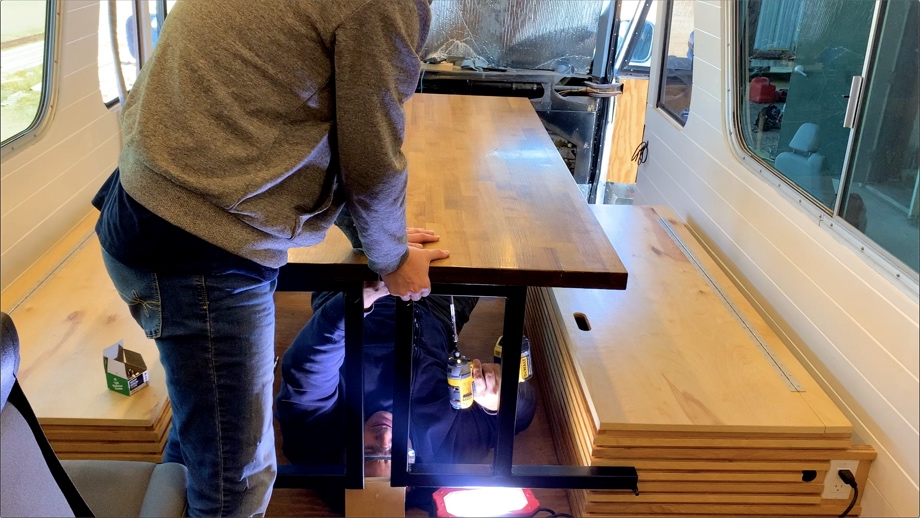
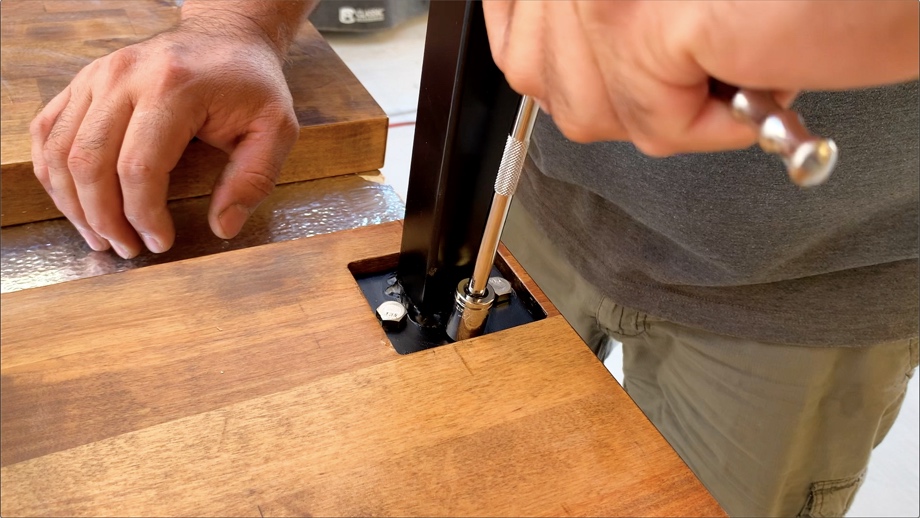
Once the tables were ready to go, we took them back to the bus and test-fit them on the legs and arms. This is where we started to run into a couple of issues. Instead of rehashing all those details here, I will just point you to the video where I ramble on about how so much of the time, our plans go awry and we have to come up with solutions on the fly. Now, I will just skip to the end where we ended up having to remake half of the bed legs out of 1" square tube in order to make our lives a lot easier.
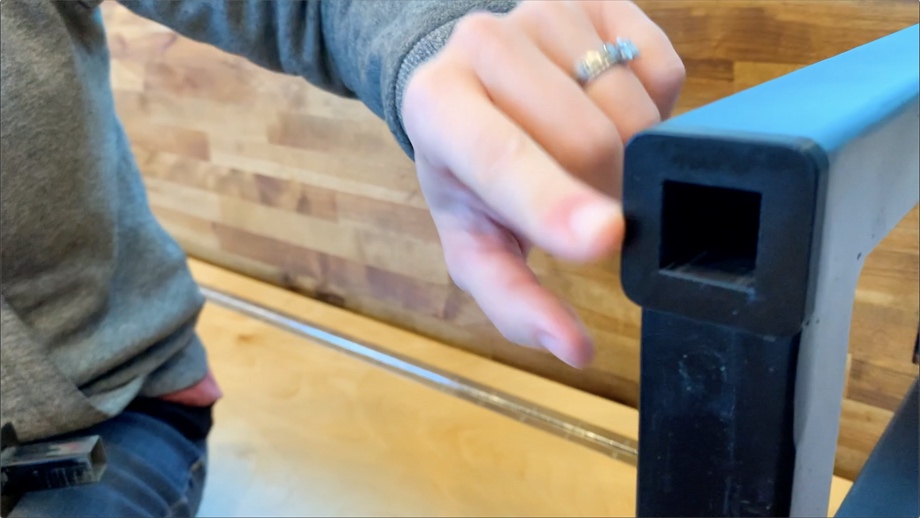
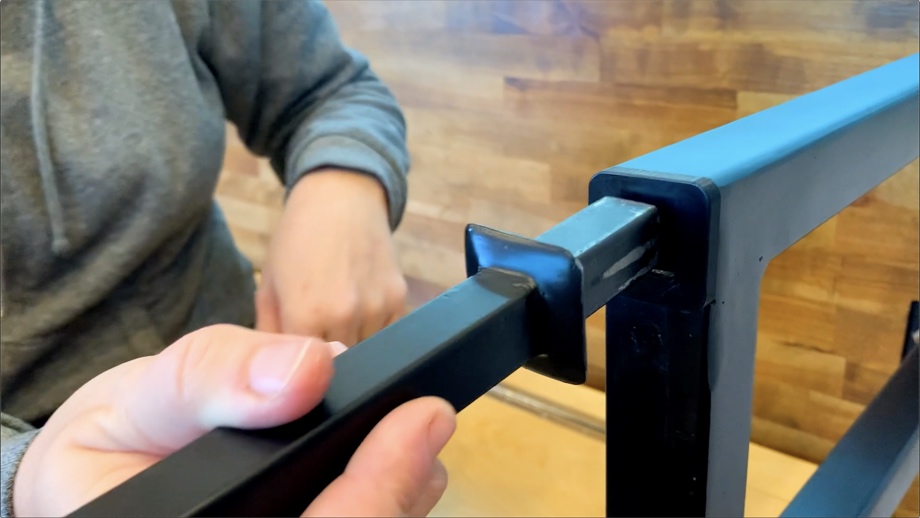
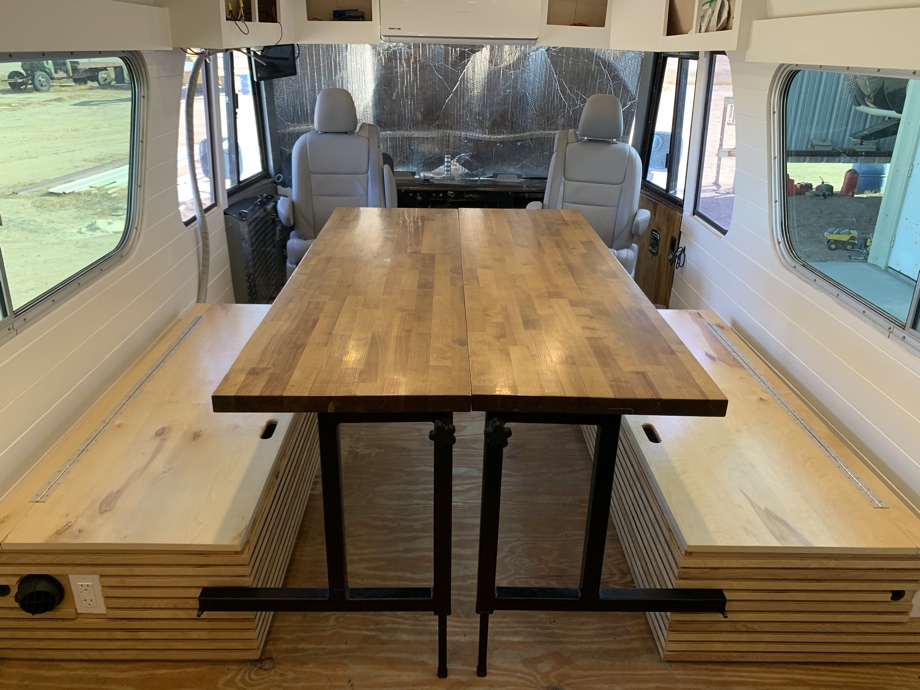
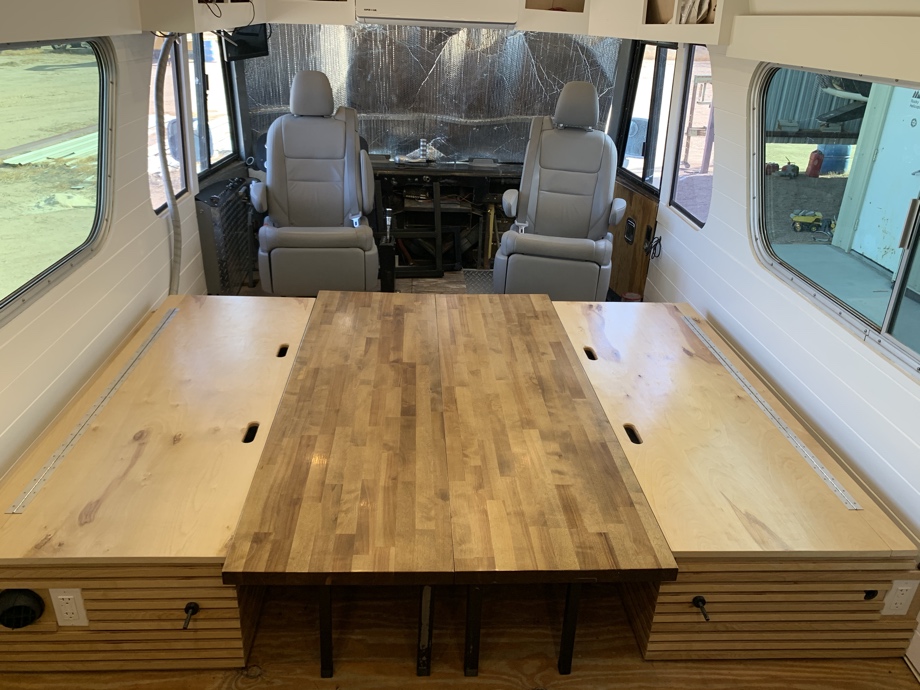
Finally, with working bed legs all bolted in, we slid the arms onto the couches, slid the tables into the arms, and we were nearly done. We just had to figure out how to make the table legs reach the ground. We already shared how we couldn’t telescope them up into the arms because the bed legs were in the way. In the end, we decided to just weld up some removable little legs with ¾” square tube and ⅛” steel plate “stoppers”. These slide into 3D printed caps that we made for the ends of the arms. Then we printed feet for the table legs (and bed legs, too) that fit to our subfloors now. This allowed us to begin using the tables immediately. Once we install the final flooring, we can simply print shorter feet for all of the legs. These legs are very simple to just pop in and out whenever we want to put the tables down or hinge them to the back of the couch.
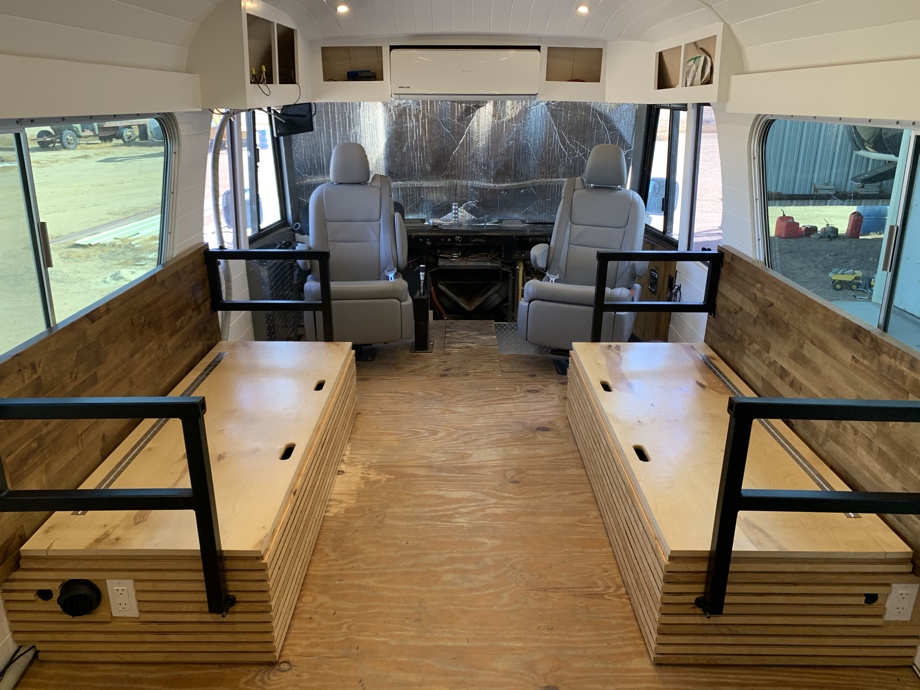
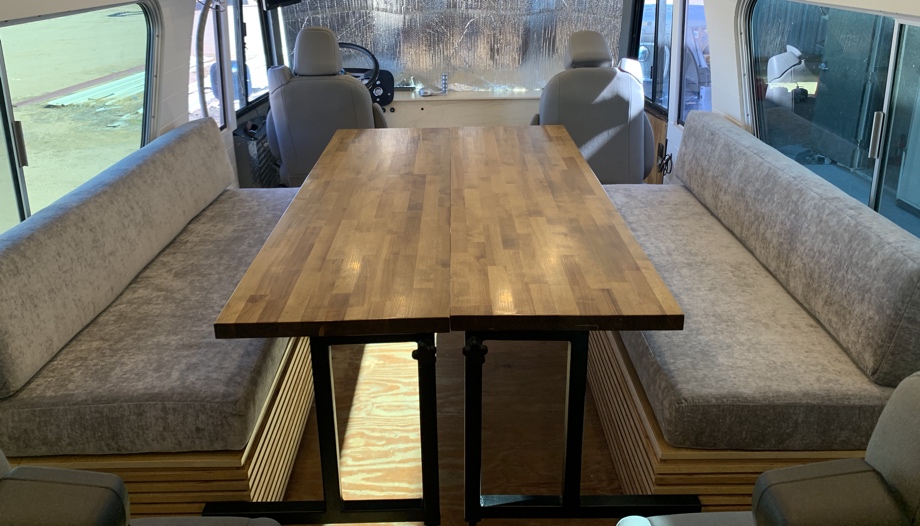
At last, we had it all put together and could put it through its paces, converting from two couches, to a large table (or simply one table with a walkway), and to a long queen size bed (60”x 90”). Then we reverse it - bed back to couches. It works so well and we are thrilled. Everything is a smooth, quick transition.
The last step was having cushions made. We had a local upholsterer, Giovanni’s Upholstery in Gilbert, Arizona, make these for us. We are so pleased with how they turned out.
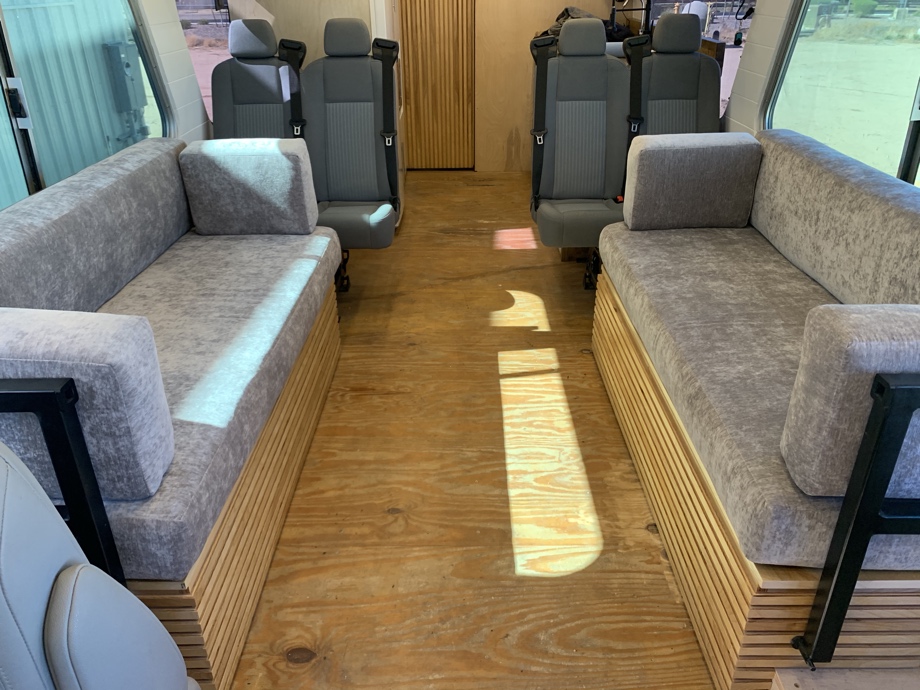

These couches, tables, and bed will be the hub of the home. School, work, crafts, meals, movies, games, storage, sleep. It will all happen right here at these multi-functional work horses. We want to thank the Evans family, once again, for the inspiration from their couch/table setup.
Watch the video:
Click here If you cannot see the video.


0 Comments
Comments powered by Disqus