


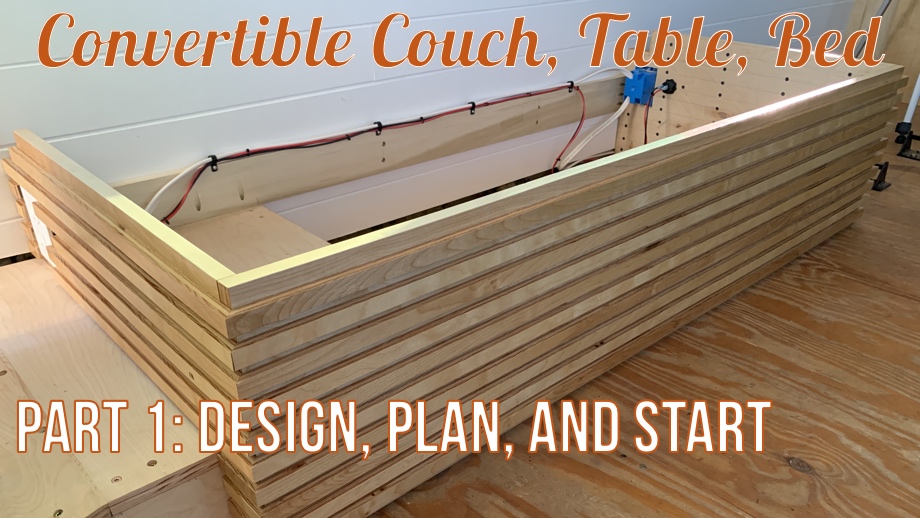
For the last few years, we have had this next project lingering in the back of our minds, waiting for inspiration to strike. What we didn’t know was how in the world we could actually make it work. What is it? A couch that is also a table that is also a bed. We had seen plenty of convertible couch-beds. And we had seen the standard small convertible dinette table-bed. However, with a family of six and limited space, this area had to function as more than just two things. It had to be all three. In this next chapter of the build, we will share with you our design inspiration, struggles, and how we made it all finally work to have a 3-in-1 convertible couch, table, and bed. In Part 1, we share our needs and plans, and we get started on building the first of two couches.
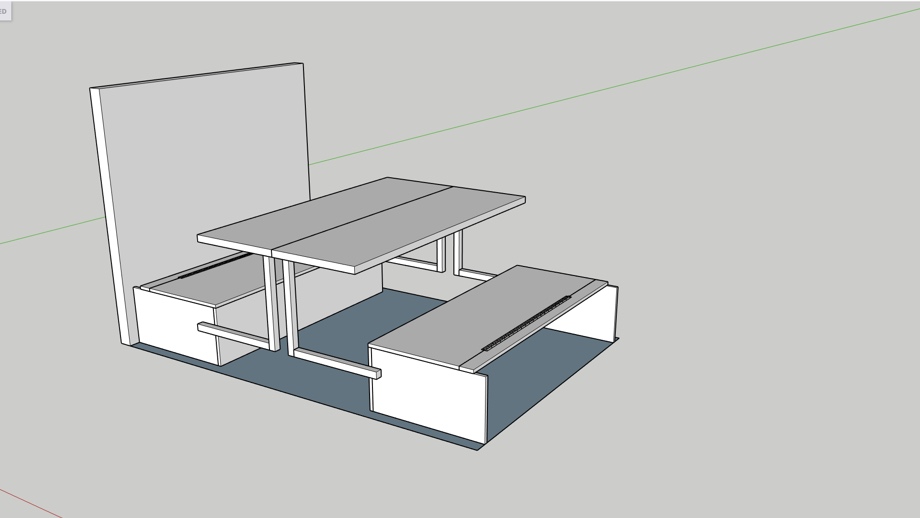
After researching plans for convertible beds for the last few years, we kept coming up empty. Either a plan didn’t cover all three functions or it wouldn’t work in our space. Finally, we got really close to something workable when we discovered @8people3dogsandasnakeonthebus. The Evans family has an even larger family than we do, so they had similar needs in their bus. They figured out a way to make two flanking couches have tables that fold-away to become the backs of the couches. They solved a big part of our problem. Their tables don’t need to be stored, and because it is actually two separate narrow tables, you can either have half a table up and leave a walkway or have both sides up for a larger table. Perfect! Almost. They didn’t have the need for it to become a bed, so we still weren’t at 100% but were close enough to use their design and modify it to work for us. It was a great starting point. Thanks, Evans family! If you are looking for just the couch/table (no bed) plans, get in touch with the Evans family on Instagram. They have their plans available for purchase.
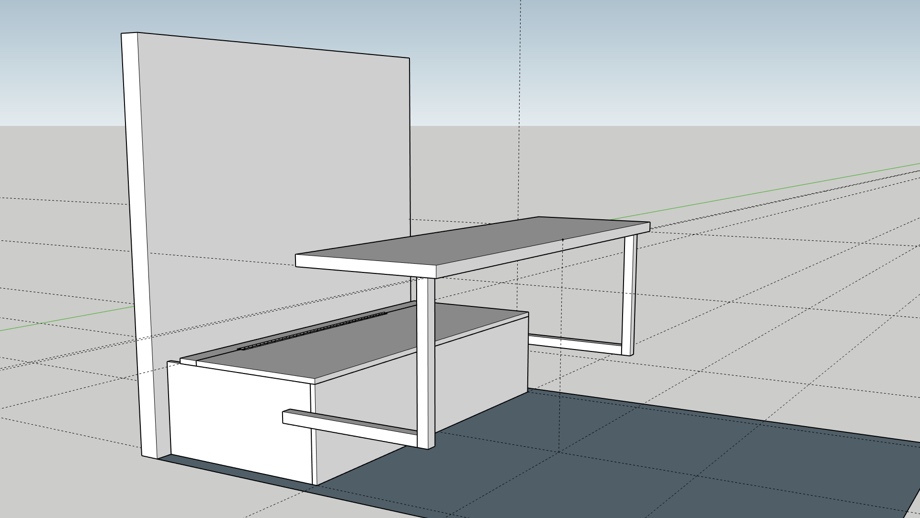
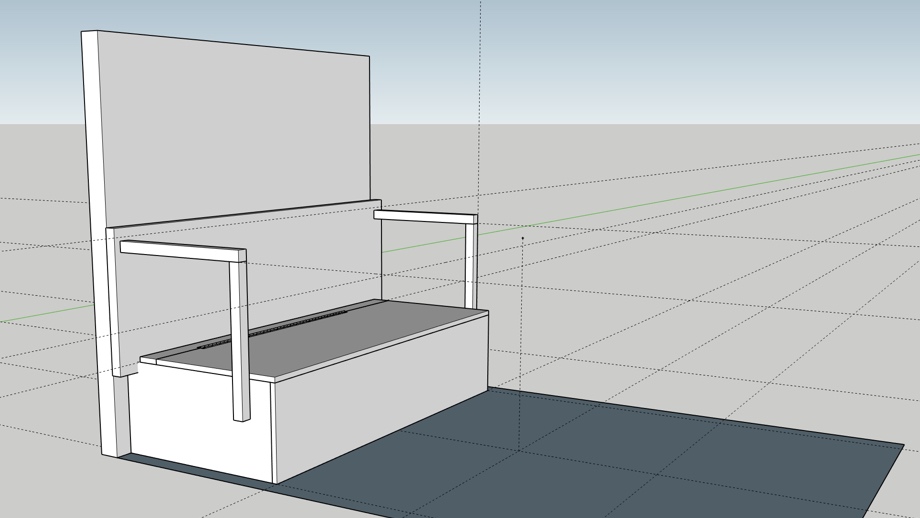
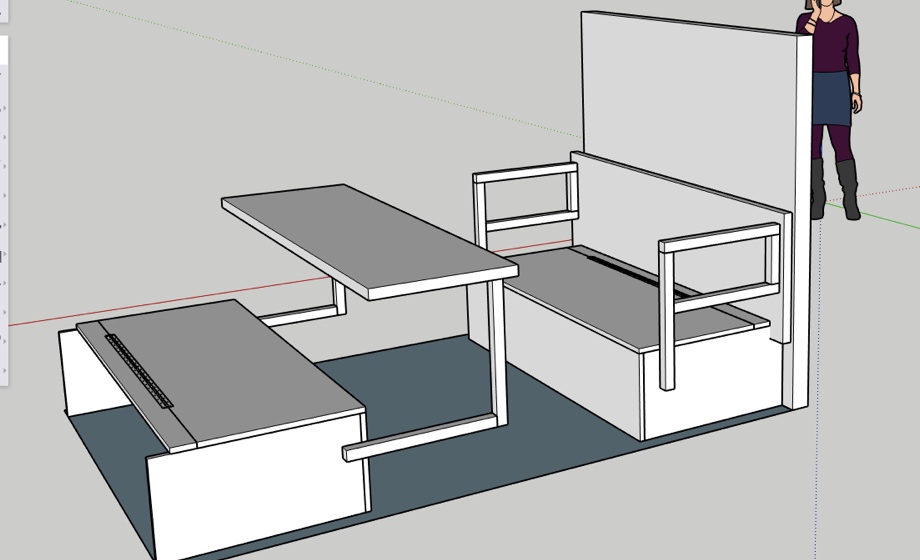
The basic premise of the double couches with “table backs” is that the tabletops are attached to metal legs which then hinge on pivot points on the sides of the couches. These legs rotate around the hinge becoming the arms to the couch and the tabletops become the backs. We will share much more about that part of the build next time. For now, we are going to start with just the basic couch boxes. We next spent a significant amount of time modeling everything in SketchUp.
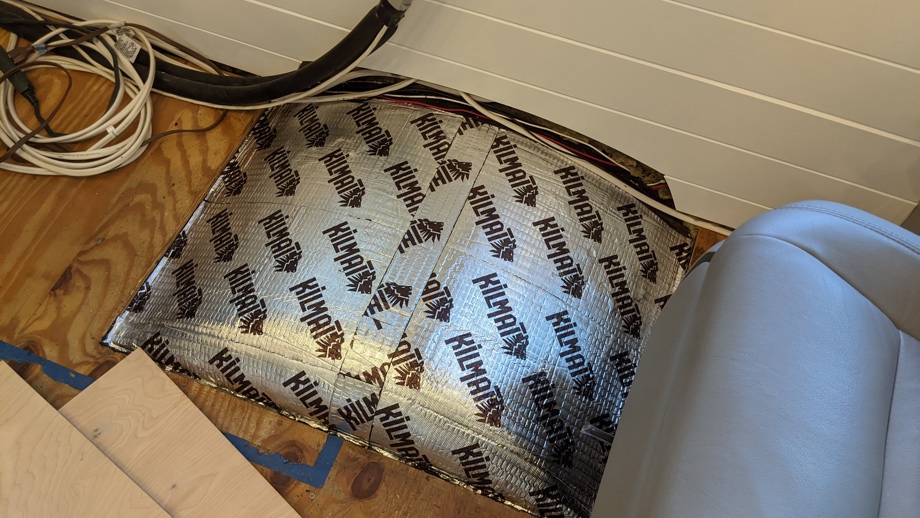
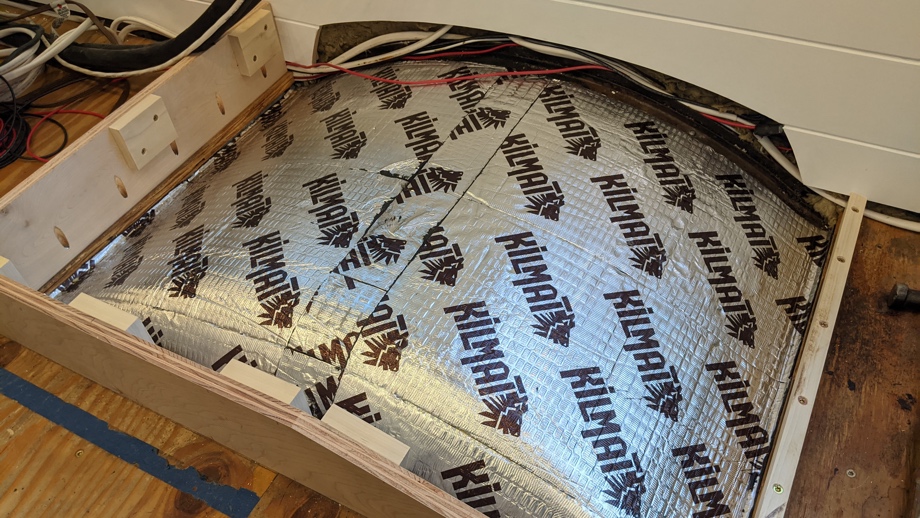
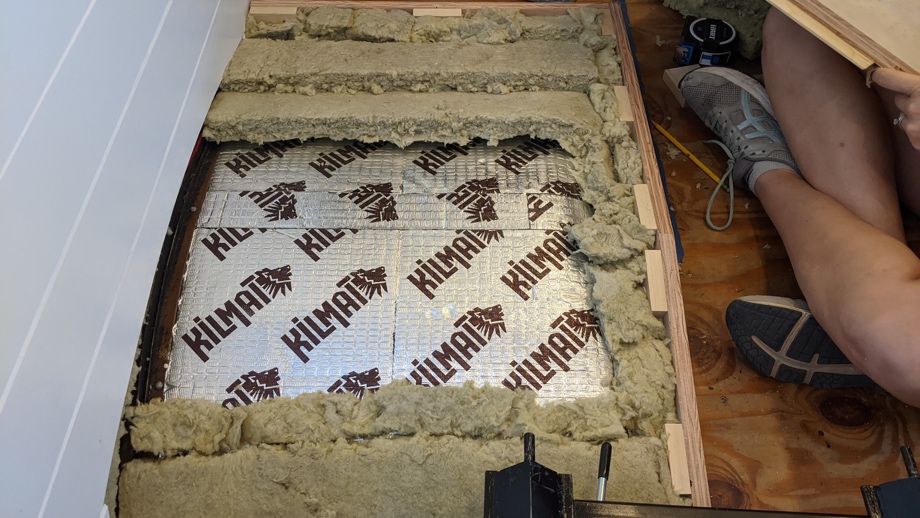
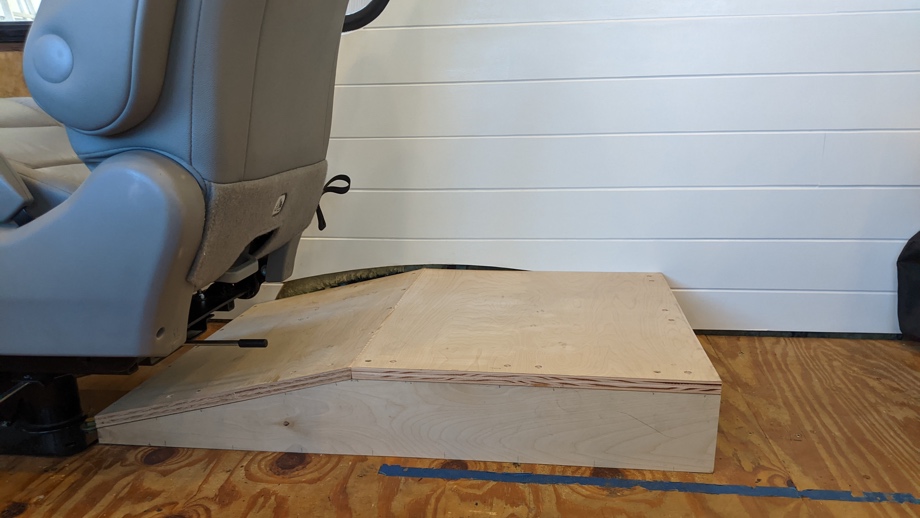
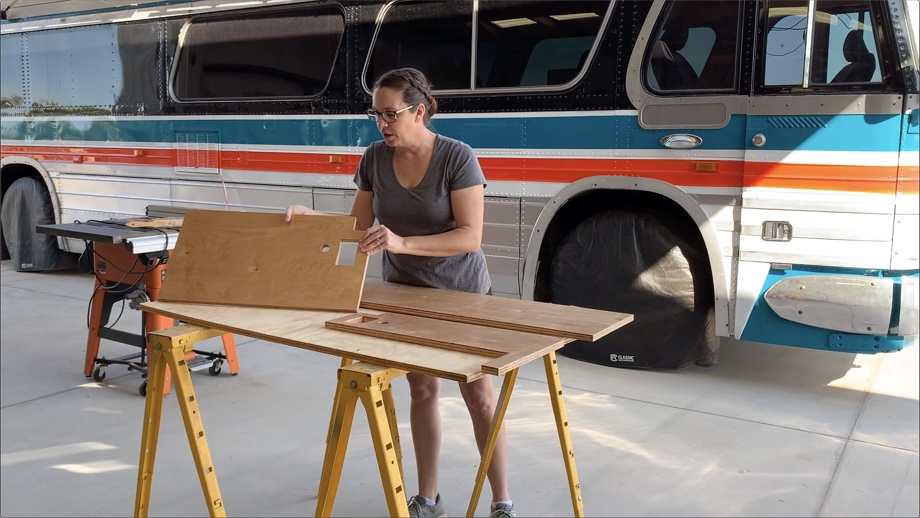
Before we could even begin building the couch boxes, we had to cover the front wheel wells. We started by putting Kilmat (sound deadening mat) down over the wheel wells and then covering that in mineral wool insulation. Next, we needed to build boxes to cover them. The two couches cover about half of each wheel well, so we needed a flat surface on which to build. Of course, it couldn’t just be a simple box, because that would just be too easy! If we built a rectangular box, our driver and passenger chairs would not be able to swivel around. They would have run into that box. We ended up making the box rectangular on one half and ramp down on the other half. Now the chairs can swivel over the ramp.
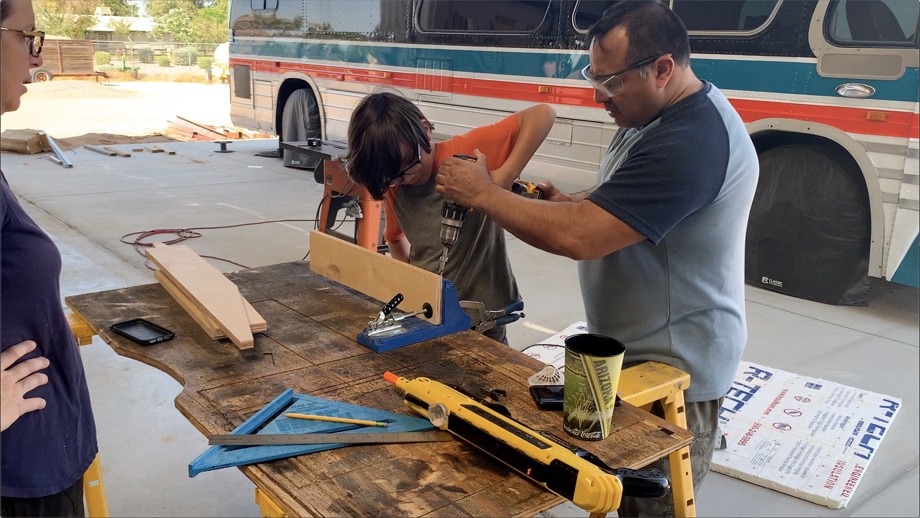
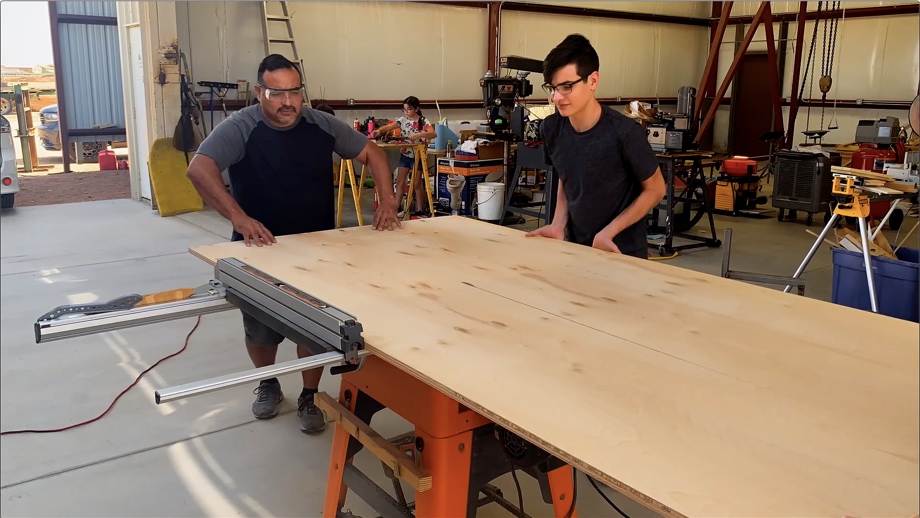
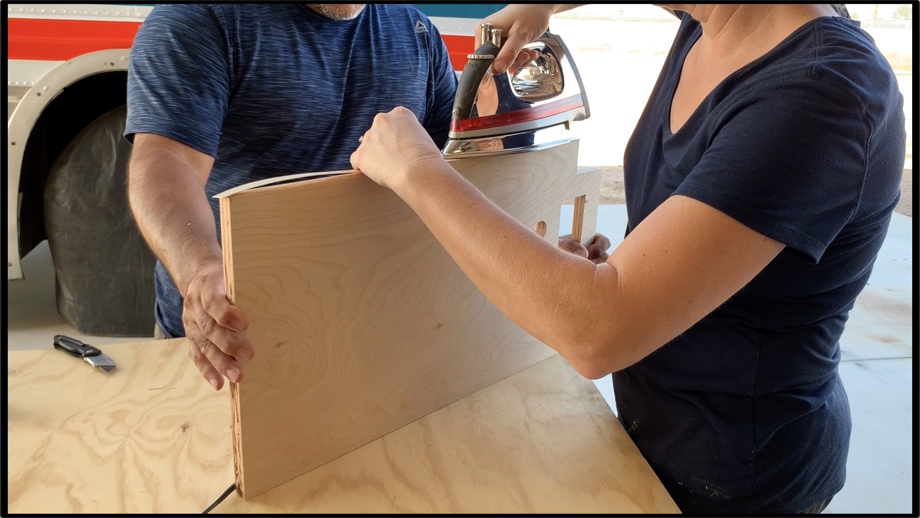
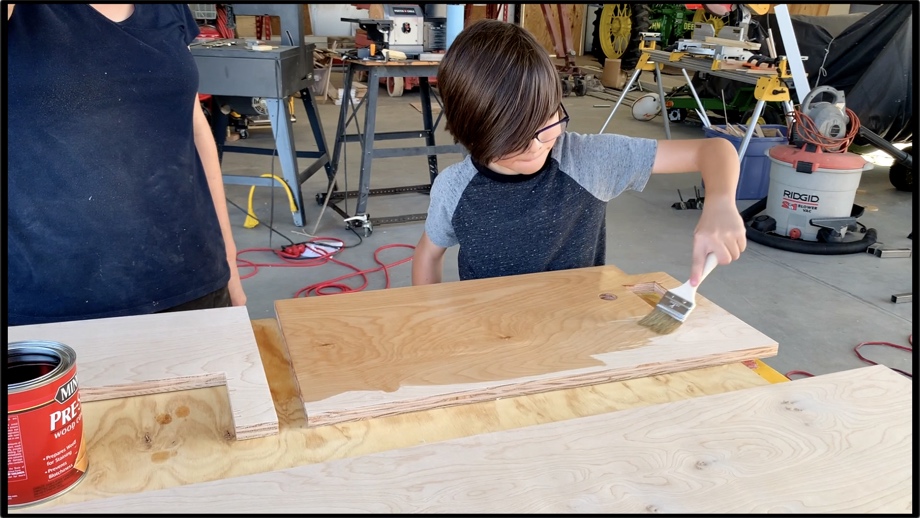
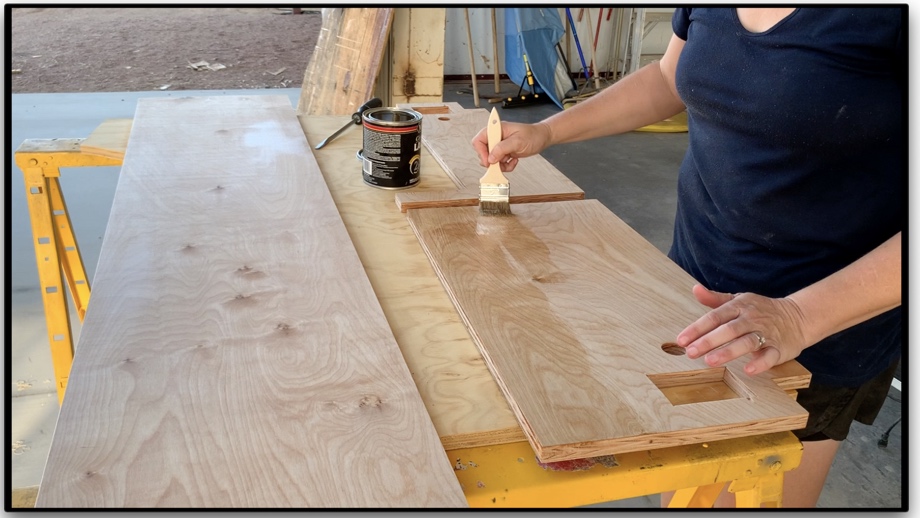
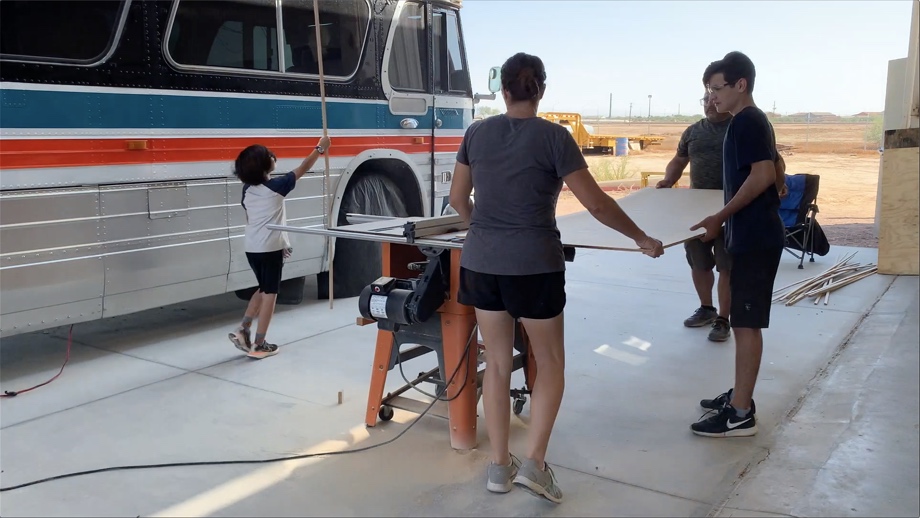
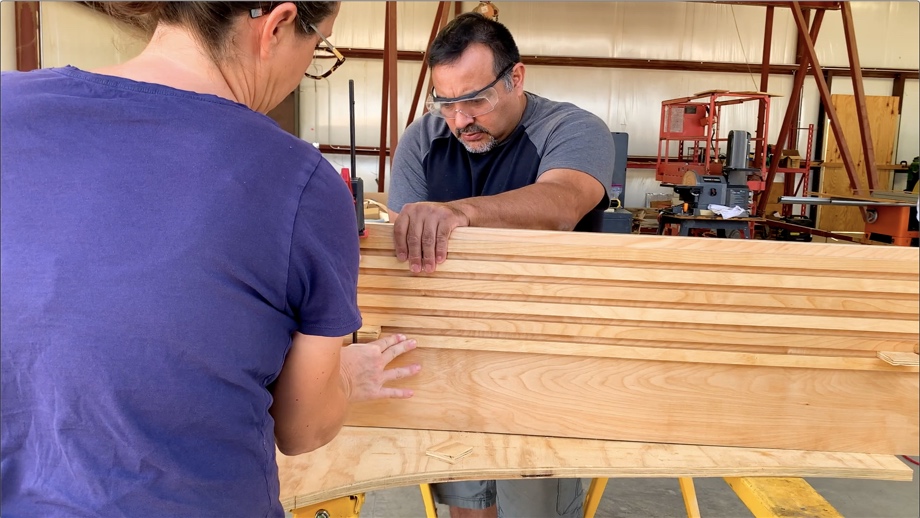
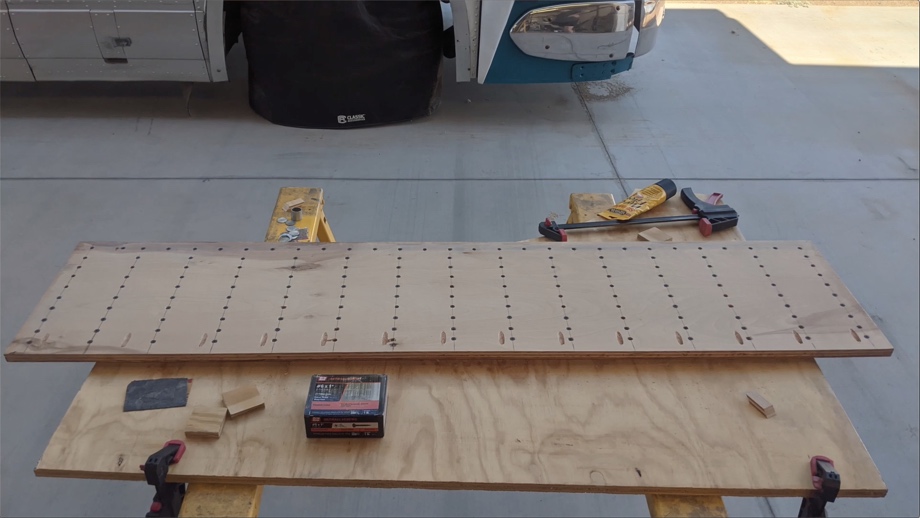
Finally, we were on to actually building the couches. The kids helped with the whole process. We started with unfinished ¾” birch plywood and cut all of our pieces. Next, we sanded, edge-banded the tops, used pre-stain wood conditioner (to warm up the color), and finally, sealed it all with multiple coats of lacquer.
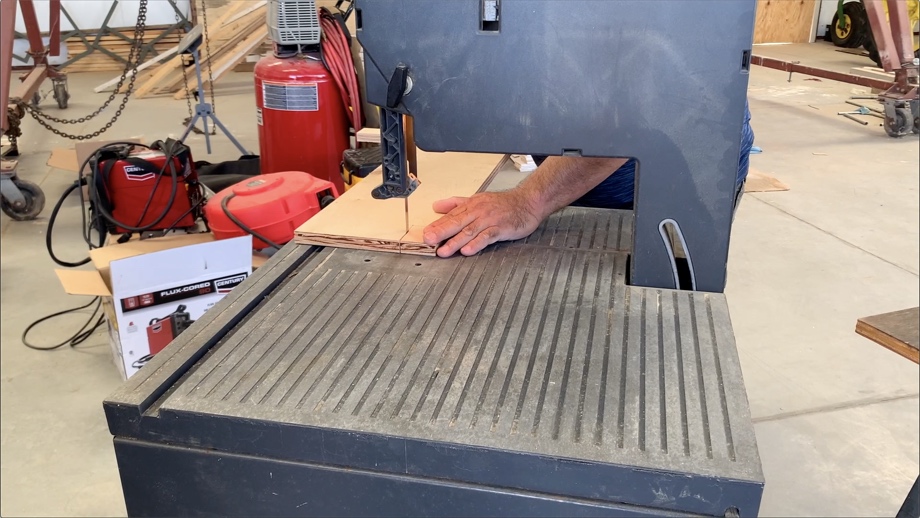
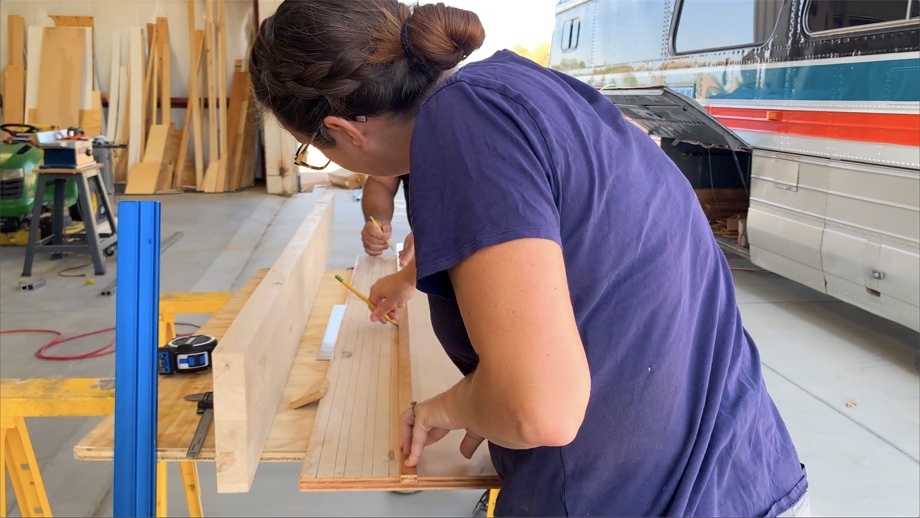
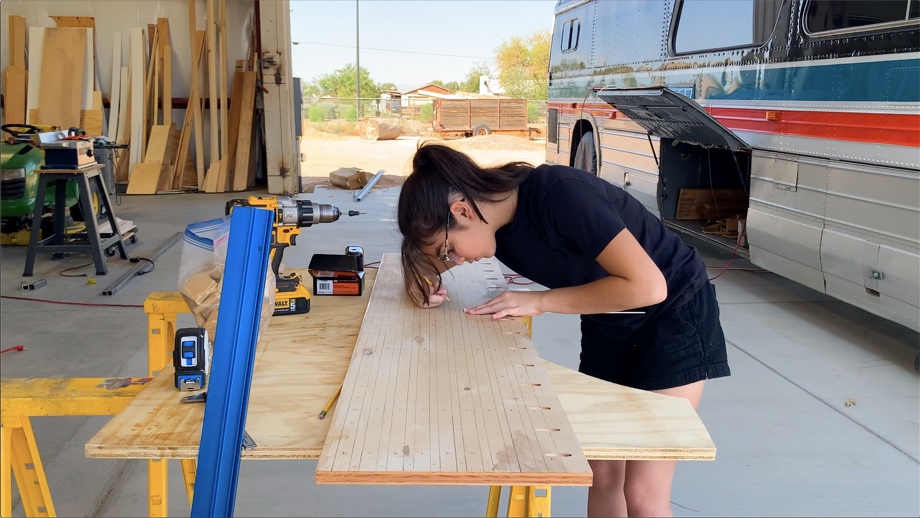
We decided once again to use slats around the couch as we did with the bathtub surround and the pocket doors. The slats will actually serve a couple of different purposes. First, it just is an aesthetic design choice. It provides some texture on a somewhat boring box. Second, it will hopefully hide some of the imperfections that will undoubtedly happen with feet kicking and bonking into it all the time. Finally, the top slats will provide additional support for the tabletops when they come down into “bed mode”.
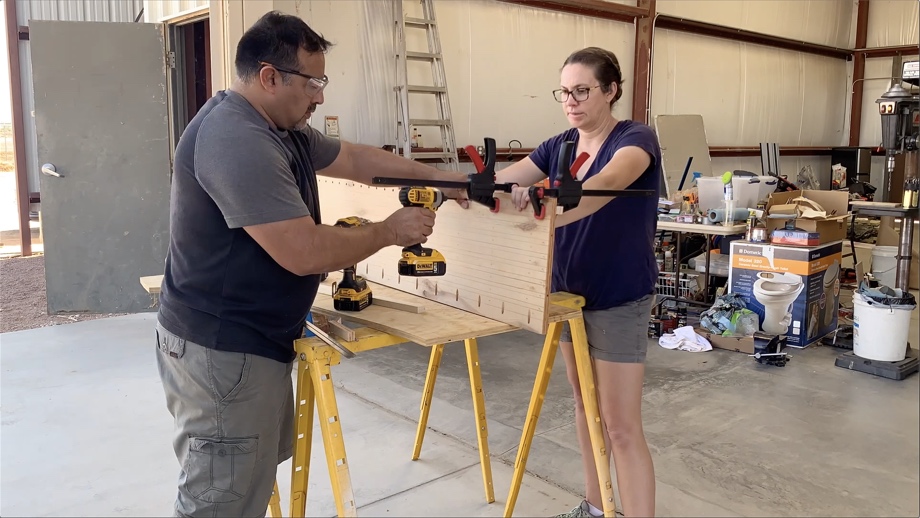
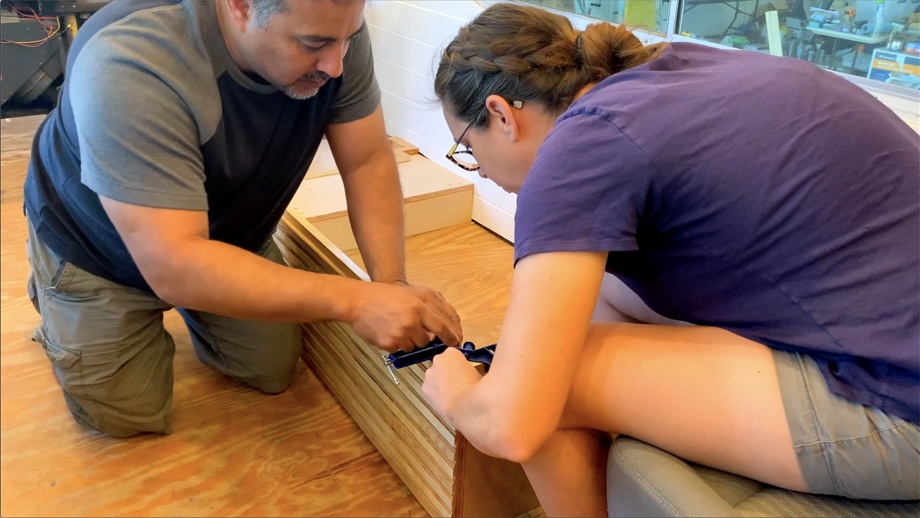
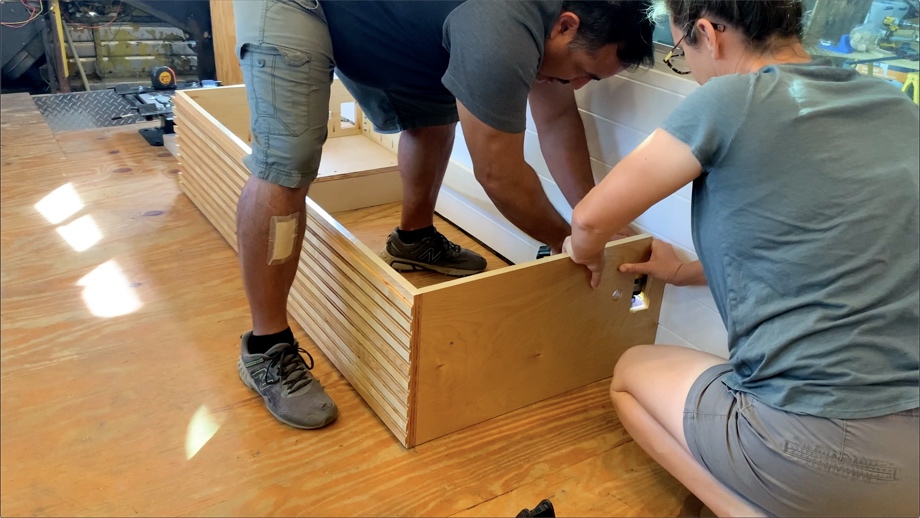
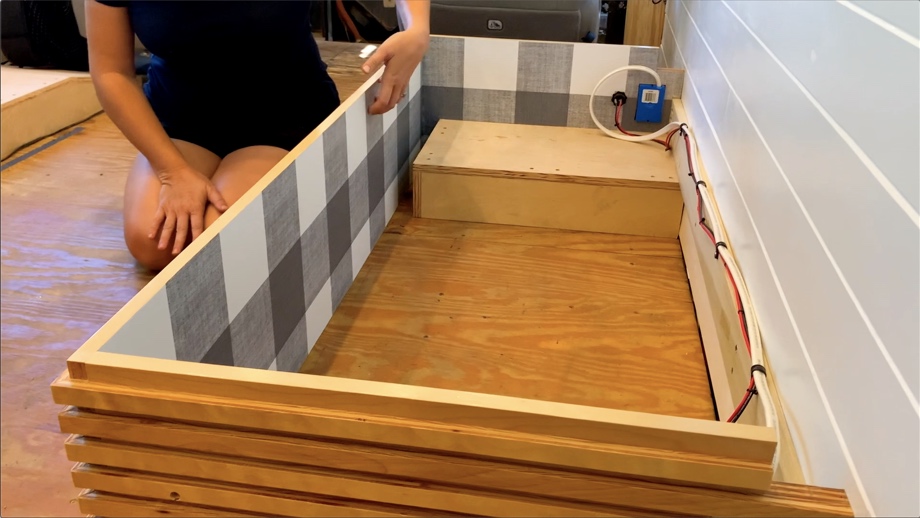
After cutting and treating all of the slats, we screwed them into the back of the front piece of the couch. Before we attached the slats to the sides, we assembled the box in the bus. The fronts and sides were squared up and pocket holed into the subfloors and to each other. We made a cross-support piece to go across the back that is screwed into the metal ribs of the bus as well. Finally, one at a time we aligned each slat on the side with the mitered slat on the front for a perfect corner and screwed it in.
There were so many screws holding all of those slats on, and I decided I didn’t want to look at them every time we opened the couch. So I wallpapered inside the couch with some cute peel-and-stick gingham wallpaper from Lowe’s. Finally, we wired up a 120V outlet and a 12V outlet on each side of the couch. You can never have too many outlets. These will come in so handy for charging computers as we are working at the table (although, we do have an entire charging station in the closet for laptops and devices when they aren’t being used).
This was just the beginning of this whole monster project. We still had an entire second couch to build, hinging lids for the couches, welded arms and legs, tabletops, and even plenty of 3D printed parts. That’s what is coming up in the next post (or two?).
Watch the video:
Click here If you cannot see the video.


0 Comments
Comments powered by Disqus