


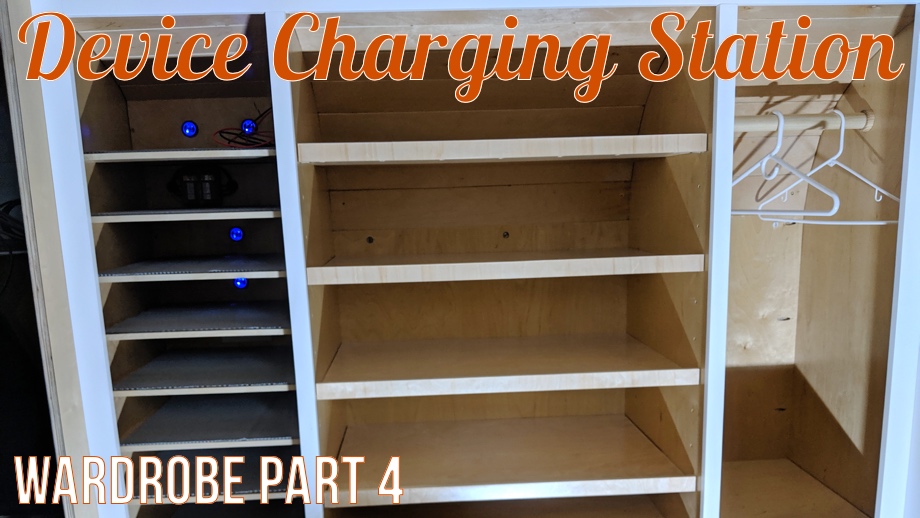
The project for this week may very well turn out to be my favorite functional part of the bus! With six people living, working, and homeschooling full-time in the bus, we knew we needed to make a space for all the devices. Laptops, iPad, tablets, a few phones, not to mention cameras, etc. And, the charging cables...oh, the charging cables. They drive me crazy. They’re always everywhere! I wanted one place for devices to live and to be charged when they aren’t being used. Since we had plenty of space in our wardrobe, we decided to make ¼ of the top cabinet space specifically for a charging station.
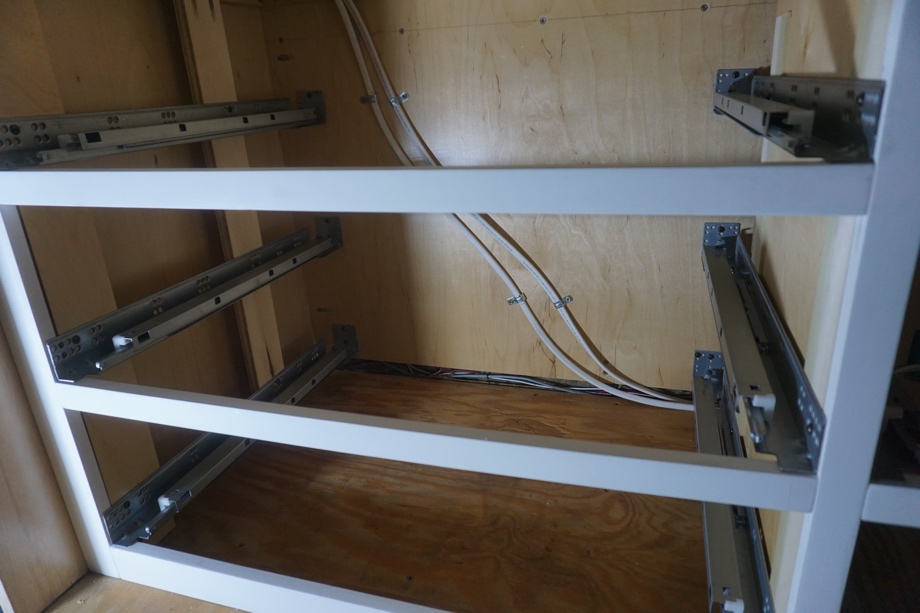
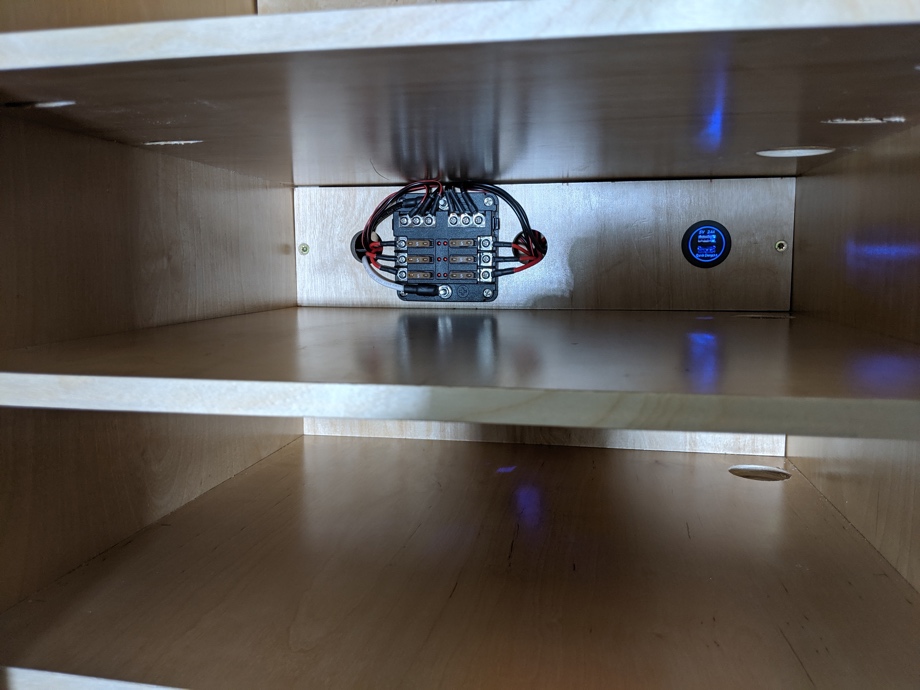
First up was the wiring. Back when we created all of our circuits, we planned a dedicated 12V 20amp circuit specifically for the charging station. We are also adding some 120V plugs that will share the circuit with the convection microwave. We had previously run these main wires with marine-grade cable - 10AWG for 12V and 12AWG for 120V - so these main lines were ready and waiting for us to run up behind the lower drawers of the wardrobe.
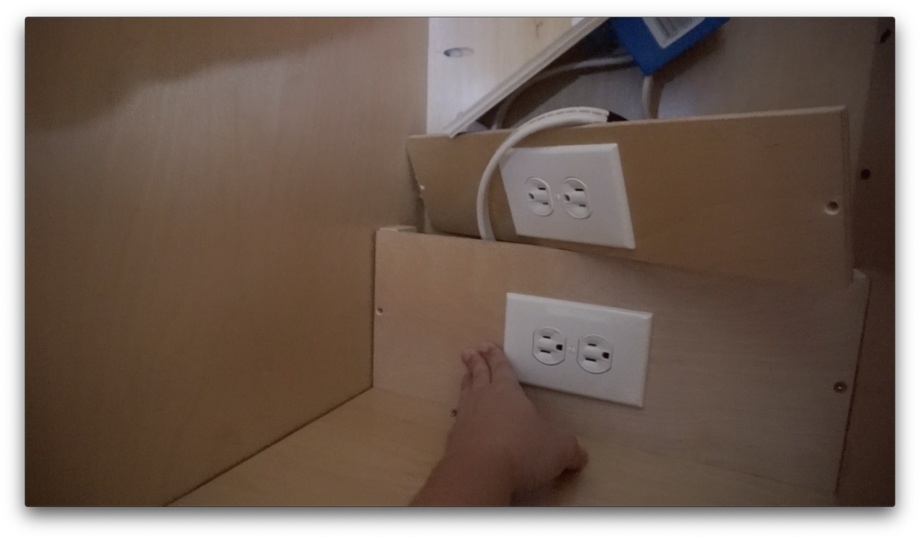
The basic idea was to have a series of shelves spaced about 4” apart with either a 120V outlet or 12V USB in the back. In order to hide all of the wires and have a place to mount the outlets, we decided to make false walls between each shelf.
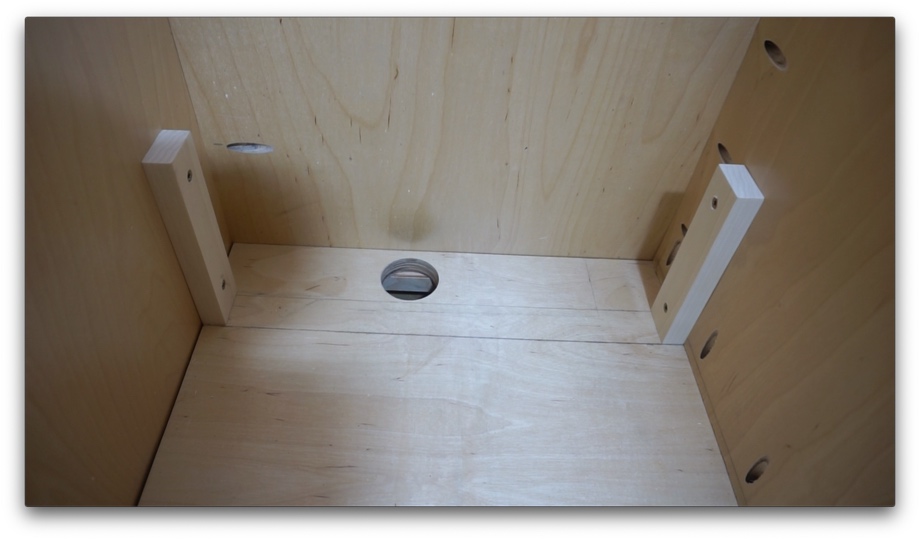
We drilled holes in the back of each shelf to run wires up from behind the drawers. The bottom four shelves have the 120V outlets daisy-chained together. The top four shelves have 12V USB outlets all running to a fuse block mounted on the front of one of the false walls. This allows each outlet to be fused at 5amps. Each of the false walls is screwed into some wooden blocks we placed behind. This will allow these “walls” to be removed so we can access the wiring and outlet boxes in the future if necessary.
For the shelves, we used ½” prefinished birch plywood with edge banded fronts. Because the shelves are only 4” apart from each other, we decided not to make a lip on them. In order to prevent the devices from slipping around in there or sliding off a shelf, we lined each shelf with rubber gripping shelf mat.
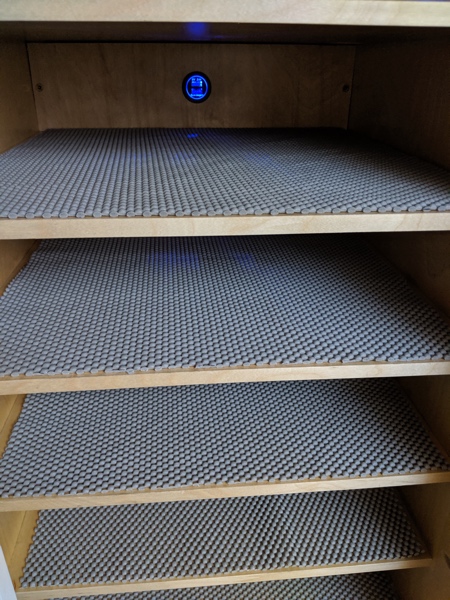
The charging cables will stay in place on each shelf, neatly routed from the plugs in the back up to the front of the shelf so that it’s easy for everyone to simply plug into the device and set it on the shelf. We will have other charging cables that can be moved around to the car or the bedroom, etc.
The finished product is exactly how we envisioned it. Clean lines and super functional. We are so excited with how it turned out and are just so happy that all the devices and cables will have a home and not just be left out all over the counters and couches all of the time. Hallelujah!
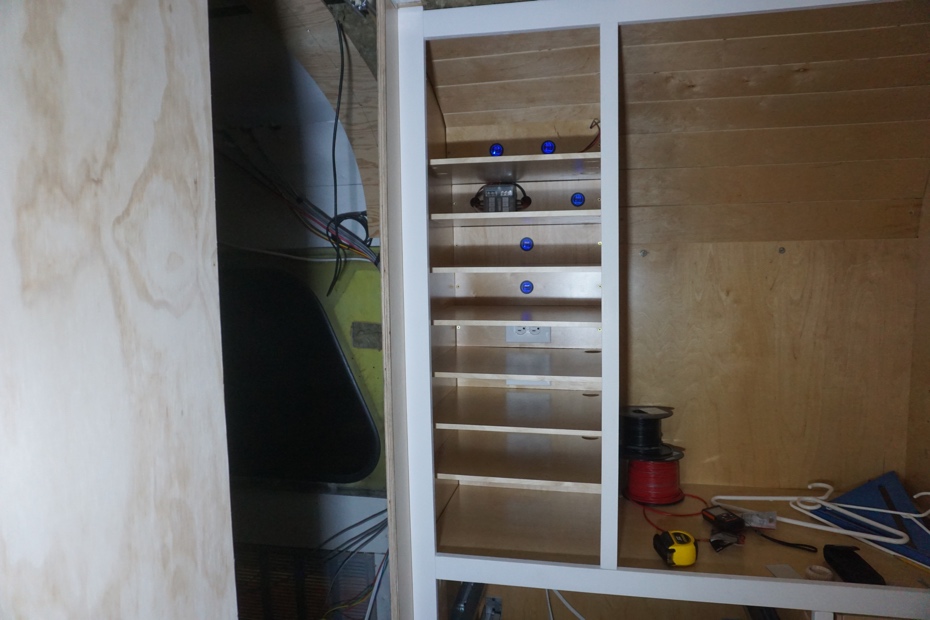
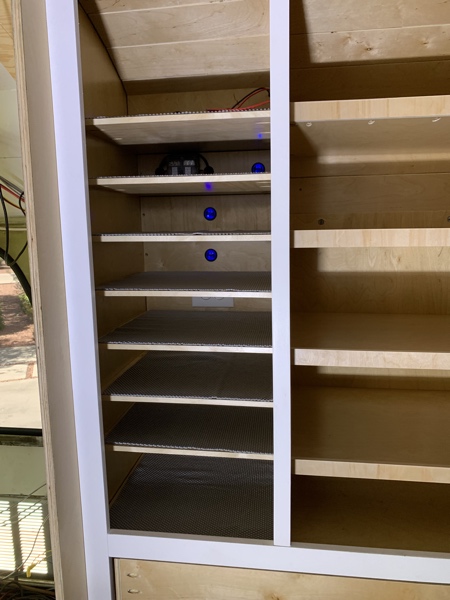
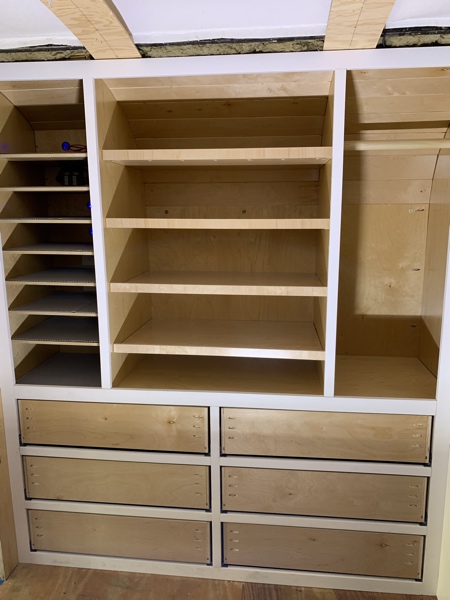
Finally, we simply finished off the two remaining spaces in the upper half of the wardrobe. The right ¼ of the wardrobe is hanging space so all we had to do was add a closet rod. The center ½ is adjustable shelving. We had already drilled in the shelf pin holes when we built the dividers. So all we had to do was make the four shelves. We added trim to the front that sits taller than the shelf creating a ¾” lip. These shelves will be home to all kinds of things (seriously, this space is much bigger than we imagined it would be in our head) - extra blankets, bathroom supplies, homeschooling books, toys, etc. Most of these things will likely be in bins, so the lips on the shelves will prevent the bins from sliding off while driving.
And, with that, the wardrobe is done. Well...almost. We still have to make drawer faces and cabinet doors. But those things will wait until later. We will be moving on to more built-ins for the kitchen area next.
We are pleased with how this whole wardrobe has turned out and it will definitely be the heart of the storage in the bus. Now if we could just finish the rest of the bus so we can actually fill these shelves and drawers.
Watch the video:
Click here If you cannot see the video.


0 Comments
Comments powered by Disqus