


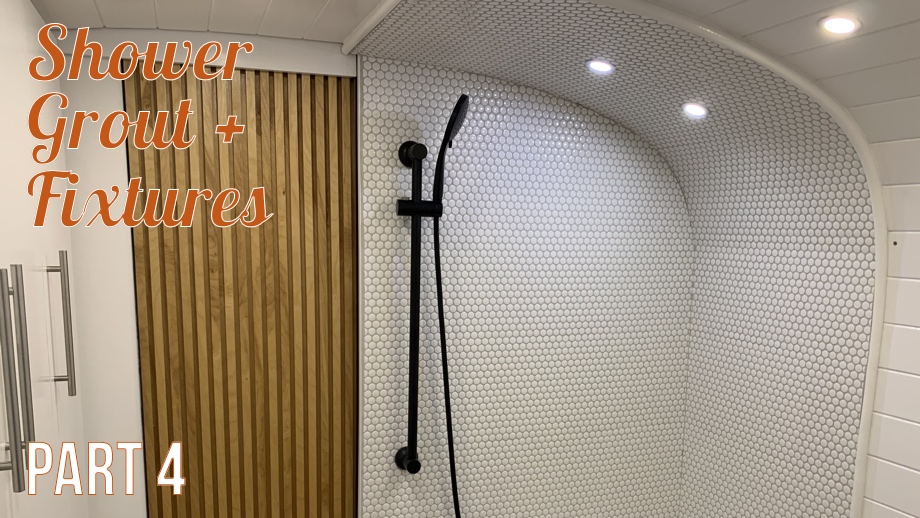
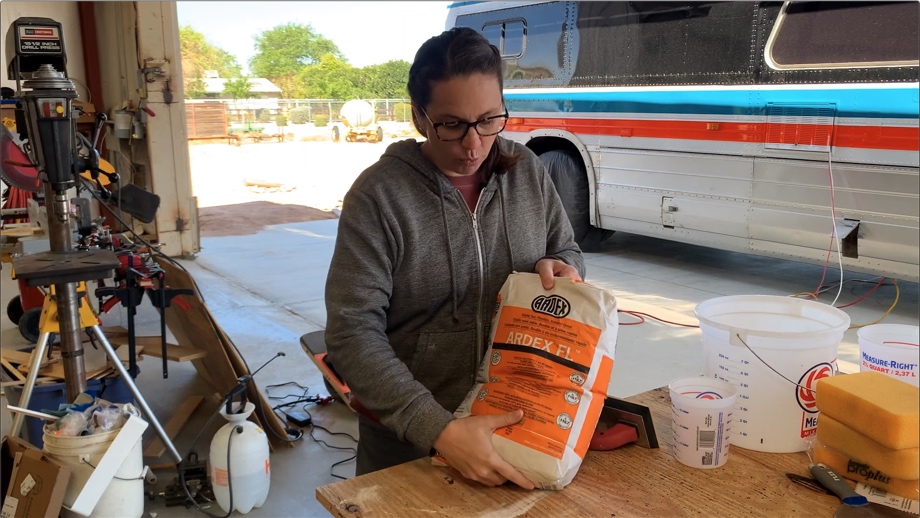
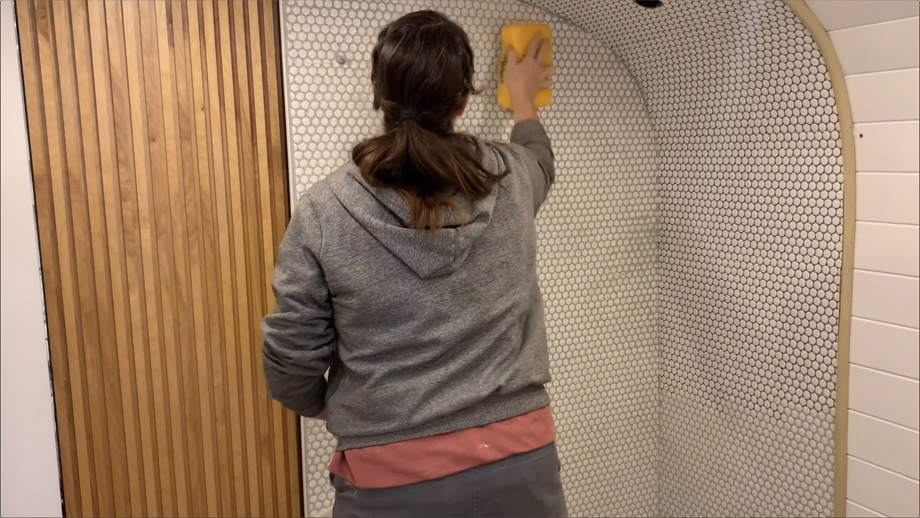
The time had come to grout the penny tile and install the fixtures in the shower. We chose Ardex FL grout in the color Fresh Lily. The “FL” is their flexible grout, so we are hoping it holds up really well. We got great feedback from Justin over at Gilligan Phantom who used penny tile with this grout and he has reported no cracks after driving thousands of miles.
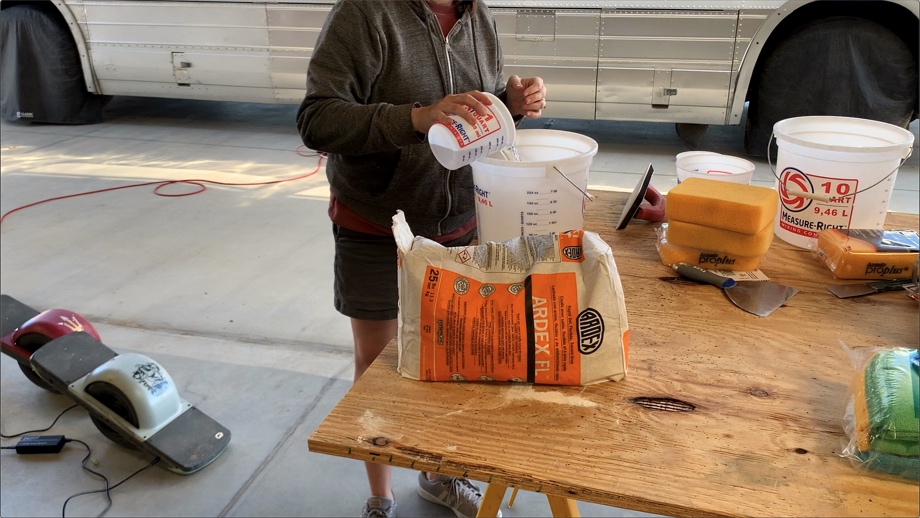
Because we had never grouted before, we decided to mix just a really small batch at a time. That allowed us to figure out how to do it and take our time without worrying about the “pot time”. After Juan grouted one shower wall, I started the cleaning process. Many buckets of clean water later, I had sponged it as clean as I could. Then, we repeated the process on the second wall, ceiling, and faucet area.
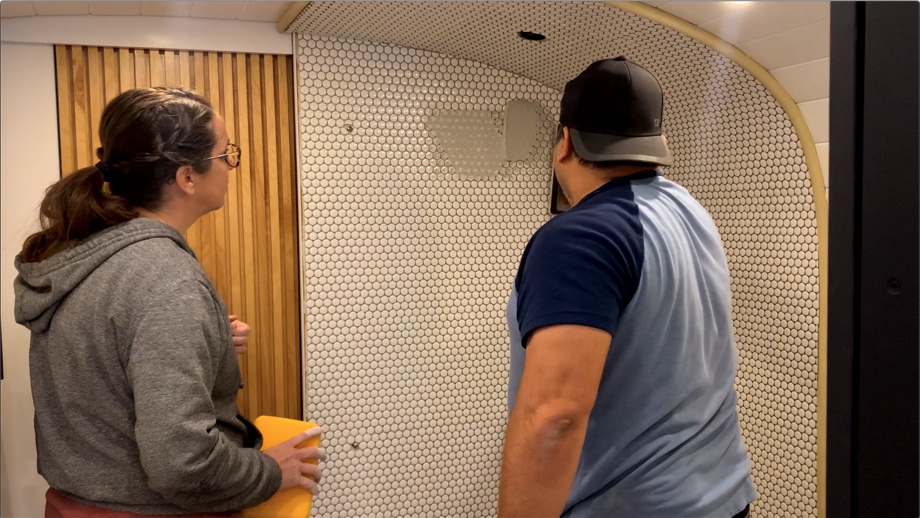
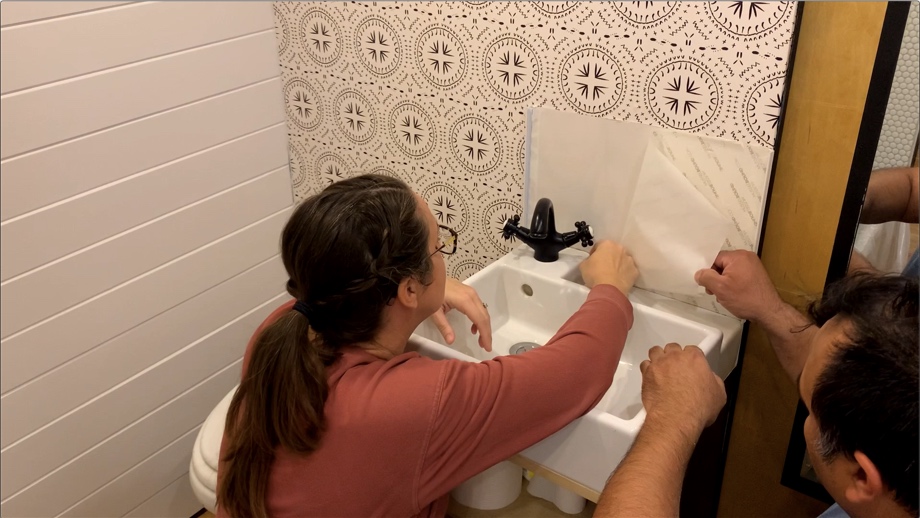
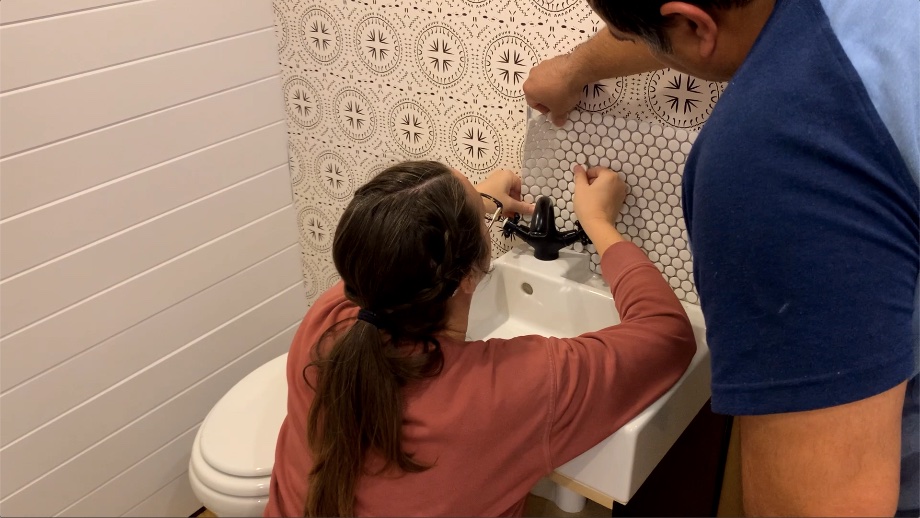
Before we could put away the grouting supplies, we had one small project to do. We showed you previously that we used Musselbound tile mat behind the bathroom sink instead of thin-set and the Kerdiboard we used to waterproof everywhere else. The one issue with the tile mat is that once you set the tile, the instructions say to grout within 24 hours. Well, we were waiting more than 24 hours, so we did not tile that section when we tiled the rest of the shower. Once we started grouting, we went ahead and tiled that backsplash area. Then, we could immediately put the grout on.
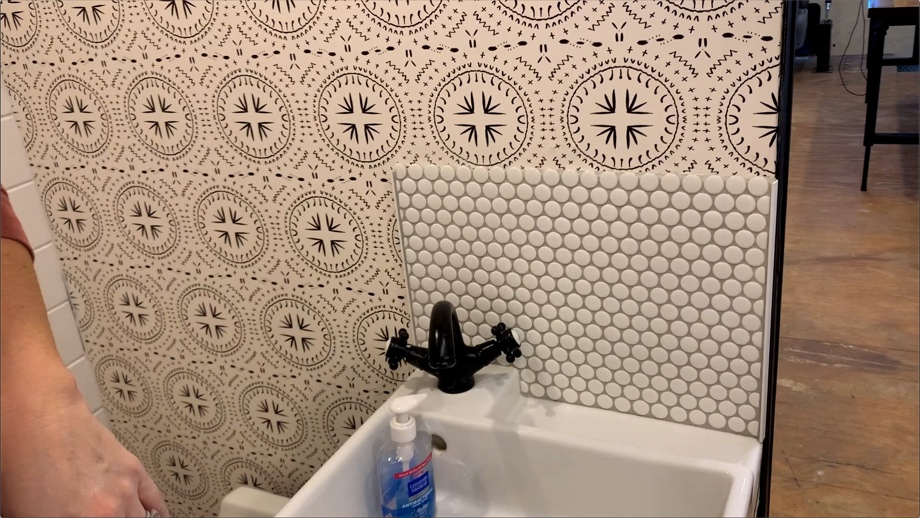
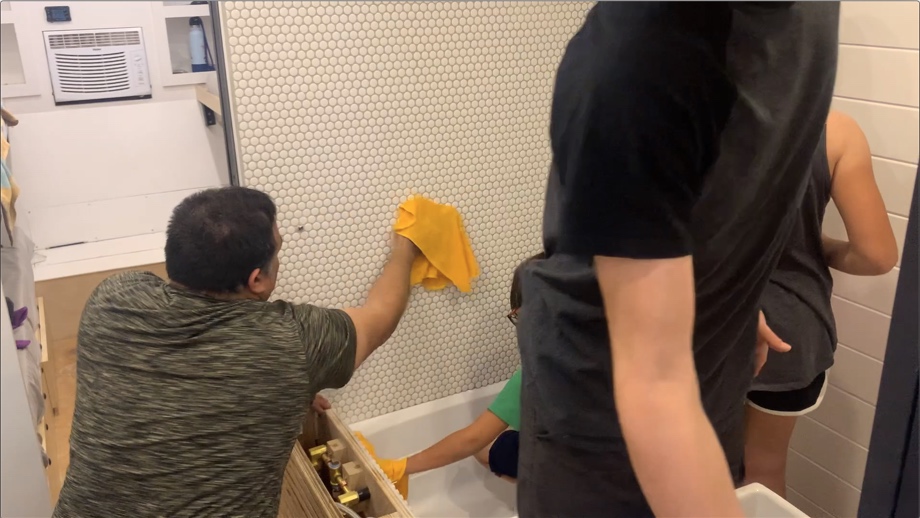
After all the grout had a chance to dry overnight, we did one last round of cleaning the haze off with a lot of water, microfiber cloths, and elbow grease. I know there are products out there made for removing the haze and some people even have success with vinegar. However, we were advised that really the best thing is just a lot of elbow grease and water. Thankfully, we have a lot of elbows in this family, so we had the kids all come in and work on it with us. In the end, the penny tiles were smooth and shiny.
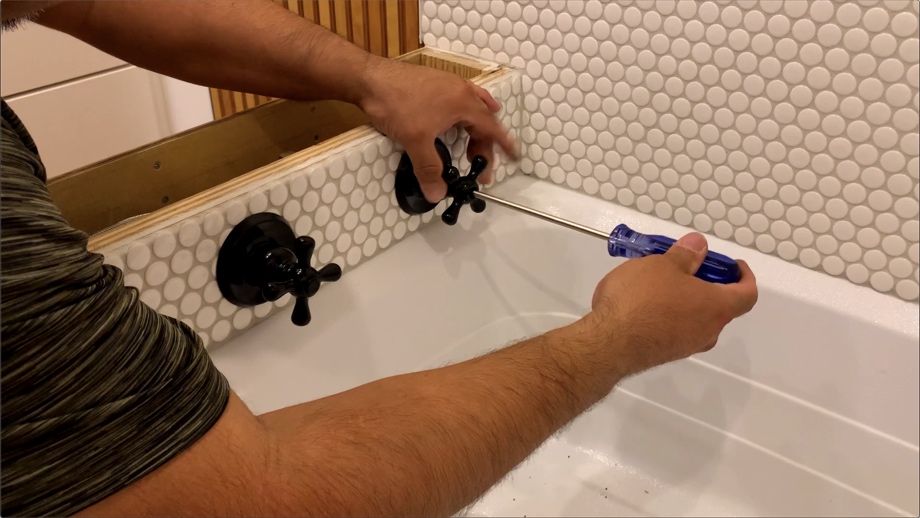
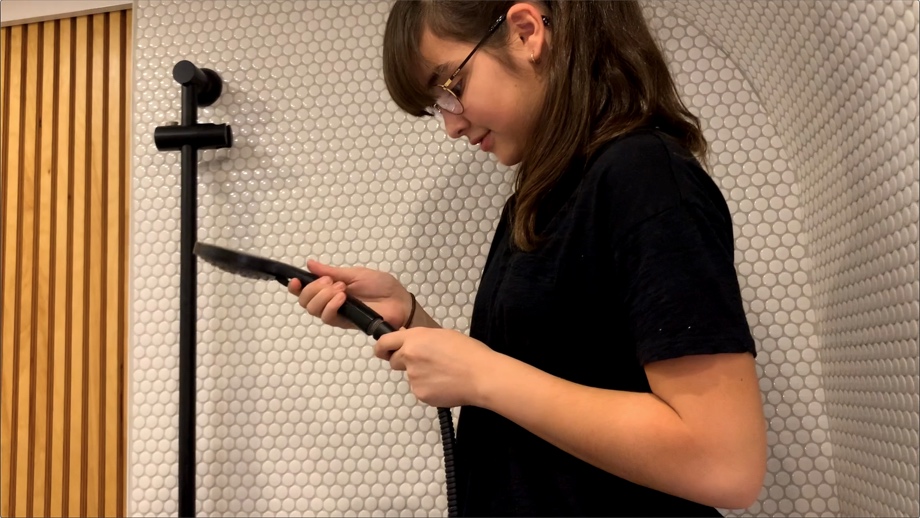
Installing the fixtures was next on the bathroom to-do list. We chose matte black hot and cold knobs plus a handheld shower on a slide bar. The video details why we chose separate hot and cold lines rather than use a mixing valve. (Spoiler: It’s because of how our water heater works.) We made sure to use plenty of silicone as we installed the knobs so that water would not seep behind. Previously, we had prepared for the shower slide bar installation by putting in threaded inserts into our plywood wall with a brass bushing spacer. Then, we were able to grout around all of that. It worked just as we had hoped, and when the time came to install the bar, we were able to simply screw it into the threaded inserts without drilling through the tile. We know it’s strongly mounted all the way through into the plywood.

In our next build episode, we will finish up this shower area with a hinging benchtop for our plumbing access/bathtub bench, test the valves and water heater, figure out the shower curtain, and put the final touches on this bathroom.
Watch the video:
Click here If you cannot see the video.


0 Comments
Comments powered by Disqus