


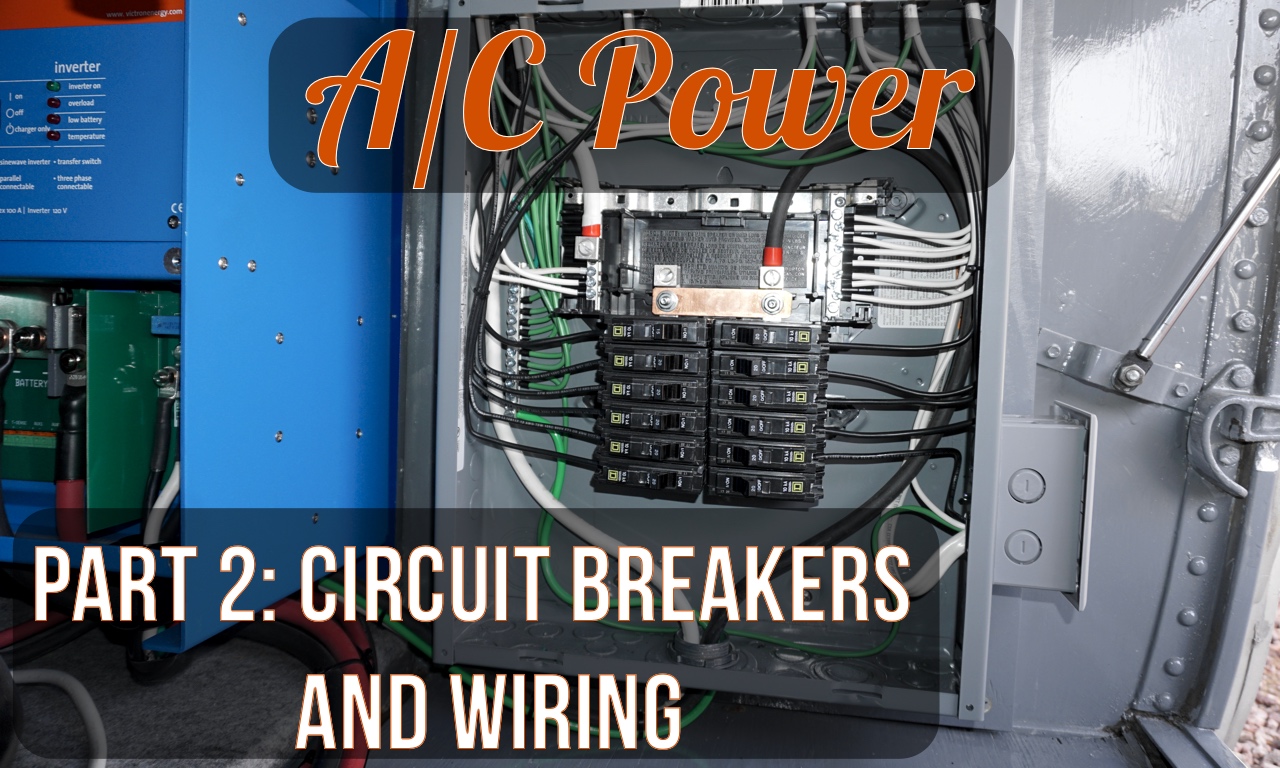
After wiring the inverter to the 120V load center, we were ready to wire up all of the A/C circuits. We have seen many bus conversions and RVs that only have a couple of A/C circuits. But, we would like to be able to cook something in the instant pot at the same time as running our air conditioner. And we would like to be able to wash a load of clothes at the same time as something is baking in the convection oven. You get the idea. So, we are separating out all of those circuits. In fact, we have decided on having eleven separate A/C circuits. Yes, that means running a lot more wire, but we think this will give us the most flexibility.
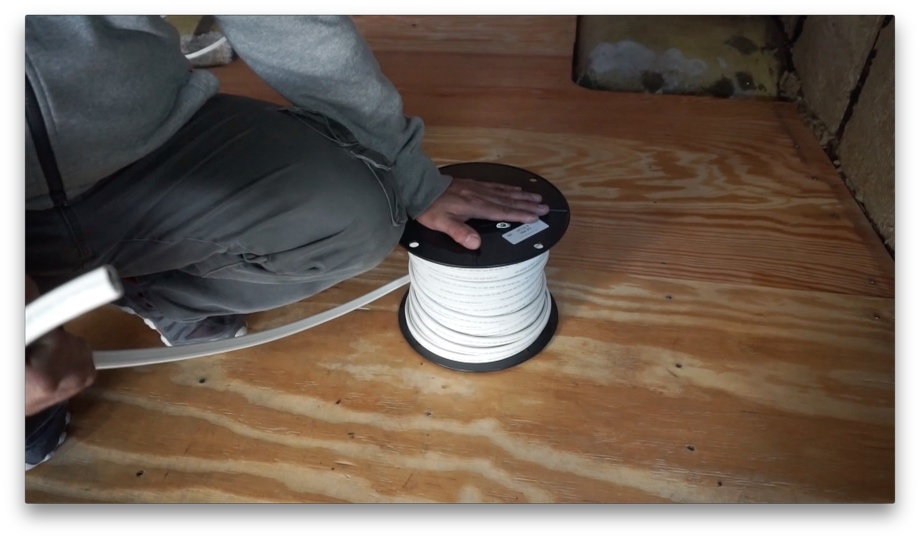
We bought 500 feet of marine grade 12-3 wire to run all 20 Amp circuits.
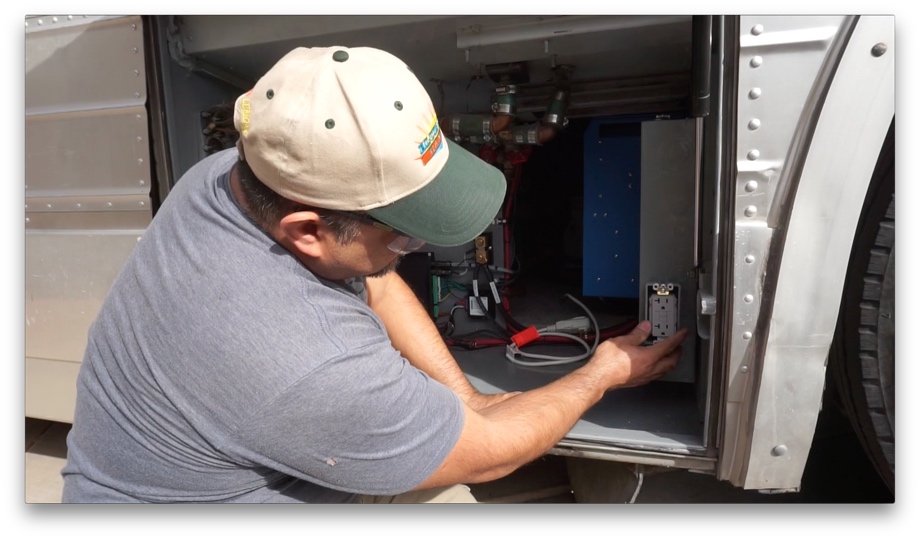
The first circuit we wired up was outlets in all of the bays. The first outlet is a GFCI, so all the other outlets will be protected by that one. We wanted to have access to an outlet in each bay in case we ever want to plug in a power tool or need to plug in a heat lamp in the water bay or something like that. Wiring up that first circuit went pretty smoothly, and we moved on to wiring up the next circuit, the engine heaters.
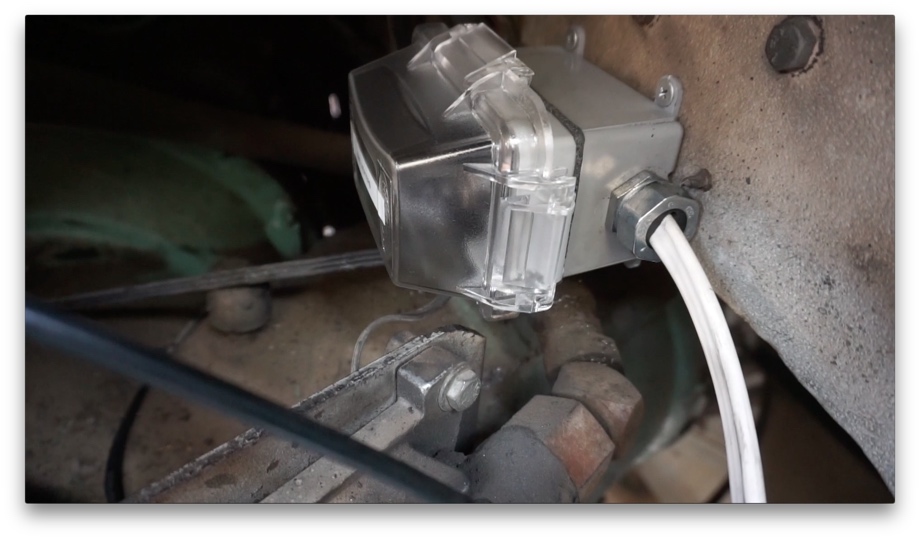
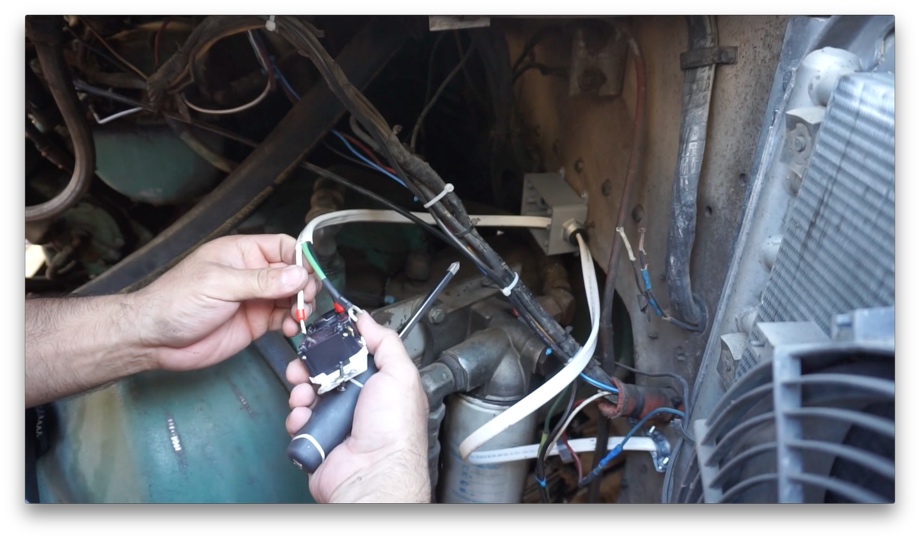
We have two heaters for the engine - these old 2-stroke Diesels like to be warm and cozy. So, we ran the wire from the circuit breaker in the front of the bus all they to the back, up into the back bedroom, up and over the wheel well, back down into the small electrical panel in the back, through a small service entry, and into the engine bay. We mounted a weatherproof outlet box with cover, wired up the outlet, and plugged in the heaters. We haven’t decided yet if we will just flip the breaker to turn them on when we need it, or if we will put them on a relay that we can then control remotely. I’m sure you can guess which way Juan is leaning on that one. (“Smart home all the things!” he thinks as he grins mischievously.)
Note: A huge benefit to working with marine cable is the flexibility it provides to bend and twist through the bays and up and around corners. However, because it is finely stranded and not solid wire like Romex, sometimes those little strands of wires have a mind of their own and want to splay out when being wired into a screw terminal. To alleviate that annoyance, we have been using ferrules. We also used a spade terminal on the ground wires for the outlets to help make a more secure connection under the screw.
 Next up was wiring the mini split air conditioner circuit breaker. When we opened up the insulated jacket on the mini-split cord, we realized that the wires are only 14 AWG, not 12 AWG like our wiring. Since 14 AWG is only rated for 15 Amp, we had to swap out one of the 20 Amp breakers for a 15 Amp one to be safe. With that circuit done, we were all finished wiring up the A/C circuits that are for things “downstairs”.
Time to move “upstairs” into the “house”. When we were planning how to run all the wiring, we knew that we didn’t want to need to tear the bus apart to access any wires down the road. If we ever need to troubleshoot something in the wiring, we wanted to be able to get to them quickly.
So, we decided to run all the wires through the bays as far as possible before drilling a hole and sending the wire upstairs.
 So, we took the rest of the circuits one at a time. We had planned out all the circuits that would run on the passenger side of the bus and all the circuits that would run on the driver side of the bus and ran the wires accordingly. When we got the wire up into the bus, we cut with enough leftover to reach the first outlet in that circuit (if there will be more than one on that circuit).
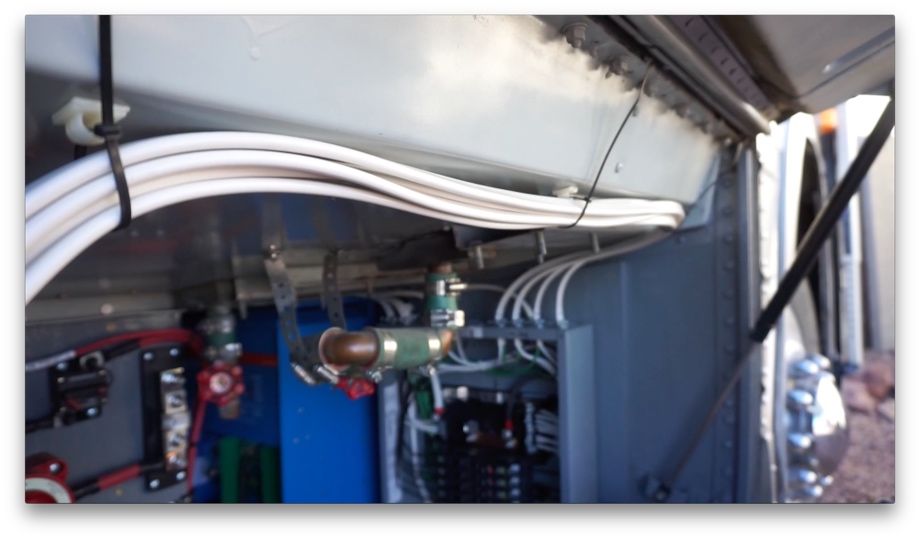
When we drilled holes in the aluminum bay walls through which to pass the wires, we put in service entry strain reliefs big enough for however many wires would be running through each bay. Some were large because we needed to pass through several wires. Others were smaller with only a few wires needed to pass through.

For the time being, we temporarily tacked up all the wires to the bay ceilings. We will eventually clean that all up with some type of cable management in order to keep it secure and safely attached up there.
One other thing we did was to label, label, label. With so many identical looking wires running through the bays, we labeled everywhere. We labeled each wire coming out of the load center box. We labeled each wire where it passed into a bay, in the middle of the bay, and again where it leaves a bay. If we ever need to hunt down the “Refrigerator” wire, for example, no matter which bay we are looking in for the wire, we will know exactly which one it is.
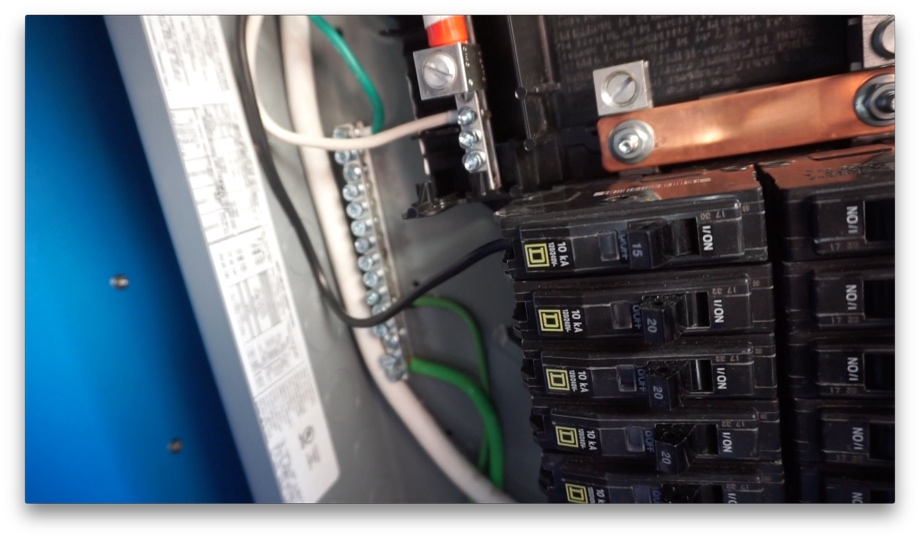
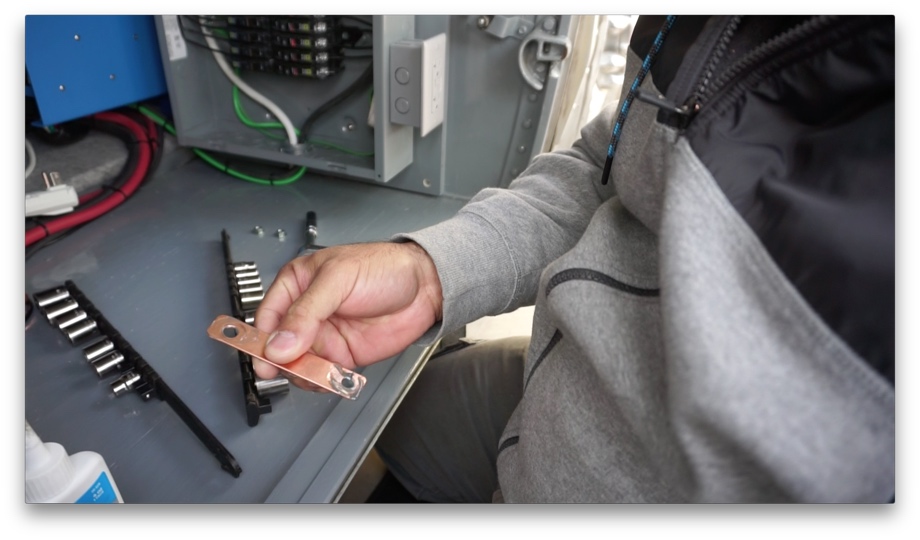
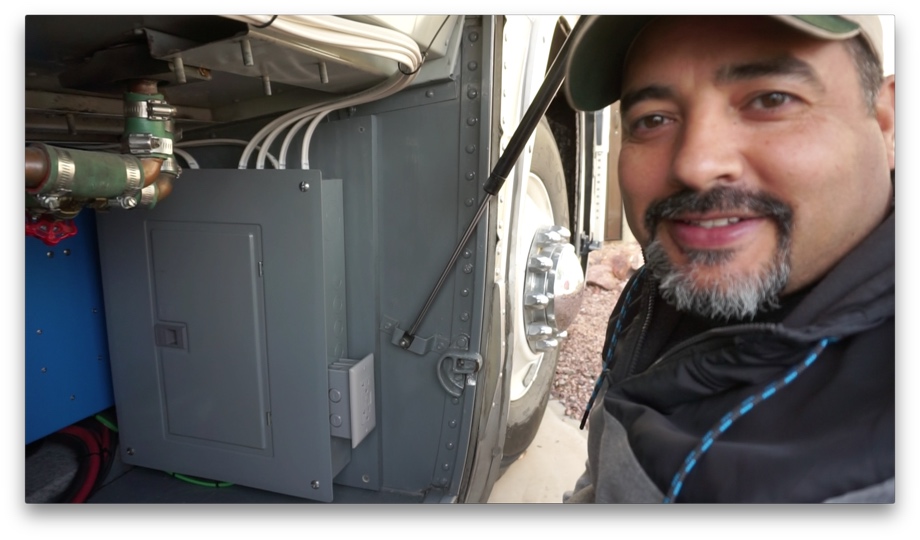
 Finally, all the circuits breakers were wired and the wires were run throughout the bus ready and waiting for their outlets. Time to call our Master electrician friend and neighbor, Matt. We always call on him to give us the thumbs up or down. He took a look, and thankfully (phew!) said all looked good. One suggestion he made was to put Noalox on the copper bus bar where the bolts attach on both sides (see part one of the Load Center to find out about that copper bus bar) to prevent corrosion.
 He also suggested that after traveling for a month, check the torque on all the screws in the load center box. Make sure that bumping down the road hasn’t loosened anything up. Do this again a few months after that, and then maybe again after a year, tightening as necessary.
Last but not least, we put the cover on the load center and the A/C side is so close to being done. We will wire up the “house” outlets once the walls and everything is done. Still much to be done before then, but it feels so good to have all of these A/C circuits done.
Watch the video:
Click here If you cannot see the video.
Parts We Used
Square D QO 125 Amp 12-Space 12-Circuit Main Lug Indoor Load Center with Cover
-
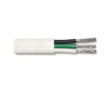 12/3 Marine Grade Cable from waytech.com
 Non-insulated Spade Terminals
12 AWG Ferrules
Service Clamp Type Connectors
20 Amp QO Circuit Breaker
P Touch Label Tape
Noalox Anti-Oxidant Compound


Tools We Used
Small Crimpers
P-touch Handy Label Maker


0 Comments
Comments powered by Disqus