


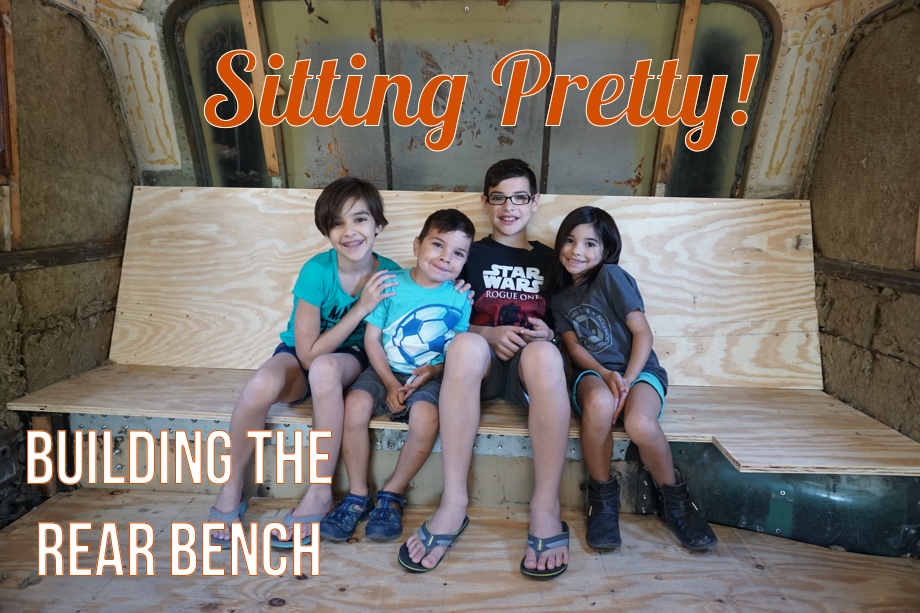
When I was in first grade living in Apple Valley, California, I rode the bus to school. The experience of riding the school bus for the first time might teach a kid many lessons: how to make a new friend when looking for a place to sit, how to pay attention to where you’re going so you make sure to get off at the correct stop, things like that. What did I learn? I learned bad words. Many bad words. In the back of the bus. I also quickly learned the taste of a bar of soap after testing out this newly acquired vocabulary at home. I have a great mom. :)
Our kids are going to be sleeping and spending a lot of time in the back of our bus in their quad bunk room. While I’m sure there will be plenty of shenanigans back there, hopefully they won’t follow in their mama’s footsteps. Ha!
Before any shenanigans can happen, however, we need to build them a room. The very first step is to cover the rear engine bay. Here is what it looked like when we bought the bus.
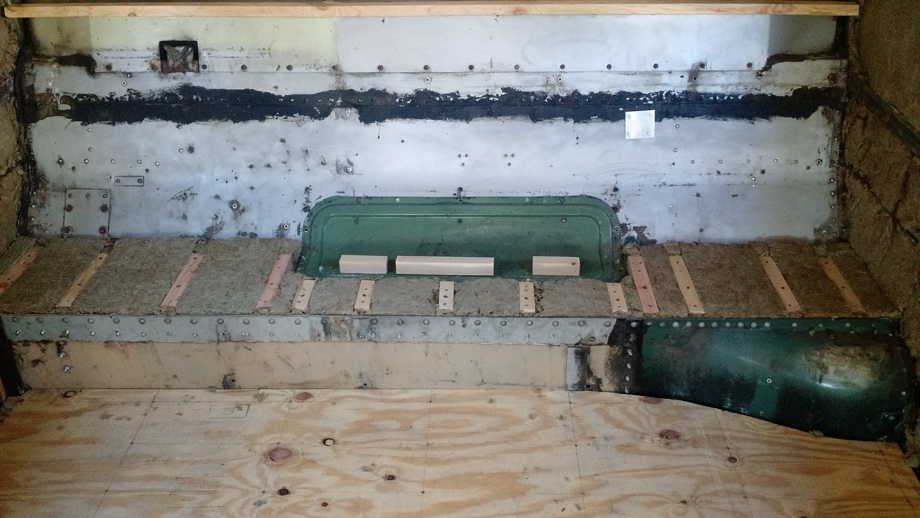
And, here is what it looked like after we tore everything out.
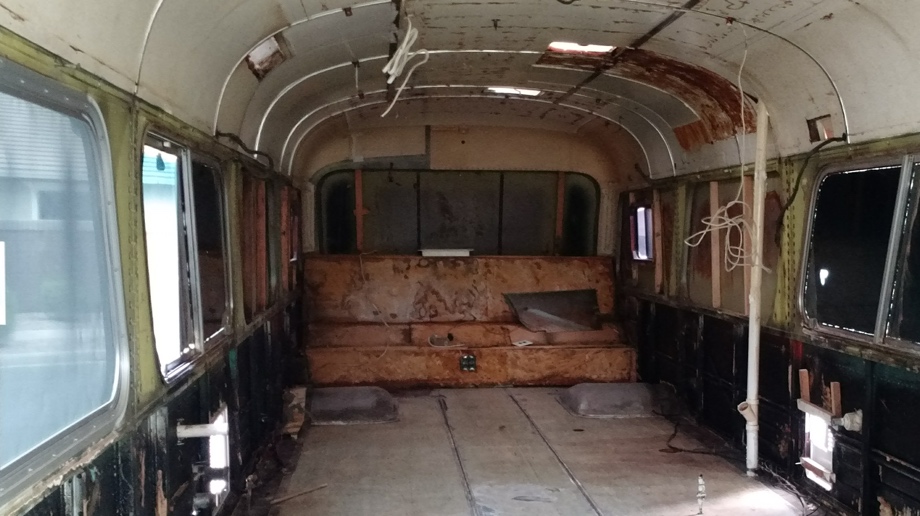
The previous owners had covered the engine bay in the same particle board type plywood that was covering the floors (that we painstakingly ripped out). It was pretty gross, so we also ripped this out.
Now, it was time to plan out a new way to cover the area. We are essentially making this like a long bench. The sides of it will actually be part of the lower bunks, and then the middle of the bench will simply be a seat space. We will put cushions on it to make it a functional extra seat.
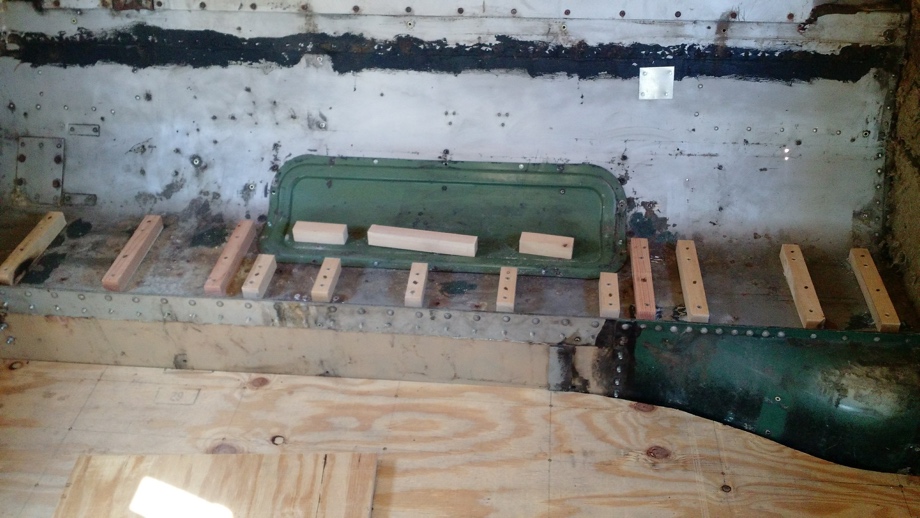
This area had some obstacles that made this project pretty challenging: several angled sections on the “back”, a curved area on the “seat”, an engine access panel that we had to leave access to, and many, many screws and rivets and holes that we needed to address.
The first step of this project was to prep the area. Enter degreaser. It was so gross. Thick black grease covered everything, and we did our best to clean off as much of it as we could.

Next, we had to remove many of the screws, bolts, and rivets that were stuck in the back and seat that weren’t serving any purpose anymore but were in our way for the framework we were going to add. We then had some patchwork to do to cover some of the remaining holes. We simply used some fiberglass body filler called Kitty Hair.

The next step was to test out opening the access panel. The previous owner had completely covered it up with no way to get into it, and all of our busnut friends advised us not to do that again. This is the easiest way to get to the starter, and should we ever need to, we want to be sure we can. Of course, there was a mix of bolts, Philips screws, and flathead screws. And, just like so many of our other projects, no amount of effort would get some of these screws and bolts out by hand. So, Juan had to spend some time with the grinder.

They’ve gotten to be friends by now. Finally, we were able to remove the panel, see what was back there to educate ourselves, and then replace it with new bolts that we can easily remove if necessary in the future.
Alright now the prep work was done. The next step was designing a framework. The problem was that the back section wasn’t just one solid piece of metal at one angle. It actually is three different sections at all different angles. But, our plan was to make it like the back of a chair, so we wanted to turn the multi-angled piece into one big piece at one angle. After a lot of measuring, laying things out, using our kids’ goniometer from their math curriculum to measure the multiple angles, and then busting out some high school trigonometry (SOHCAHTOA anyone?), we finally figured out what angles we needed to cut our 2x4 support pieces to frame the back.

The next step was to figure out how to attach our framework on the back. One little problem - directly behind where we were putting the top piece of the framework are the air filters. So, if we just screwed the 2x4 into the metal, we could have screwed into an air filter. Bad idea. We decided to just bite the bullet and use liquid nails to attach it. Here, we encountered another challenge. How do we clamp this down? Both the front and the back of the engine cover are curved, so it was a bit tricky to get the clamps to stay in place. If you watch the video, you will see this in action. Finally, the clamps were in place and after a short period, that piece of the framework was not going anywhere. Let’s hope we never need to take that piece off.

We continued adding the framework pieces on both the back and the seat, using 2x2s on the seat area. Many of the 2x2s on the bottom had to be sanded “a little here, a little there” in order to make sure everything was level. We then spent a lot of time making sure we weren’t going to accidentally screw the pieces into any hoses, wires, or other engine components. This involved a lot of going back and forth, outside and inside, measuring, and communication between the two of us. Thankfully, we were able to secure everything in place.
 Next up was insulation. We simply measured and cut 1 ½” Roxul to fit into each space between framework pieces. It cuts very easily with a drywall saw, and we finished this up fairly quickly.
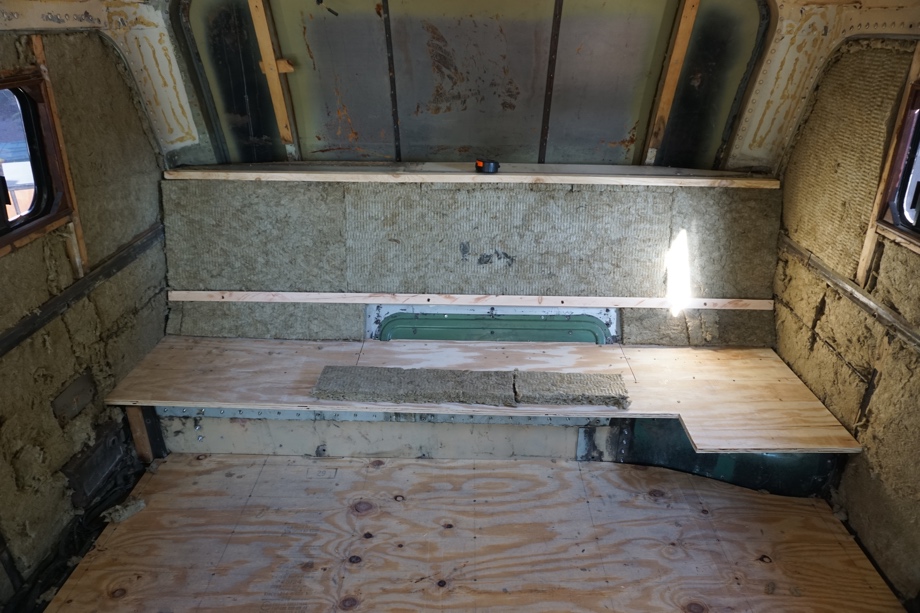 Finally, we were able to cut the plywood top sheets. Again, we had more angles to cut for both the top edge and bottom edge of the back piece. More SOHCAHTOA! (Thankfully as a homeschool mom, I had refreshed my trig skills with my kids not too long ago.) We cut out around the access panel, and then made separate pieces that cover it. In the event we need to access the access panel, all we will have to do is unscrew two small panels and remove the piece of insulation in there.
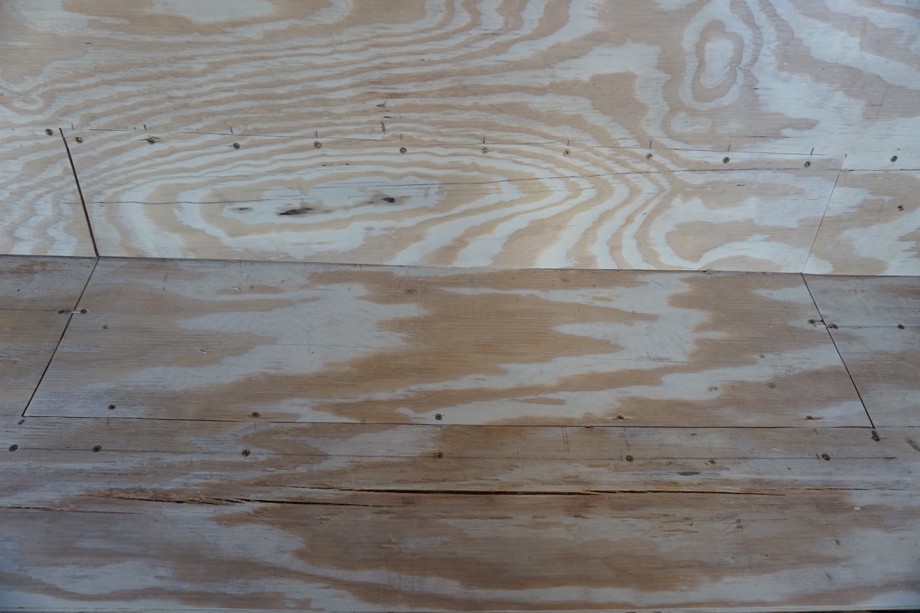 The last thing to do, screw it all down. And, we are done. For now...we still have no idea what we are going to do about that whole area above it. Also, we are waiting to finish out the “foot” area because we will run some wiring down there and add an outlet.
 But, since this was the first real "new construction" we did on the interior of the bus, and we made a functional piece, we will call it a win!
Check out the video to see this project in action.
Click here If you cannot see the video.

0 Comments
Comments powered by Disqus