


After wiring up the supply side of the system, it was time to actually prepare to send that power somewhere. We decided to start with the 120V A/C side of things. Our starting point was to map out where we need 120V in the bus and how many different circuits we want to run. Because we have plenty of battery power to go around, we are trying to make this bus as electric dependent as possible. We are hoping to only need to use propane for a hot water heater. Everything else will be electric. (Of course, we reserve the right to change our minds about this as well.) We would also like to be able to use the instant pot and an induction burner at the same time, or run the mini split a/c and cook at the same time. In order to accomplish this, we need to run several different circuits. In total, we are creating eleven 120V circuits. (We will share more details on all the different circuits in the next post.) That meant we needed to find a load center that could handle these requirements.
We researched what type of load center to buy, and it was a bit overwhelming at first. There are so many different brands and types, and we just weren’t sure which way to go. We did quickly realize that we didn’t want to use an RV specific load center. First, they tend to be small and are usually designed to go inside an RV. We are putting ours in a bay underneath the bus. Second, they often take proprietary circuit breakers. We want to be able to easily replace parts at any nearby big box store. Third, they usually include both the A/C and D/C in the same box. We want to keep those separate.
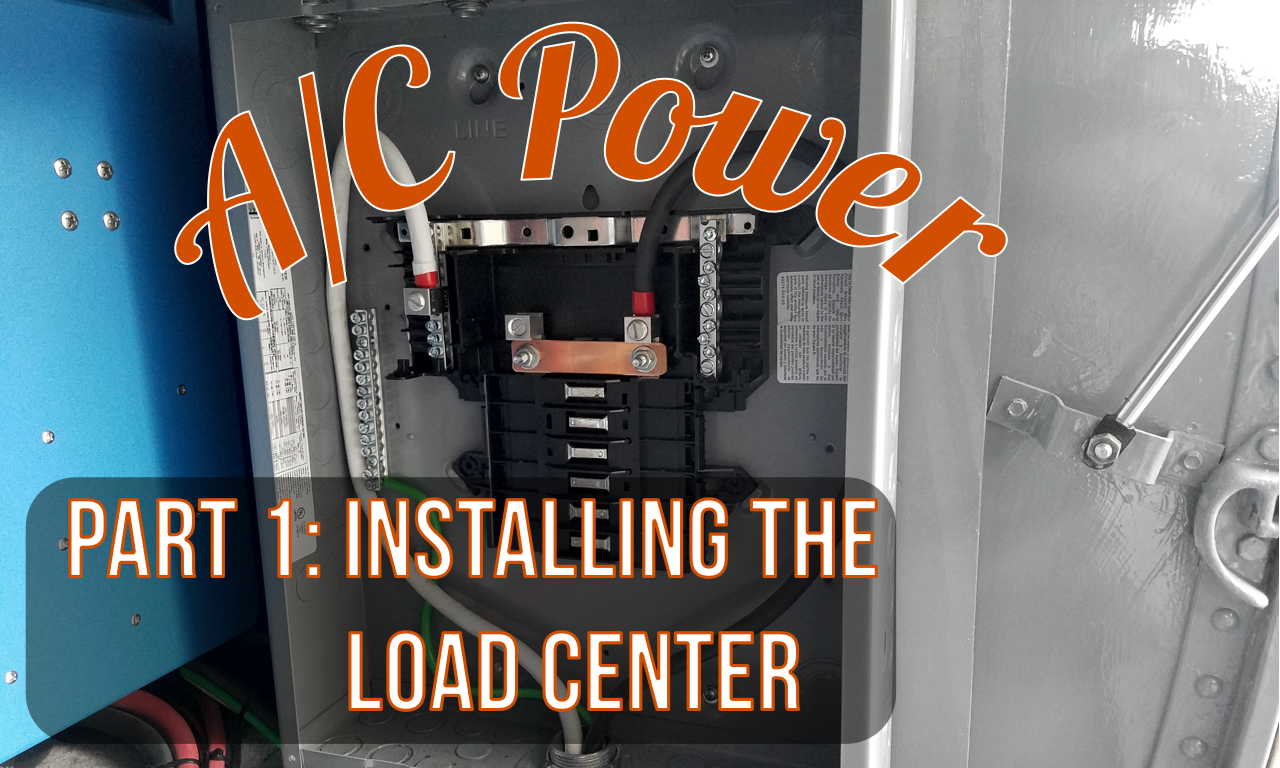
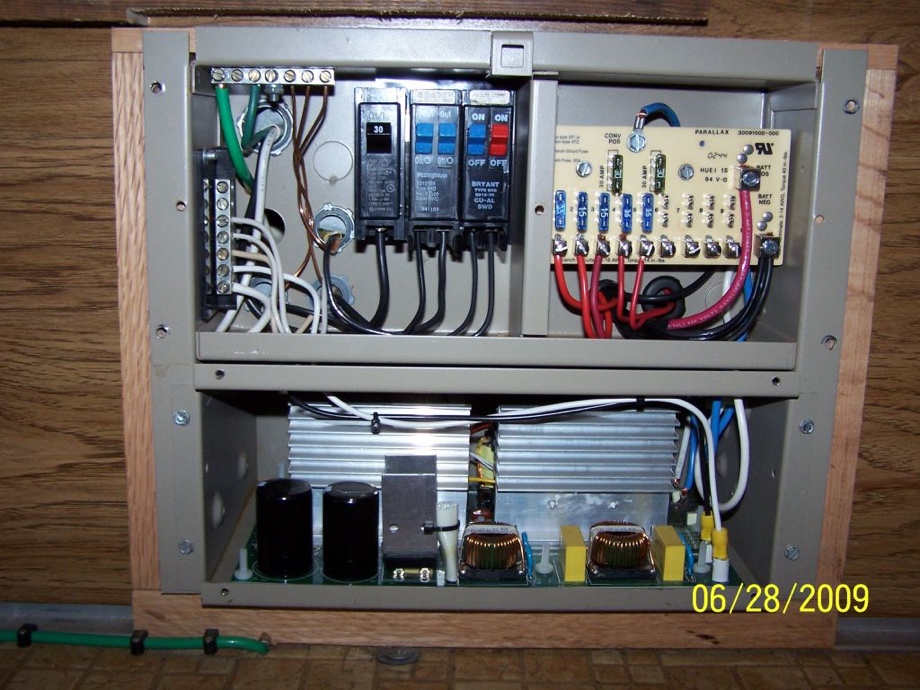 Typical RV Load Center
So, we decided to look more closely at regular household panel boxes. The Square D brand kept coming up over and over in our research as one of the better brands, so we narrowed it down that far. Square D has a couple of different lines of boxes, Homeline and QO. The QO is their "premium" line of load center, yet the price isn't much higher. We also felt that the QO circuit breakers have a more secure way that they physically connect onto the bus bars. The "HomeLine" has a blade that gets pinched between some metal, and the QO has more of a clamping way to mount. This seems like a good idea for a big old bus driving down a highway. Lastly, we read really great reviews on the QO line on electrician forums (and our electrician buddy gave it the thumbs up.) We were sold and purchased a 12-circuit Square D QO load center from Amazon.
We decided to mount the load center onto a plywood wall that we attached to the aluminum bay wall. This just seemed like it would be sturdier bouncing down the road long-term than simply mounting the box directly to the metal bay wall. Of course, we had to paint the plywood to match first. :)

The box is made to run 240V, as standard household load centers are. However, we are not running 240V in the bus, only 120V. So, we used a copper bus bar (actually one of the factory bus bars from the Leaf battery before we reconfigured it - gotta love repurposing things) to connect the two hot legs in the box which then makes the box only 120V. We double checked all of this with our Master electrician friend, Matt, as we do with all of our electrical projects. He said using the bus bar for this purpose was standard practice, so we were good to go. He did simply remind us to use Noalox grease between the busbar and the contact areas with the hardware. This prevents corrosion from occurring due to the contact of two different metals.

Now the box was ready to start wiring. The first step was wiring the cables that will come into the load center from the inverter. Although we will likely only ever be using up to 50 Amps at a time, our Victron inverter is a "boosting" inverter. This means that it can take the 50 Amps coming from shore power and add an additional 42 Amps from the batteries, sending up to 92 Amps at a time into the load center, which is rated for 125 Amps. It seems unlikely that we would ever reach a draw that high, but we have to wire it as if that might happen. That meant that we couldn’t just use our leftover 50 Amp cables that we had sitting in the garage because those wires are too small. Luckily, we had some leftover 2 AWG welding cable that would work great (we could have gotten away with 4 AWG welding cable due to the short run - it's rated at 100 Amps - but we had 2 AWG already so we used that). We just had to buy some 6 AWG ground wire.
We wired in the neutral, ground, and hot leg cables into the load center through a metal service entry clamp (these prevent any sharp edges of metal from rubbing through the cable insulation and also prevent the cables from shifting and moving around).

Next, we mounted the load center, measured and cut the wire, attached lugs, and finally wired up the other end of those cables to the inverter.


The load center was now prepped and ready to go. The next step will be wiring up all the circuit breakers and running all the wires throughout the bus.
Watch the video:
Click here If you cannot see the video.
Parts We Used
Square D QO 125 Amp 12-Space 12-Circuit Main Lug Indoor Load Center with Cover
2 AWG Wire
Larger Ferrules
Marine Heat Shrink Tubing
2 AWG Lugs


Tools We Used
Small Crimpers
Big Crimpers


0 Comments
Comments powered by Disqus