


Our bus has three vent fans in it, but, oh man, the ones that were in there when we bought it were redonkulous. That word bugs me, but I couldn’t come up with a better description. The fans were teeny tiny, PC-style fans.
 I mean, how in the world were those supposed to move any air in a 35-foot bus? We absolutely had to change those out.
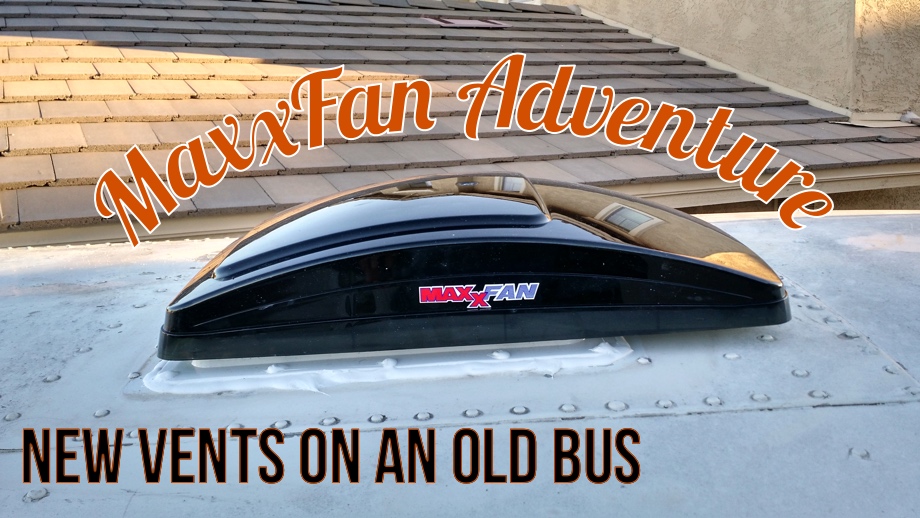
We researched all the different options available and finally settled on the Maxxair Maxxfan Deluxe 6200K. This model is manual (no remote control), which is fine since our ceiling is only about six feet tall so we can easily reach the controls. It does have a thermostat and an automatic rain shield. One of the reasons we chose this model is because it has a lower profile on the roof than some of the other fans when fully open, just over nine inches tall.
 Because of the design for our solar panel setup (coming in the next couple of months), we wanted the vent covers to be as short as possible. When the vent is closed, it is very low and looks sleek.
 Another reason we chose this model is that the fan can reverse, allowing it to either intake or exhaust. That will allow us to set one fan for intake and another for exhaust to allow for even better air circulation, especially on days or in locations we maybe don’t want to open the windows. The fans are also huge compared to the previous fans. They are twelve inches in diameter. It has ten speed settings. After reading many extremely positive reviews, and reading this review that shows the amp usage, we decided these are the vent fans for us and ordered them from Amazon.
The first thing we did after pulling them out of the box was to test each one to be sure it worked. It would really stink to install it and then realize there was some type of defect. So, we hooked it up to a 12v battery and went through all the different speeds, reversed directions, changed the thermostat setting, and thankfully everything worked perfectly on all three fans. We were amazed at how much air they pushed out and how quiet they are at the low settings. Even at the high settings, the fan isn’t super loud. Time for install!
The worst part of the whole entire job was just climbing on the roof of the bus. We both really hate climbing up there. First of all, the ladder on the back of the bus always feels like it’s just one good step away from breaking.
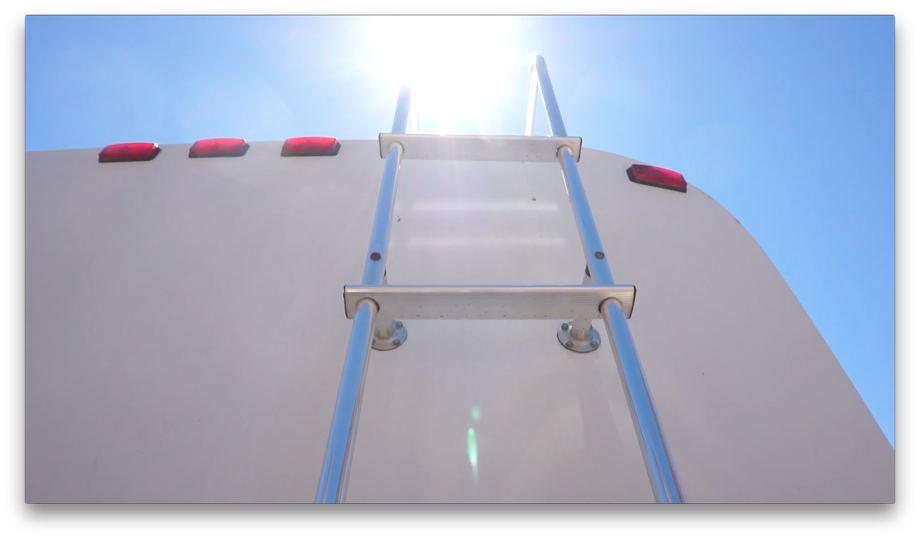 Then, the curved roof is just made from 1/16” aluminum. We try our hardest to only step where the ribbed supports are, but it’s still a thin, curved roof. Looks cool, not so fun to spend time up there. And, oh yeah, it was about 95 degrees when we did this. Juan had the job of being on the roof and doing the install, while I stood on the ladder next to the bus handing him supplies as needed. He took our big umbrella up on the roof to block the sun, but of course, it started getting windy. So, either he was trying to hold the umbrella with one hand while working with one hand, or I was holding the umbrella with one hand while hanging onto the ladder with one hand.
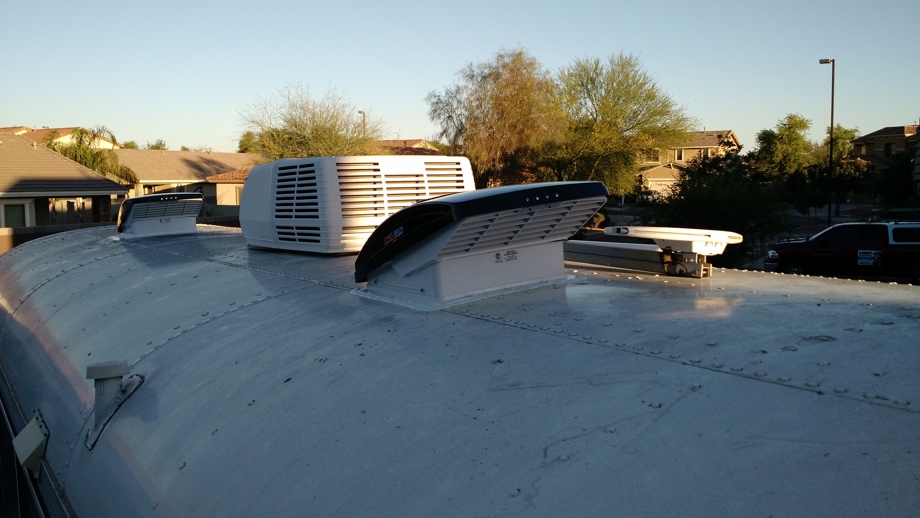
 Either way, not ideal. Luckily, we both made it through alive. And we have three new fans installed.
Here is the Cliff’s Notes version of the install:
- Remove old, nasty vent fan.
- Throw it in the trash.
- Remove all the old butyl tape and thoroughly clean the area.
- Put new butyl tape on the bottom of the flange.
- Put the flange in place in the 14”x14” hole on the roof (unless your old hole was millimeters too small, then you have to just grind it open a tiny bit first, of course)
- Predrill the holes and then screw down the flange into the roof.
- Apply Dicor self-leveling lap sealant around all the edges and over the top of the screws.
- Place the fan and cover into the flange and screw into place, being sure to feed the wiring down through.
For us, we stopped there. We will have to wait to install the interior bezel until we have actually built our new ceiling. And, we haven’t done our wiring yet, so the fans aren’t actually wired in right now. But, since we tested them before installing, we know that they will be great once we have them up and running. They look great, and we do open the vent covers frequently. We have had the chance to test them out in the rain, and even with the vent fully open in full pouring rain, water is not coming in at all. We have water-tested the seal, and again, no leaks there either.
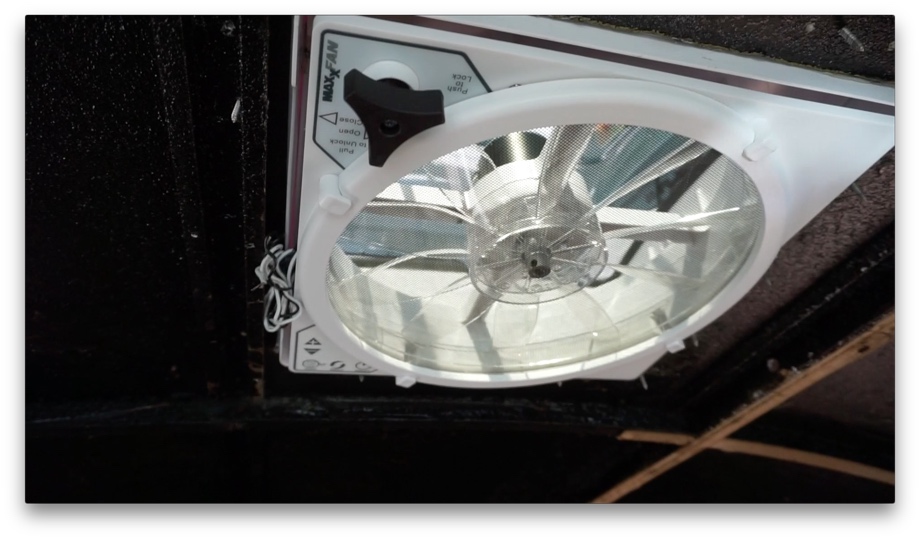 Just look at the size difference between this and the little tiny PC-fan.
We can’t wait to have the wiring done and actually be able to start using the fans. But, for now, we are so happy with the install, how the vents work, and the overall look of them.
Check out the video to see this project in action.
Click here If you cannot see the video.

0 Comments
Comments powered by Disqus