


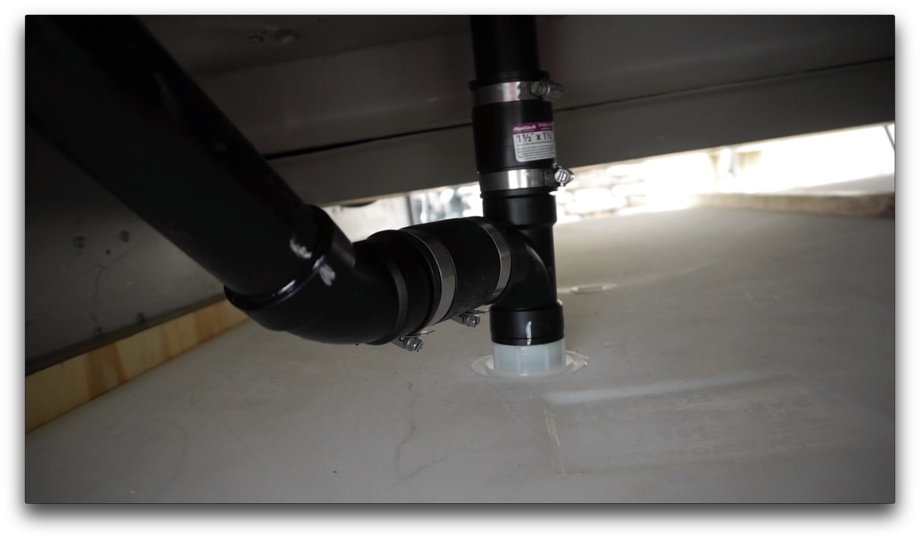
Last week, we finished plumbing the last drain into the waste tank. We were finally ready to start the supply side plumbing. First, however, we had to secure the tanks.
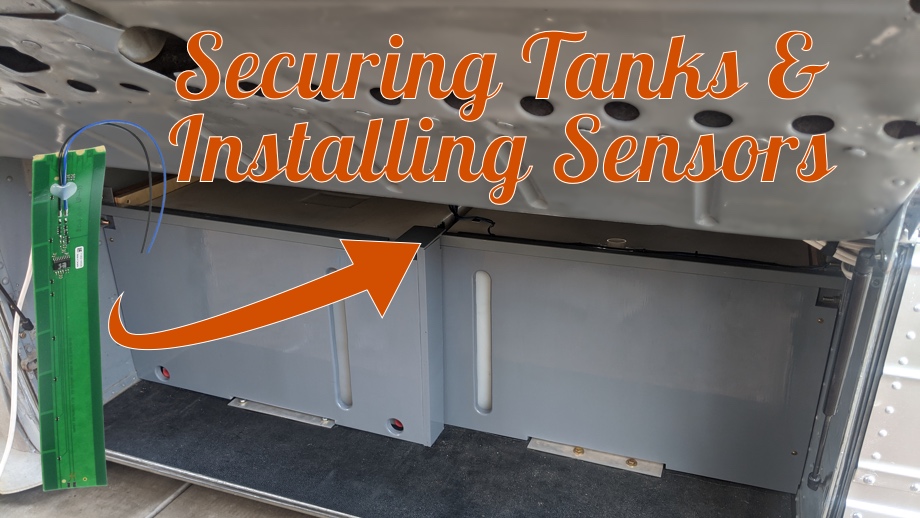
We have two large tanks, each over 160 gallons. If a tank is full, it will weigh over 1300 lbs. We definitely don’t want those moving around. In order to prevent the tanks from moving front to back, we mounted 2x6’s to the bay walls, and that left just enough space in between the two tanks for another 2x6. The tanks were now perfectly pinned in place front to back. Next, we needed to address how to keep them from moving side to side.
 We are doing our best in the design of this bay to make sure everything is secure, but also that things would be removable without destroying anything if the need ever arises. For example, on the waste tank, all of the drains are plumbed with rubber couplers. These allow a little flex in the pipes during travel, but more importantly, we can loosen the rubber couplers and move them up and out of the way and then pull the tank out. Hopefully, we never have to do that, but it will at least be possible.
In figuring out how to secure the tanks from the side, we knew that whatever we did would have to be removable. We decided to make brackets that could be bolted through the bay walls. We started with 1” steel square tube and welded it to 1½” steel angle. On the underside of the angle, we glued a rubber mat to protect the plastic tank from being rubbed by the metal. The angle will sit on the top of the tanks keeping it from being able to rise up. We also used angle on the ends and drilled bolt holes to bolt the whole thing to the wall. We painted everything and installed brackets on both sides of the tanks.


 Next, we cut and painted ¾” plywood walls to not only hide the tanks and dress everything up a bit but also to give us a place to secure plumbing.

 One other project we did in the midst of securing the tanks was to install our tank monitor sensors. We chose to go with the SeeLevel II tank level monitors after hearing almost nothing but great reviews. They install on the outside of the tanks and use electrical resistance to give a percentage full (rather than the ⅓, ⅔, Full of standard RV tank sensors that are installed inside the tanks and often get “gummed” up with the “contents” of the tanks). They’re really simple to install. You just have to figure out the exact height you need, make a few cuts, and join a few wires. Then just stick them on. We haven’t hooked up the inside monitor for the SeeLevel yet, but we are excited to see how well this system works when we finally get all of the plumbing done and start testing the system.
 Next up: We install the water pump, tankless water heater, manifolds, and water filters.
Watch the video:
Click here If you cannot see the video.


0 Comments
Comments powered by Disqus